

Visualization is essential when your intention is to make the visitors or users active on your website. They will decide about staying on the site and reading your content or leaving instantly based on your style of presentation.
So you have to stop thinking that jumbling some pictures together can drag visitors or users to your site.
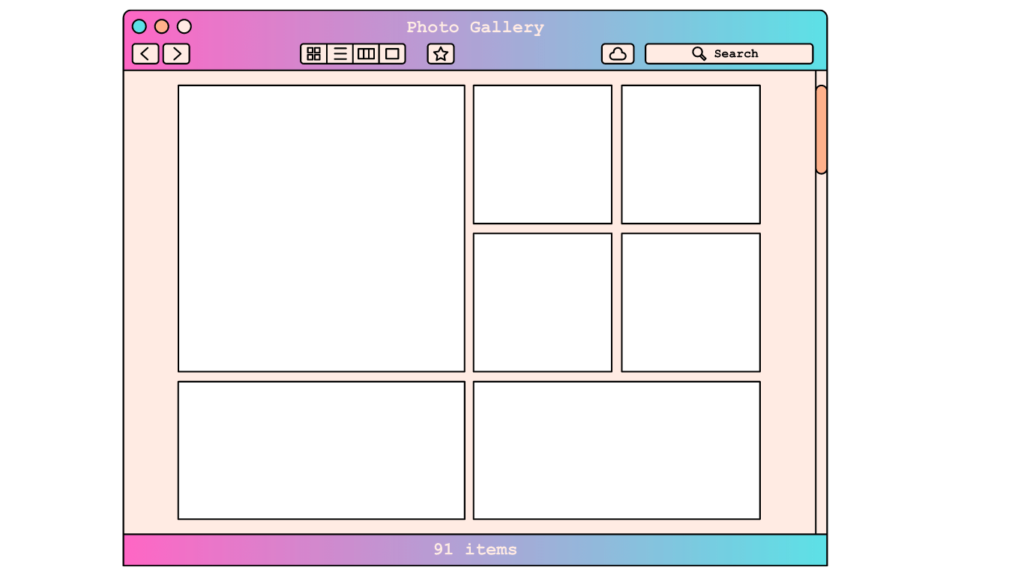
The most effective way to use visualization can be via structure. Users enjoy reading blogs that are arranged in a well-structured manner and have relevant media in them. To implement that on your site and blogs you should use a grid image system. If you are using a WordPress website then it’s great news. Because here you will find a bunch of photo grids that can help you to create the perfect photo grid.
The majority of the sites use Photo Grid WordPress plugins at present to showcase their image contents. But the question still arises is it worth using a Photo Grid WordPress Plugin? Why not manually?
Why Do You Need a Photo Grid WordPress Plugin?

It is necessary to preview a large collection of images at a time. When you’re either showing an album of images to accompany your blogs or advertising your portfolio of images, using Grids to show WordPress photos can be quite beneficial. And a Photo Grid WordPress plugin does the job for you.
WordPress makes it super easy to upload photos and videos. But when you upload them it comes one after another and that looks bad. By creating a gallery, you can display images in a grid layout with columns and rows. You can show thumbnails for your pictures, and users can click on them to see the full image.
Although WordPress has a default feature to create a photo gallery from its block editor, still with a gallery plugin, you will have more control over the gallery settings. A gallery plugin will allow you to:
- Easily improve the display of your galleries.
- Display your galleries with different styles on a case-by-case basis (carousel, masonry, justified).
- You can control the margins and the borders.
- Also, you can add animations when hovering over the photos with the mouse.
Features to Look for While Choosing a Photo Grid WordPress Plugin

Now, there are hundreds of photo gallery plugins for WordPress websites. And it is highly tempting to choose one and start building galleries. As most of the plugins are free, you may think to test each one and then decide on one.
But that will not only waste your time but also if you choose the wrong one then it may cause harm to your website. But if you know what you are looking for then it will be easier to look for the right plugin.
And we have created a list for you so that you can match and select the right plugin.
- Different gallery formats like tiles, mosaics, and masonry should be present.
- Your plugin needs to have a lightbox viewing mode to see a larger version of the photos.
- Image sharing, through social media and other options like email.
- Image commenting feature to create a community and have a conversation.
- Support for both video and photos, with tools for linking to YouTube and Vimeo videos.
- You will find linking options to send people descriptions of your portfolios or blog posts.
- Open graph access to integrate with third-party tools and customize the gallery.
- Image protection feature for those who don’t want their photographs used without permission
- Ecommerce support is a must to sell your photos through a WordPress website.
- A digital download management system to compile the images and organize them into categories.
- Animations and other effects grab attention when users scroll over your photos.
- The plugin should have a drag-and-drop builder for building a photo or video gallery without coding.
- Mobile-responsive so that users can view your photos from tablets and phones.
- Image optimization with lazy loading, if you plan on having lots of photos on your website.
- Gallery templates to eliminate the need to start a gallery from scratch.
These are the features you should look for while you are looking for the WordPress Photo Grid Plugin. Match everyone before installing.
Before you choose a gallery plugin, let’s find out how to create a photo gallery without a plugin so that you know why we are telling you to select a plugin.
How to Create a Photo Gallery Without a Plugin?
As we said earlier, WordPress comes with a built-in feature that lets you create a gallery. This feature is very basic and does not have many options, but it gets the job done.
WordPress comes with a built-in feature that lets you create a gallery. This feature is very basic and does not have many options, but it gets the job done.
Here is how you would create an image gallery in WordPress without using a plugin.
Step 1: Create a Page/Post
First, you need to create a page or a post. In that, you need to add the gallery. On the post-edit screen, click on the Add New Block icon (+) and select the Gallery block.

You will find the Gallery block added to your WordPress editor.
Step 2: Upload Photos
Now you can click the ‘Upload’ button to upload photos from your computer.
If you want you can select from previously uploaded photos in the media library.

Now when you click on the Upload button, you can generally upload one photo at a time. However, you can select and open multiple images with the Ctrl key on your keyboard.

Step 3: Add Captions
Now that you have uploaded all the images, you can add captions to your images. Simply click on the photos, and you will see the ‘Write caption’ option where you need to enter the caption.

Step 4: Add Alt text, Title, Captions
When you select the Media Library button, then you can choose images for your gallery all at once. As you select images, you can also enter the image alt text, title, and caption from the attachment details panel on the right side.

Step 5: Select Images for the Gallery
Select the images you want to add and click on the ‘Create a new gallery button” at the bottom right corner.
Step 6: Publish Your Gallery
Next, you will see the ‘Edit Gallery’ page where you can add/review your image captions. When you are done, click on the ‘Update Gallery’ button at the bottom right corner.

After that, you will see that your post edit screen is open with the gallery block settings panel on the right side. Now, you can choose the number of columns for each row, enable or disable the Crop images option, and choose where to link your gallery images.

From the Link to choices, you’ll opt for None if you wish your users to solely read your icon. This selection disables the press feature for your pictures.
If you choose the Media File option, then the photographs are clickable, and also the image file can open once clicked. Similarly, the attachment page can open if you choose the Attachment Page option.
Once you’re happy with the settings, you’ll publish the post and preview the gallery on your live website.
Challenges You May Face While Creating a Gallery Without a Plugin
However, if you create image galleries regularly, then you will soon notice that it lacks certain essential features.
For example, your pictures can either be not clickable or open on a brand new page. If you link your gallery pictures to the media file or attachment page, then the users can click on the back button to look at the gallery once more.
It is not easy, and your gallery’s look depends on your theme. In most cases, you get only one terribly generic vogue.
You can’t organize your galleries into topics, albums, tags, etc. Your gallery isn’t stored anyplace and if you are required to feature an equivalent gallery once more, then you’ll be able to recreate it.
If you would like to feature additional professional-looking image galleries on your website, then you must use a consecutive methodology.
FAQs
Is the grid method cheating?
No. It is not. When you are optimizing and creating something visually beautiful, it is not considered cheating. But it is also not good to rely on drawing with the grid method because you are relying on the grid instead of your eyes.
How do I make a photo gallery in WordPress?
First, you need to edit the post or page where you want to add the image gallery.
On the post-edit screen, click on the Add New Block icon and select the Gallery block. This will add the Gallery block to your WordPress editor where you can click on the ‘Upload’ button to upload photos from your computer.
Which is better: gallery or Photos?
The answer for most people is pretty straightforward: both. Use the automatic backup in Photos, and maybe the editing if your Gallery doesn’t have any, but use Gallery for your on-device photo sorting and searching.
Wrapping Up: Photo Grid Plugin
As you can see, creating a gallery without a Photo Gallery WordPress plugin is easy but it doesn’t quite match the standards. You won’t be able to control the settings and it will lack advanced features.
That is why you will need to find the perfect WordPress photo gallery grid plugin. Follow our tips and you will be able to find the right one with ease.