
While updating your website, you may often forget to compress your site images. Image compression can make your website fast and indicates Google’s core web vitals, determining ranking. Also, users love websites that can load faster. According to Forbes, at least 47% of users prefer browsing websites with a speed of fewer than 2 seconds.
Image compression plays a crucial role in exceeding browser speed and has a long-term positive impact on your website.
What is Image Compression?
Image compression is the method of minimizing the bit sizes by keeping the image’s original quality. It’s a kind of data compression, Image compression is often just another way of reducing the size of an image.
Website Optimization
Compressed images can save your site’s loading time and help it rank better on Google.
Quick Uploading
Sending and uploading raw images slows the process, whereas compressed images take less time to transmit data.
Reduces Loads on overall website space
By minimising the file size, you can reduce the load on your web storage. Minimal impact on web storage can easily lead to faster website load time. Also, you don’t have to worry about making the browser overload, as it will not impact browser cookie preferences either.
Smartest Guide to Image Optimization in WordPress!
2 Different Types of Image Compression
By considering the image quality and types. There are two basic categories of image compression.
1. Your Image will not lose any image quality after compression (Lossless)

Lossless compression is the process of storing the same quality of an image before compression with a gradual size reduction. This way images don’t appear blurry or contain any sort of reduction.
Here are some of the image formats we are talking about,
- PNG (Portable Network Graphics): PNG images are generally reversible. Once you compress this format, it will get back to the regular size when you open the file.
- RAW(Portable Network Graphics): Raw images are derived from DSLR (Digital Single-lens Reflex). These files are huge, and might lose quality after compression.
- BMP (Bitmap): BMP is exclusively found in Microsoft, though it’s not that popular as a web image format.
PNGs are the best image format for any website, because they don’t lose their image quality even after compression.
2. You will lose image quality after compression (Lossy)
After you compress an image, you will lose its quality dramatically with a huge size reduction eliminating some parts of your file. Also, it’s an irreversible process once you are done with it.
This compression type is not so popular and not recommended by professionals for uploading images on your website. Lossy image formats are,
- JPG (Joint Photographic Group): JPG is commonly known as JPEG. Under lossy compression, this format eliminates some parts of the image. Though a small amount of compression won’t be noticeable, the greater size will appear great.
- GIF (Graphics Interchange Format): This format reduces the file size by reducing the color. Usually, a file with 256 colors looks appealing. You can minimize the size by reducing the pixel count.
3 Easiest Techniques of Image Compression
Image Compression involves several methods. Here, we have highlighted the easiest ways to compress images.
i. Deflate Technique to Restore Better Image
Deflate is a lossless image compression that works on PNG images. In this tricks. LZ77 and Huffman coding is involved in compressing the image. Moreover, the image quality remains the same.
ii. Run-Length Encoding for Storing Image as a Single Value
In this form of encoding, the format stores the redundant strings of pixels as a unified group. This is also lossless compression.
iii. Transform Encoding to Reduce the Image Size
Transform encoding is a lossy compression that counts the colors with similar shades as a single unit. As a result, it reduces the image size. This compression is implied in JPEG format.
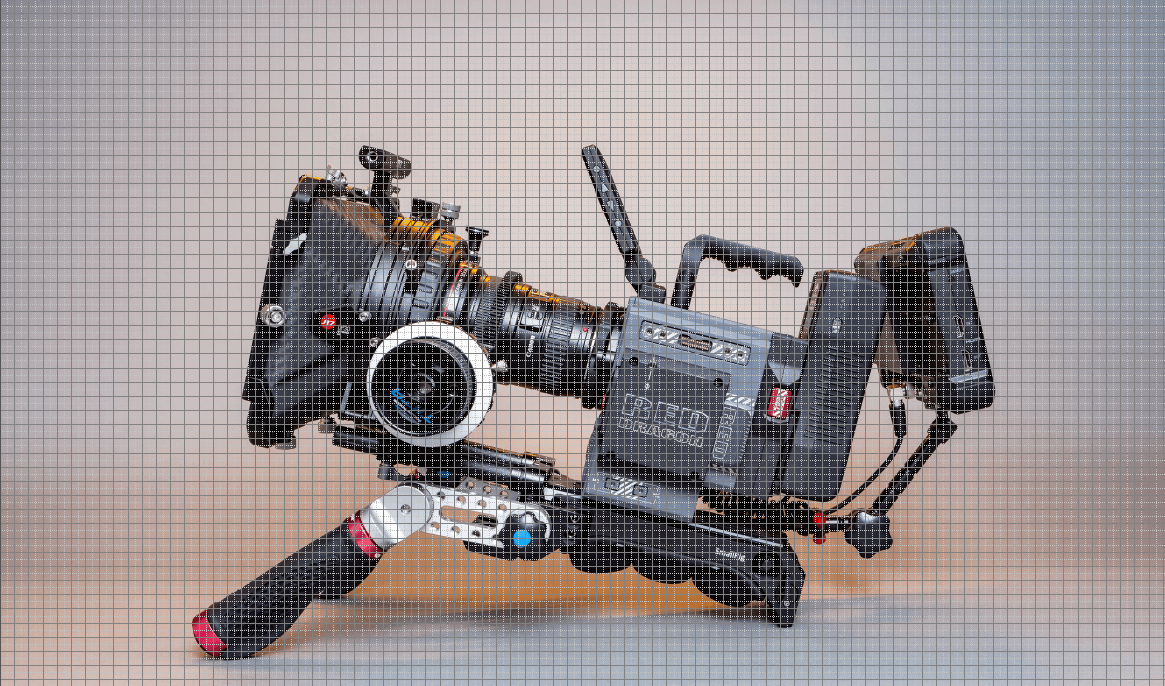
Process of Making a Grid in Photoshop Within 3 Steps
Adding grids in Photoshop will add an extra dimension to your image procession. You can minimize the image size through this tool as well. However, it’s a manual procedure. You can add grids on your Photoshop by following these 5 simple steps:
Step 1: Start a New Document
To start with, first, create a new document. Set the pixels into a point. Since you can start with any resolution, we recommend using 960×768 pixels.
Step 2: Go for the New Grid Layout
To start a new grid layout, click on View then Show. Now choose Grids. Set the other preferences such as color, size, etc.
Step 3: Set the Shapes
After setting gridlines, you can select the shape you want to see. Go to the Custom Shape Tools and Create the shape you want.
Step 4: Save Finally
You have already created your desired Gridlines. Now, you can share your precious files with everyone. To do so, you have to save the file. Click CTRL+S to save the file.
10 Reasons Why Image Compression is Necessary
Even though we already mentioned some of the importance of image compression, we hardly even scratched the surface. There are many benefits of image compression that make this process a must for website building.
1. Loads website faster
With compressed images, your website can load incredibly fast, which helps you improve user experience and overall outlook towards your website. According to MarketSplash, the bounce rate can increase to 90% if the content doesn’t appear on the user’s side in 1-5 seconds. Your visitors will remain calm in certain situations through faster loading time, encouraging them to stay longer and explore more of your content.
2. Reduced bandwidth usage from the server
You can save a lot of bandwidth costs, which is undoubtedly important if you win a high-traffic site. Reducing bandwidth can help users with limited data plans, making your website more accessible for everyone.
3. Redeem Browsing Speed
A website can go slow over time. The reason can be anything, but if your site uploads raw images, it may load like a sloth. A compressed image allows the user to enjoy a clear outlook with sound speed because image compression manages the quality by compressing the size.
4. Improves your site’s SEO
Compressed images will load your website faster and significantly increase overall site performance. Now Google prioritizes your website, eventually ranking your website between the first or 2nd pages of a SERP.
5. Give your visitors an enhanced mobile experience
8.65 billion people in the world use smartphones, and most of them use phones to browse through the internet. With more people accessing websites from mobile devices, providing a seamless mobile experience is essential for retaining visitors and reducing bounce rates.
6, Quick downloading
The smaller the size, the greater the downloading speed. For some devices, there are restrictions on downloading. Compressed images make downloading quicker.
7. Decreased bounce rate
If your images load fast and loading times meet a certain time frame, the visitors leaving your site prematurely drop to only 5%. This lower bounce rate means your website is efficient and can improve overall site metrics and user satisfaction.
8. Optimized for any type of social media platform
Having a good social media presence can be crucial for improving your website faster. Image compression can help you easily share different image contents on multiple social media platforms.
Also, High-quality, fast-loading images improve user engagement on social media, ultimately driving traffic to your website.
9. Backup your website faster than before
With smaller image files, you have less data, which can save you a lot of time and back up your data faster than before. In any certain situation, restore your data quickly and effortlessly.
10. Saves you money
Lower image size = less website storage
Your website will take up less space, gradually lowering hosting costs and improving your site’s performance without additional expenses. It solves space problems and makes your resource management much more efficient.
FAQs
What are the Advantages of Image Compression?
Actually, there is a lot to say about image compression. But the following are crucial,
- It makes your images more accessible to websites regardless of the device you are browsing
- It makes your website load faster
- The compressed image helps to rank better.
How to Create Grid in Photoshop?
To create a grid in your Photoshop, so the following,
- First, take the document you want to create grids on. Go to the View Options tab on Show and then choose Grids. You are done.
- Select the other preferences.
What does overly compressed mean in a photo?
It means the file has been extremely compressed so that it no longer serves its original purpose. In this way, the compression reduces the file so much that it degrades.
Is it safe to compress images online?
Yes, if you are using reputable services to compress your images like TinyPNG, JPEG-Optimizer, or Compressor.io. These services ensure utmost security and have privacy policies regarding deleted images.
What’s the best quality setting for web images?
The best quality for web images should be 70-90% because these images will achieve good balance and are easy to compress.
Compressing Images can Keep Your Website Ahead of the Competitors 90% more Effectively
Yep, with a faster loading speed and increased efficiency, you can easily keep your website ahead of competitors. Also, Google will rank your website and keep it there for a longer period of time.
Image compression is getting more and more popular day by day. Since it makes web surfing effortless, we expect you to know why image compression is necessary after all this discussion we have combined here.
We believe this article will clear your cloud of confusion.