

If you are looking for a stunning yet simple drag-and-drop option for creating grids in your website, then consider using the Eazy Grid plugin.
We created the Eazy Grid plugin to help you develop significant structures to place your content. This plugin will handle the design; you only have to upload photos and videos. Eazy Grid can show your content in an organized way.
Let’s discuss how to use the Eazy Grid plugin while discussing its features.
Stick to the end to know more about this plugin!
Features of Eazy Grid Plugin
Eazy Grid plugin is designed to make designing a WordPress website more exclusive yet straightforward. Elementor adds the grid widgets and features required for you to create a fantastic layout of your content.
Its features include-
- Pre-built Grid Layouts: Its multiple grid layouts make it easier for website owners to organize their content.
- Pre-built Grid Patterns: Sometimes, users get confused as they don’t know how to design their layout. The pre-built grid patterns will help them greatly.
- Responsive Design: The Eazy Grid plugin will adapt to your screen size.
- Easy Lightbox: The content will get the needed focus.
- Amazing performance.
So, as you can see, the Eazy Grid plugin has all the features any user requires to get started with their website design. Let’s see how to use the Eazy Grid plugin with different widgets to make your website stunning.
How to Use Eazy Grid Plugin: Step-by-Step Process
We will go over the step-by-step process of using the Eazy grid plugin. We will also show you to use the widgets as well.
Install and Activate the Eazy Grid Plugin
First, you need to activate the Eazy Grid Plugin on your site. But make sure you have installed the Elementor page builder plugin first.
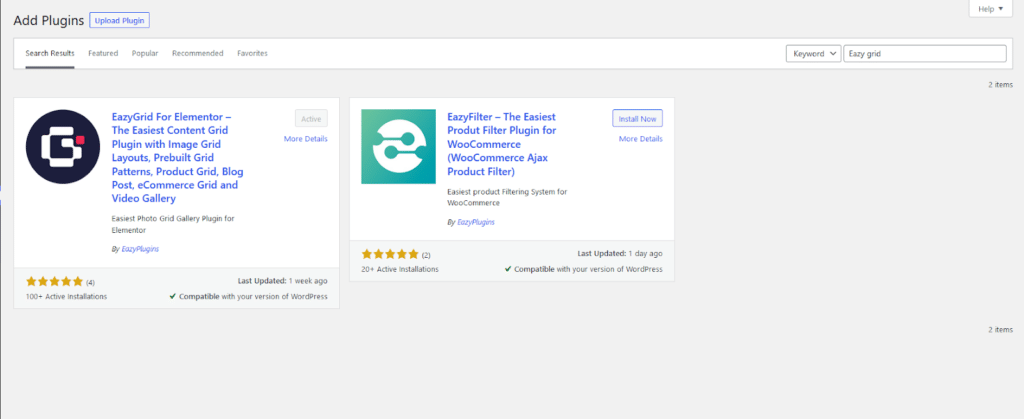
Go to WP-Admin→ Plugins→ Add New. Then, type Eazy Grid to find it. Install and activate the plugin.
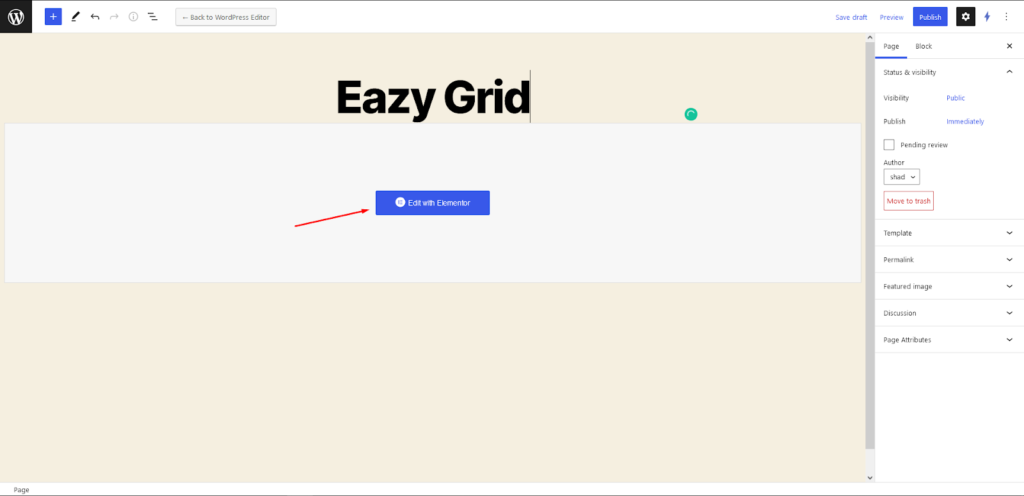
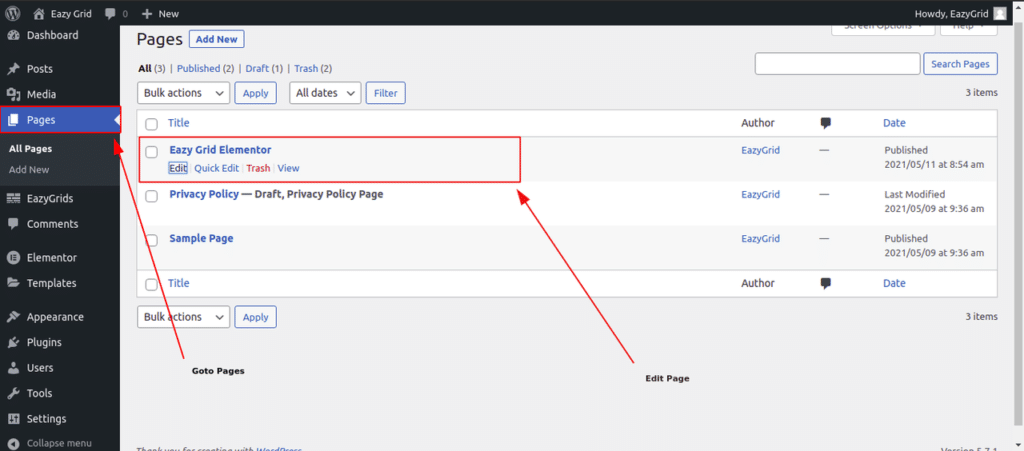
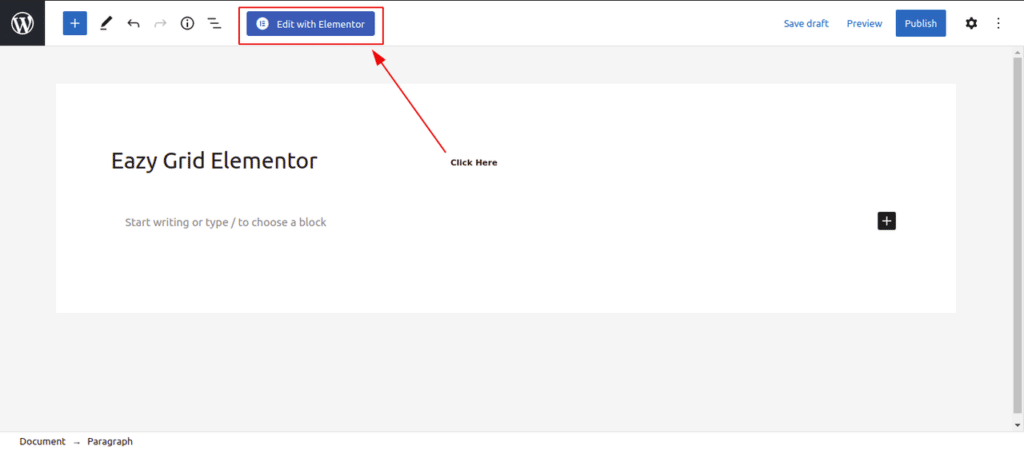
Next, create a page. Go to Wp-Admin→ Pages→ Add New. Give your page a title and click on the Edit with Elementor button.
When you go to the Elementor Editor, you will see the Eazy Grid widgets like the below image.

We will go over using the Widgets one by one.
Metro Image Grid
At first, we need to create a new page from WP Admin→ Pages→ Add New. However, if you follow the above steps, you have already made your new page.
Now click on the Edit with Elementor button. Remember to give your page a title.
When you go to the Elementor editor pane, search for Metro Image Grid. If you scroll down, you will find the widget.
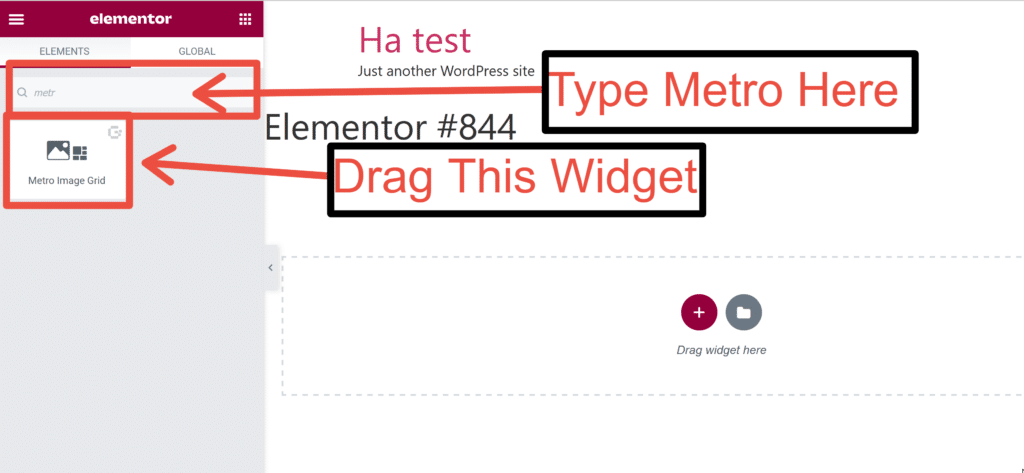
You have to drag the widget into an empty area or in a section chosen by you. It’s better to use the Elementor canvas option here. It will give you a lot more freedom.
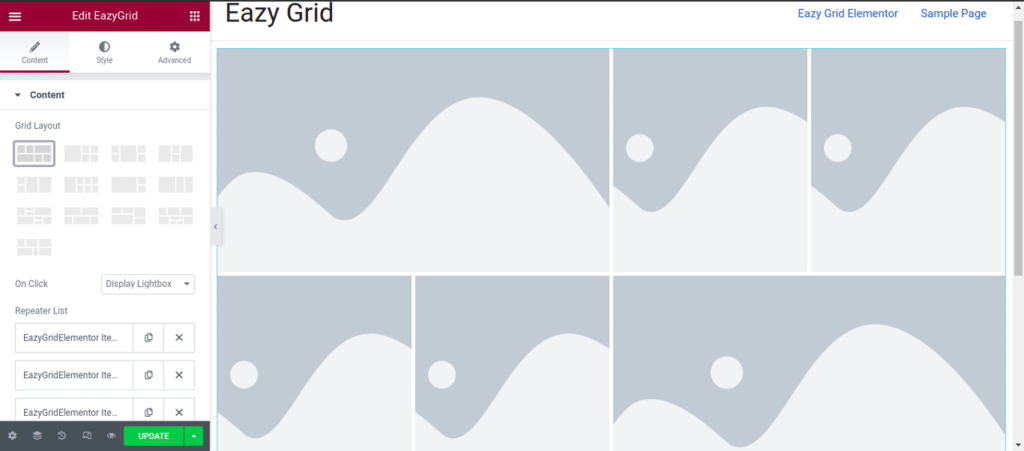
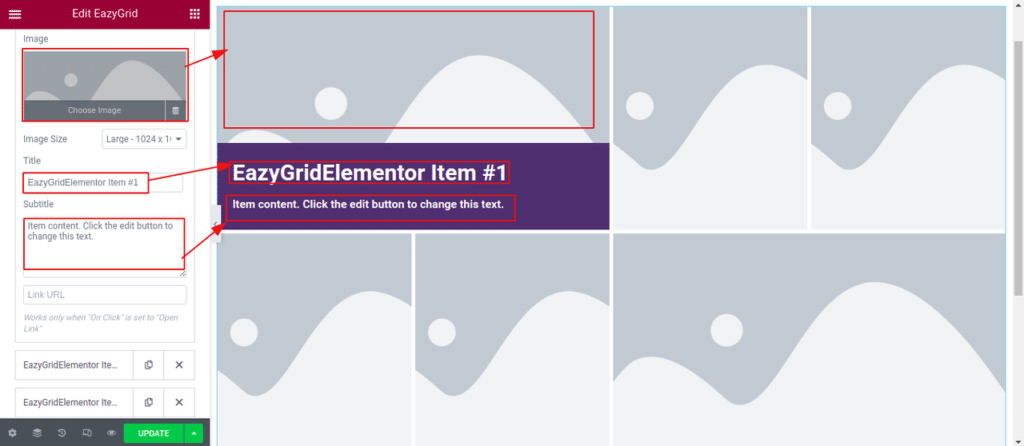
Now add your Images, give each image a title & write a solid description.
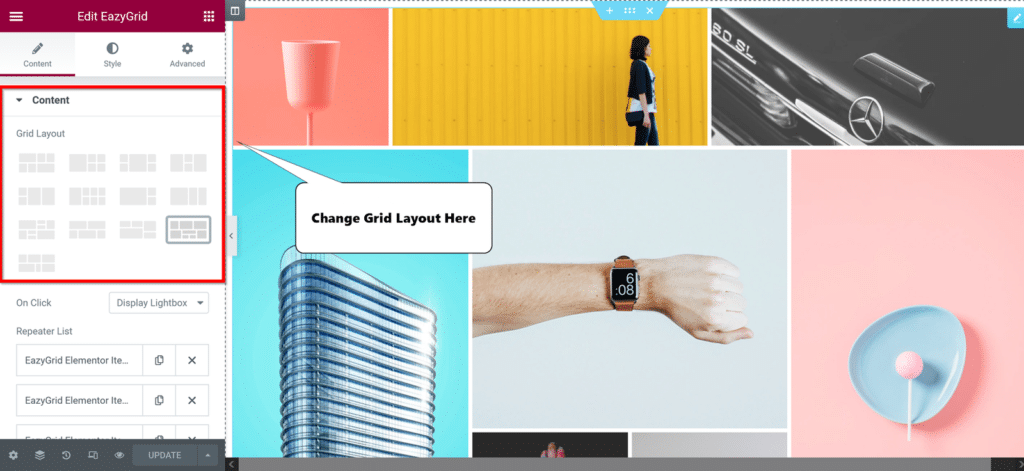
If you want, you can change the pre-built grid. It’s up to your website design.
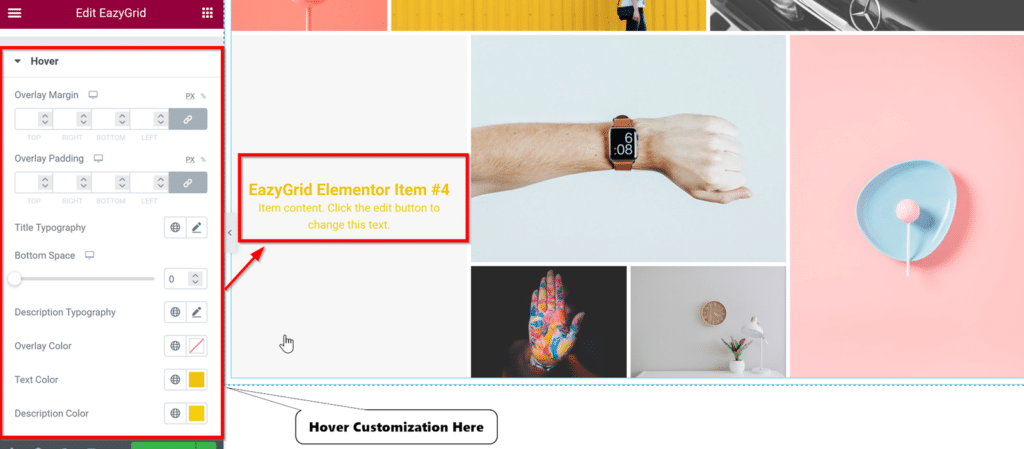
Also, you can easily change the hover style like the below image.

You can adjust Grid Height, Gutter Width & Image Border Radius from the style tab.
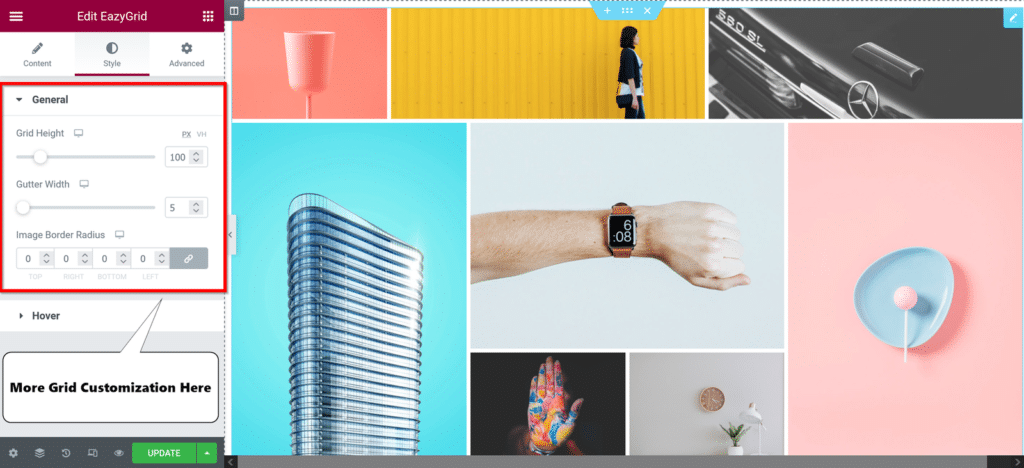
Also, you will find the hover style customization on the style tab.
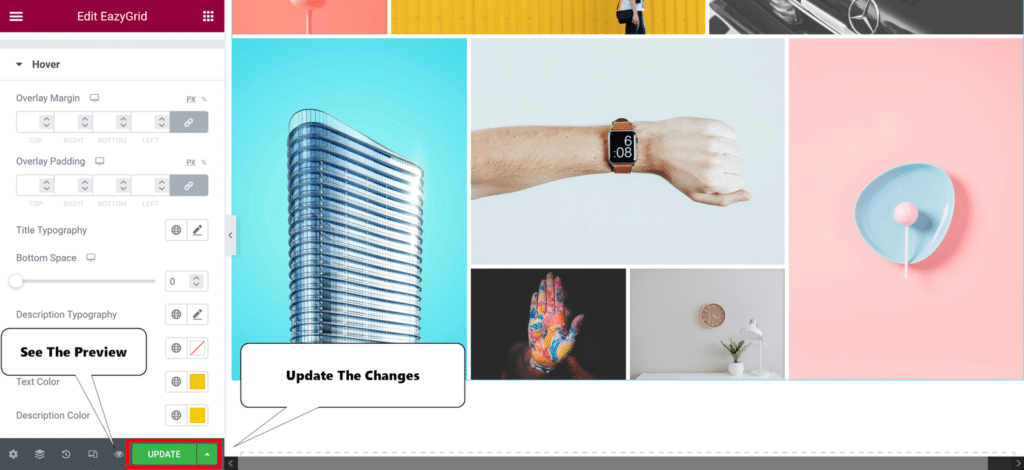
You can update or preview the changes if you are done with the customizations.
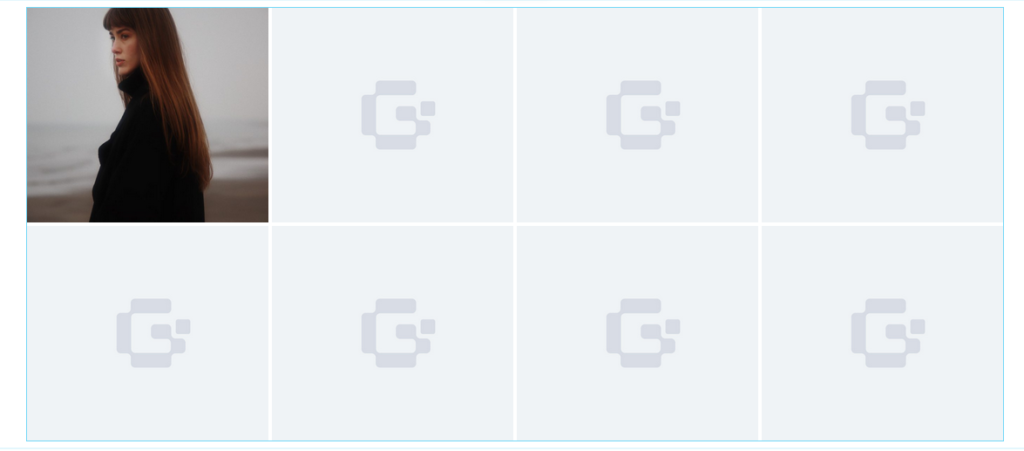
Thus your final grid layout is ready.

Masonry Image Grid
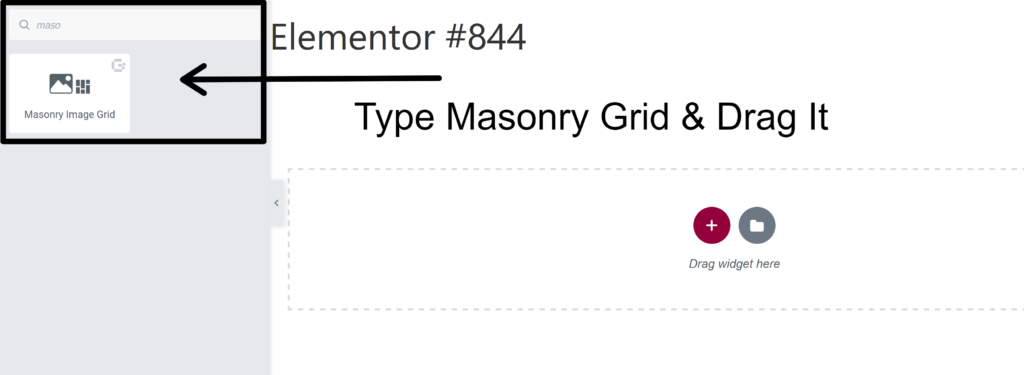
Yes, EazyGrid has a Masonry Grid widget. With this widget, you can create a justified grid with the same width for all your images.
Now, what you need to do is from a new page search for the Masonry Image Grid widget.
You can now start to create a Masonry Grid layout.
You can now start to create a Masonry Grid layout.

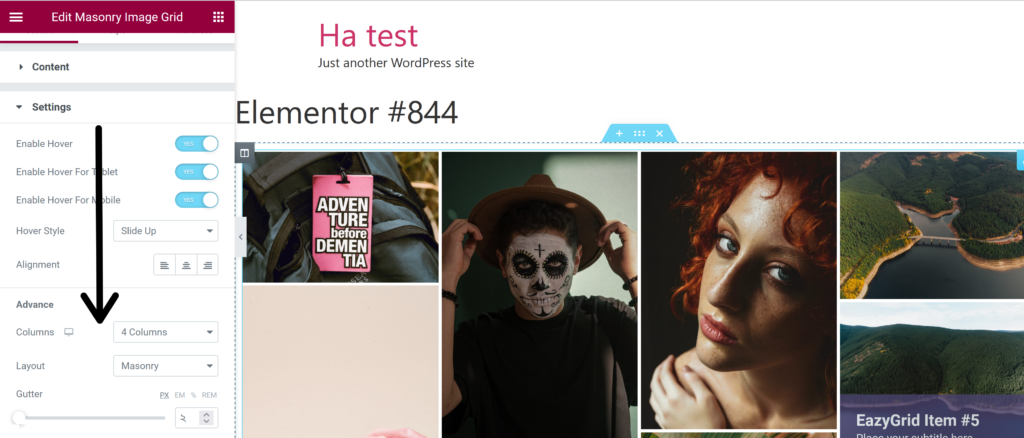
You need to set your custom grid that will suit your website design.
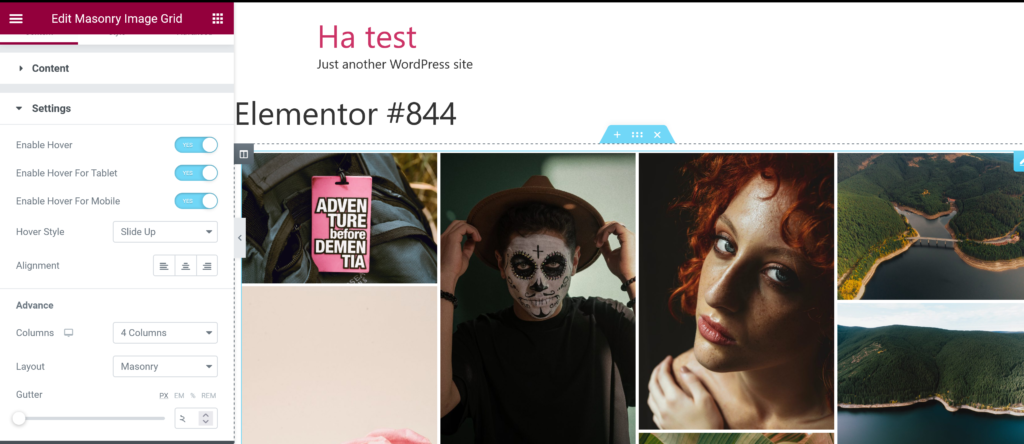
Also, if you navigate to Content > Settings, you can adjust the column and Layout option.
After you hit publish, you are ready with your new Masonry Layout.

Justified Image Grid
Wouldn’t it be great if all the images has the same height? It will create a nice view for the users.
Luckily, EazyGrid has a Justified Grid widget. With this widget, you can create a Justified grid with the same height for all your images.
Search for the Justified Image Grid widget in the Elementor editor. Or you can type name as well.
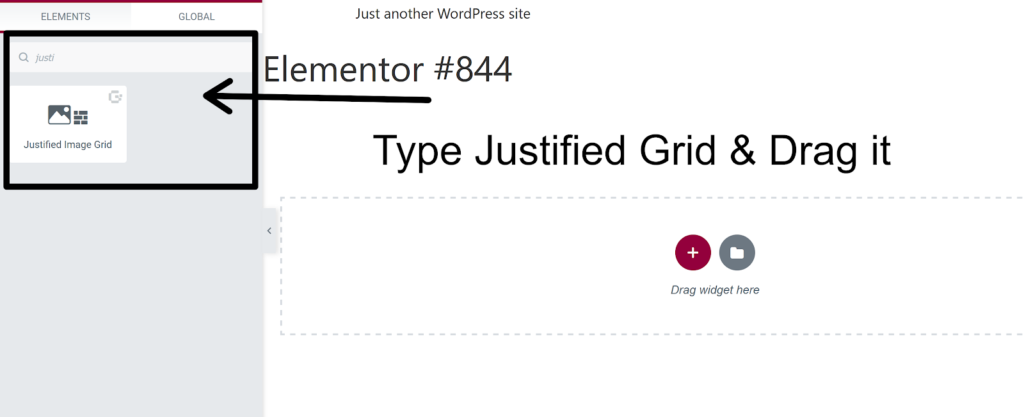
You can now create a new justified grid layout.
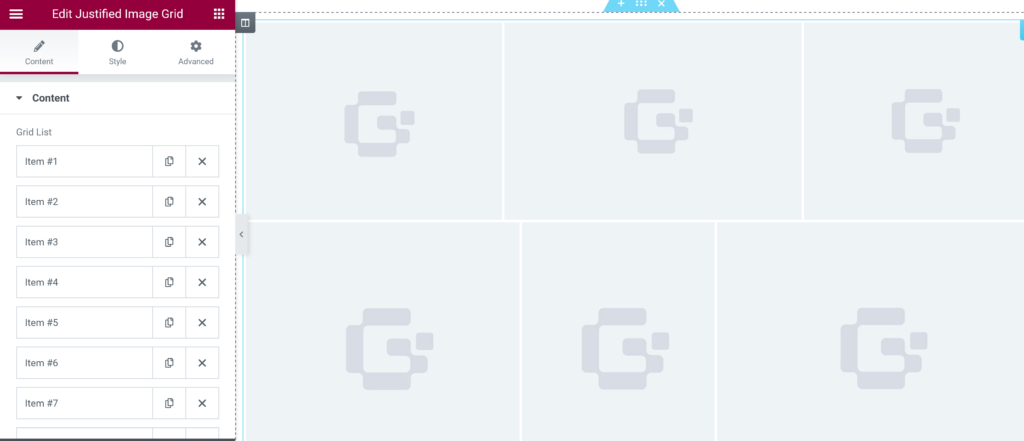
Place your images and videos accordingly to have your custom Justified Grid.

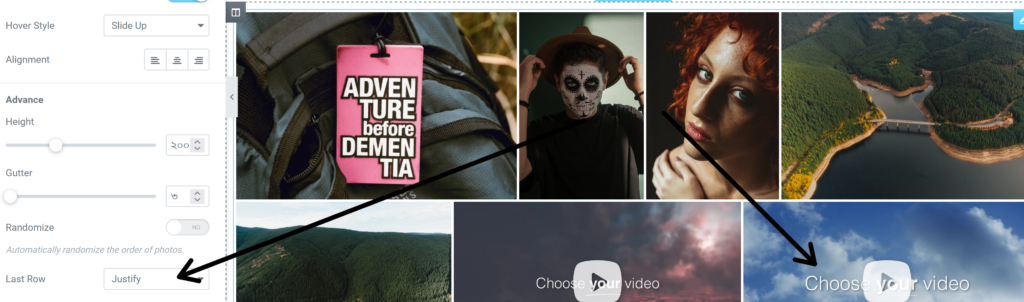
From the Content> Settings, you will have three options. You can select the last row action to Justify, Hide, or No Justify.
After you hit publish, you are ready with your Justified Grid.

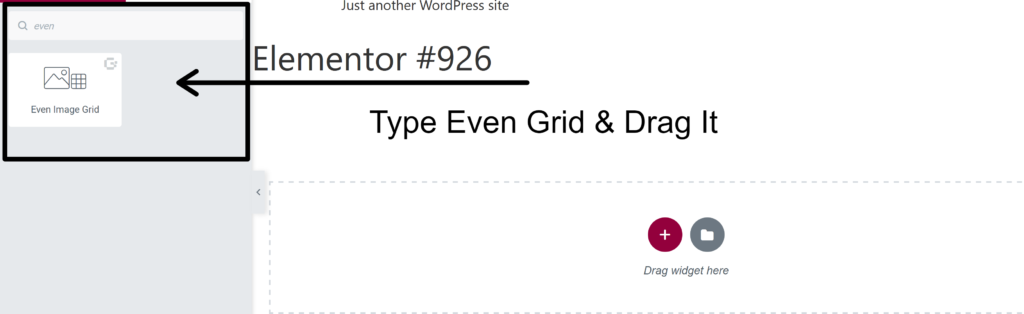
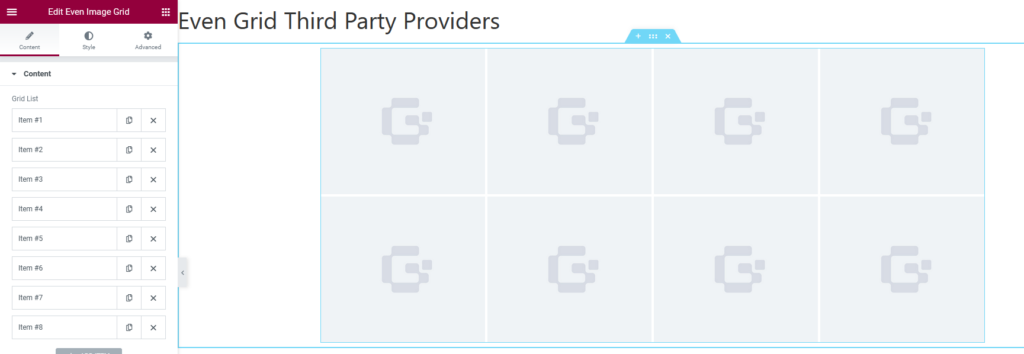
Even Image Grid
EazyGrid comes with Even Grid. With this feature, you can create an Even grid that has the same height & width for all your images.
From a new page search for Even Image Grid
Now you are ready to create a new Even Grid layout.
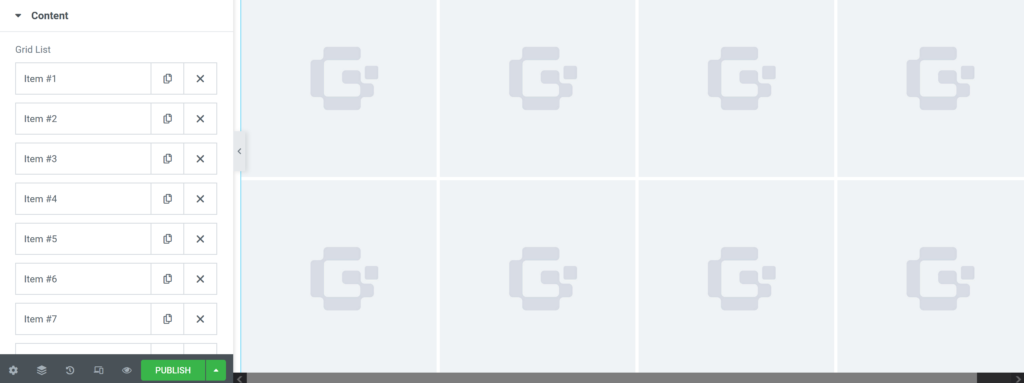
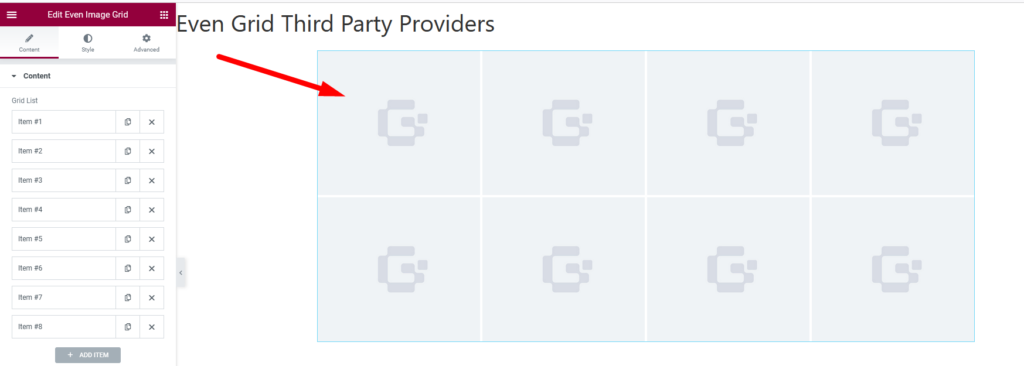
You need to place your images and videos accordingly to have your custom Even grid.
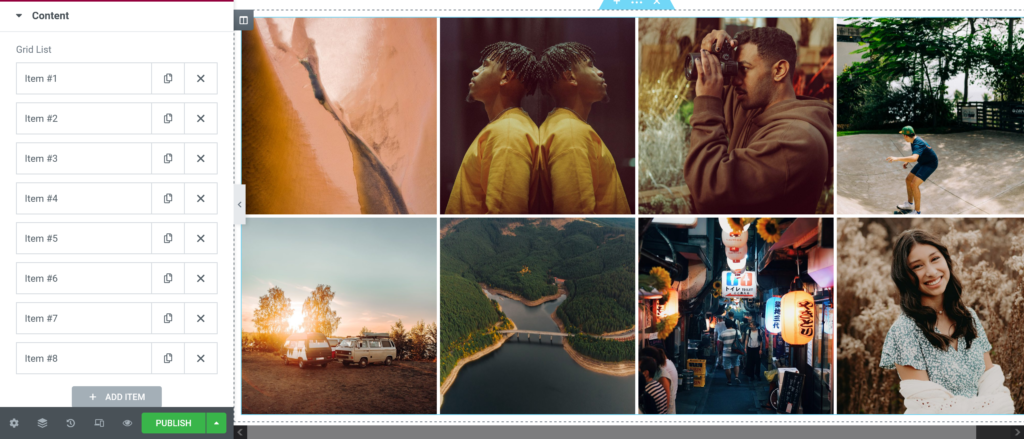
After you hit publish, you are ready with your Even Grid.

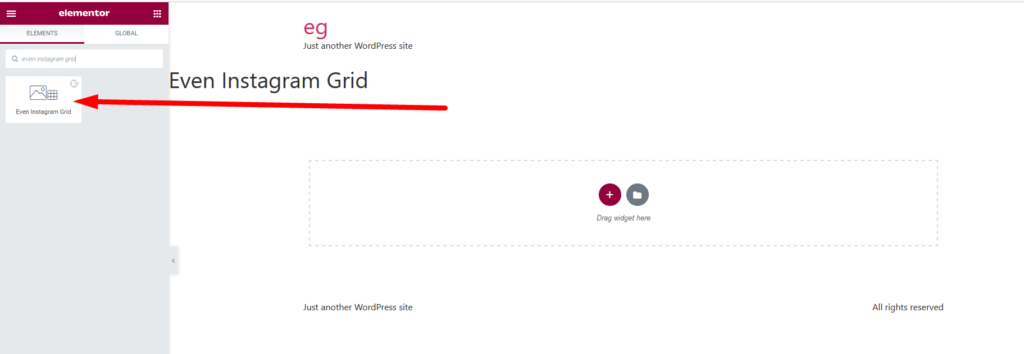
Even Instagram Grid
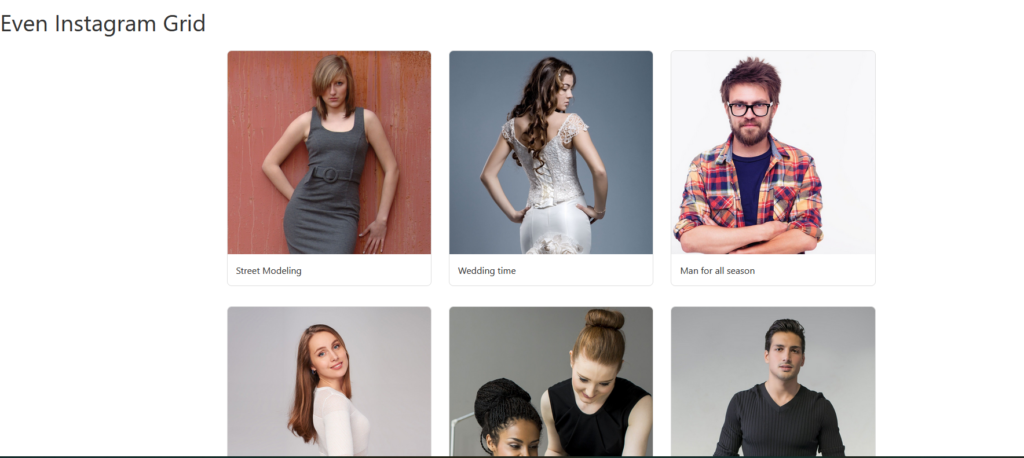
EazyGrid has an Even Instagram Grid widget. With this widget, you can create an Even grid with images from Instagram. You can fetch images from your Instagram account and display them on your website.
From a new page search for Even Instagram Grid
Don’t forget to collect your Instagram Access Token. Click on the “Get Access Token” button to know how to get it.
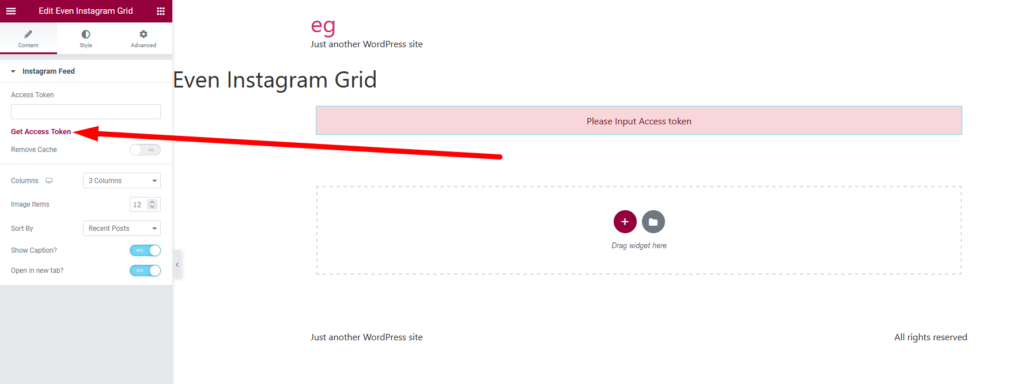
Once you get the token and input if you now have your Even Instagram Grid.
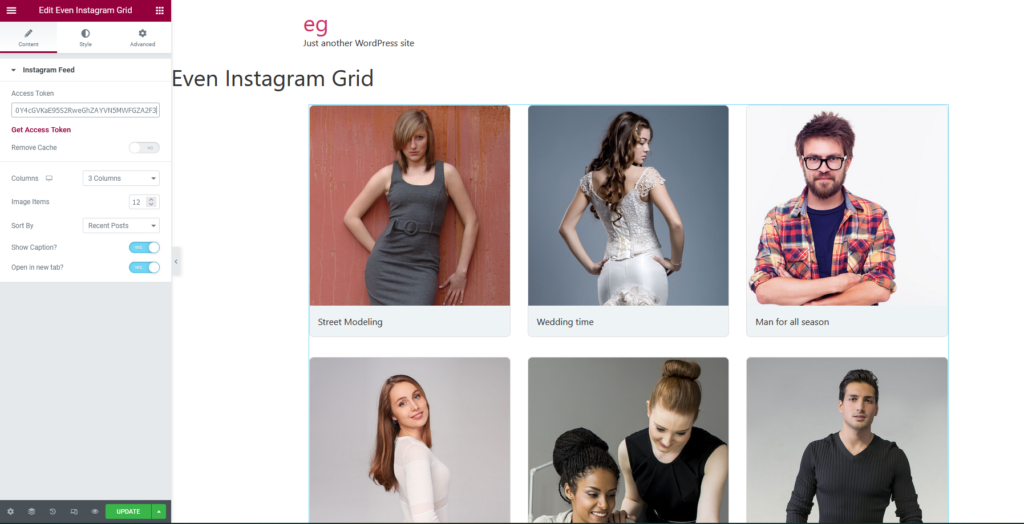
You can easily configure what you want in the cached result, adjust the number of column image items, sort by recent or old post, or show or hide caption from the Instagram Feed repeater. You can also create a new tab upon clicking the image.
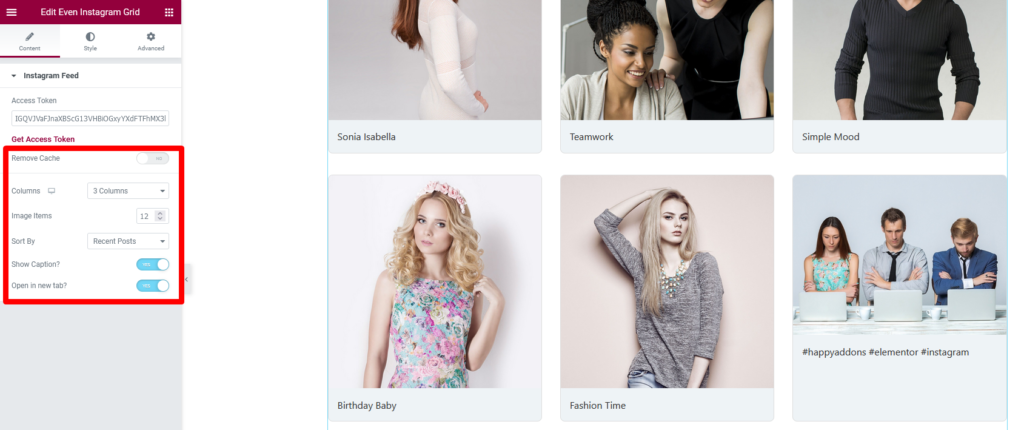
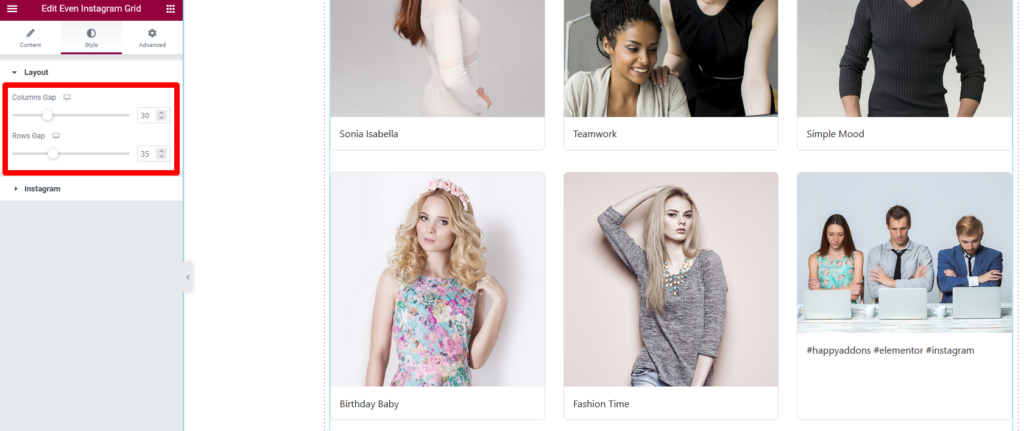
From the style section, you can also adjust column and row gaps. See, it is pretty straightforward.
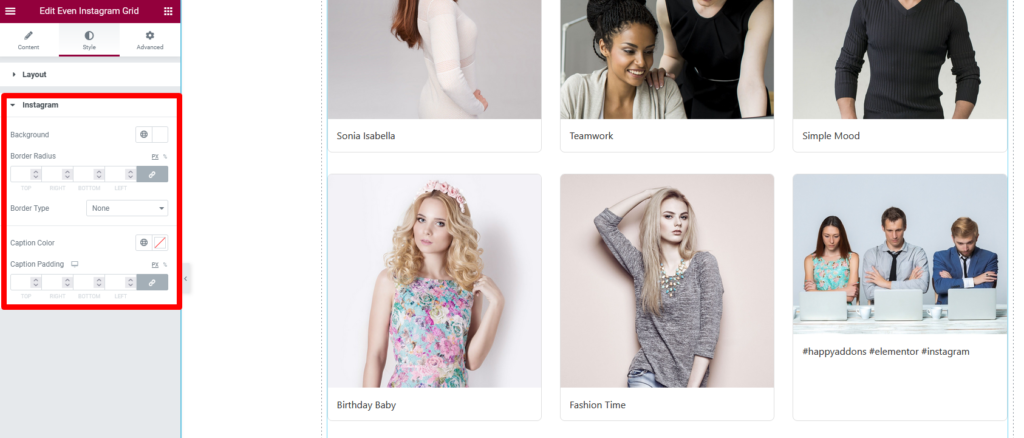
You can change the background, border radius, border type, caption color, & caption padding.
Once you are done with your customization, hit the update button.

That’s it. Now you have your Even Instagram Grid ready to go.
Metro Post Grid
Eazy Grid plugin has a Metro Grid post as well. It will help you create a metro layout of our images.
Search for Metro Post Grid in the Elementor widget menu.
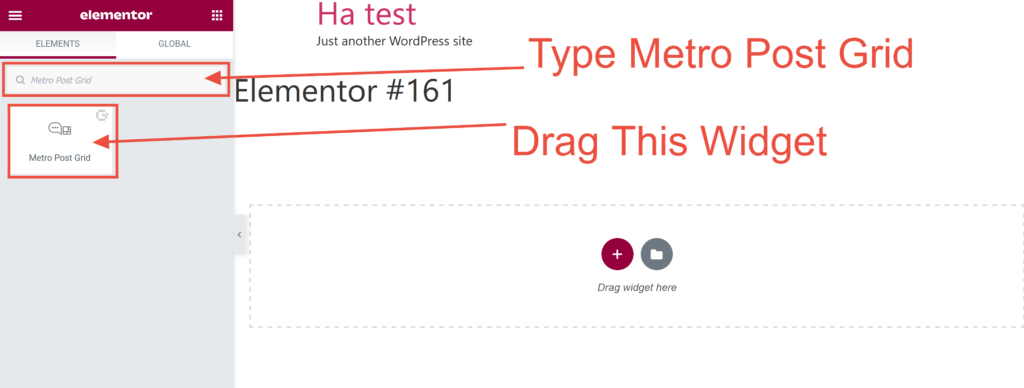
Now, drag and drop the widget into an empty section.
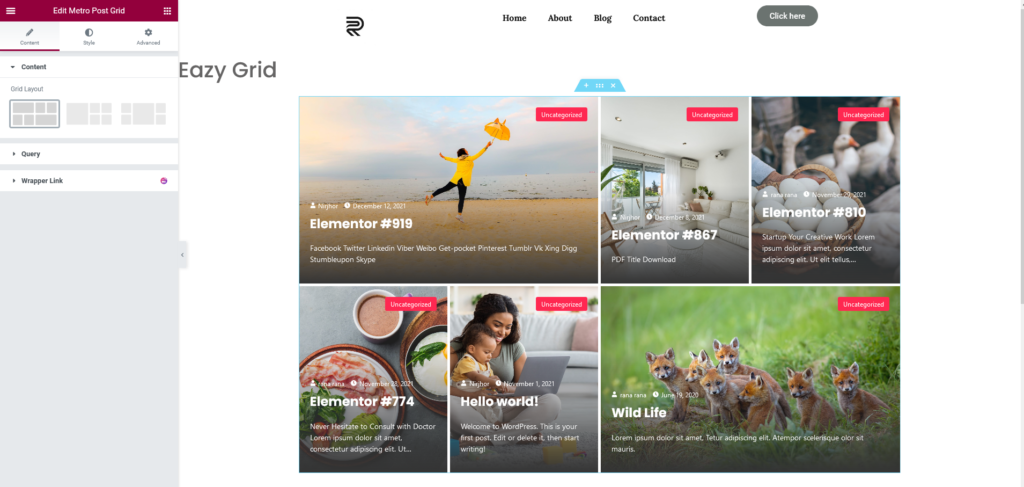
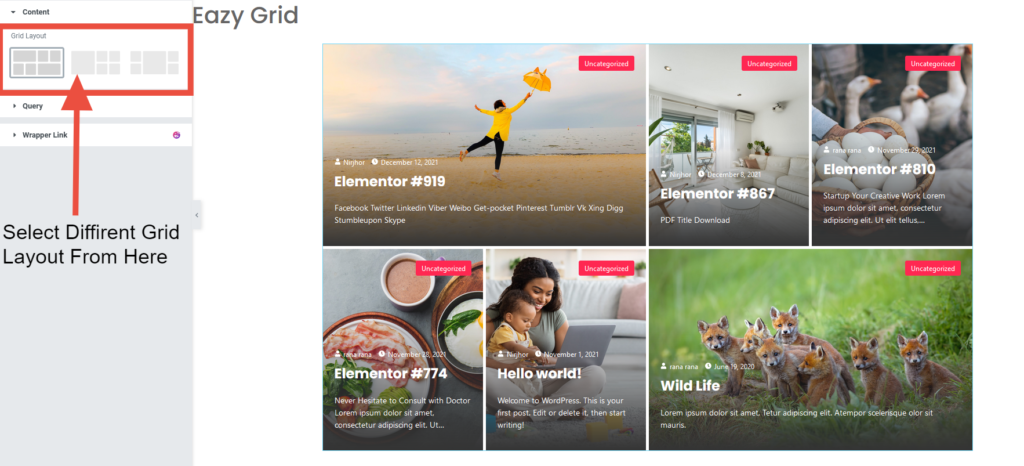
Now you can select your grid layout:
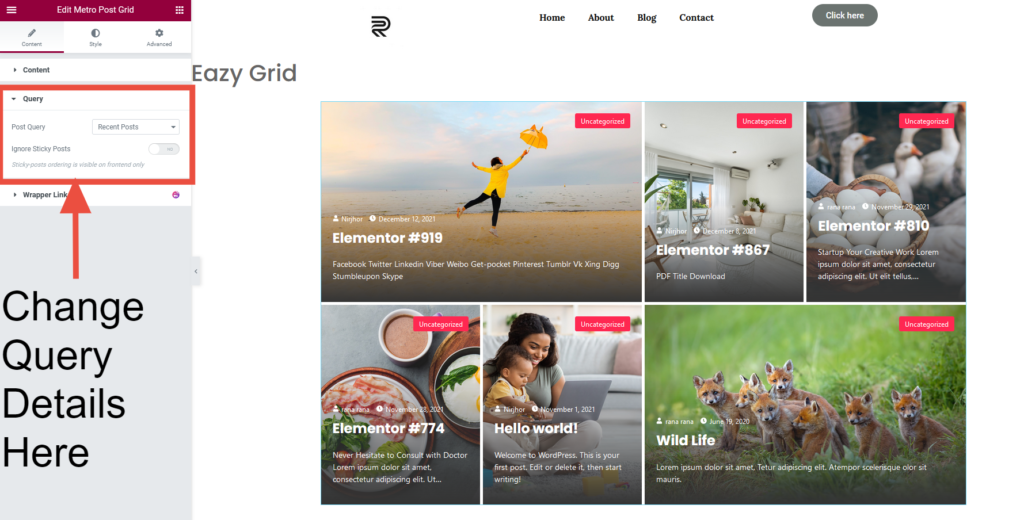
You can select posts via category or show recent posts in the Query section. You can also control the usage of sticky posts:
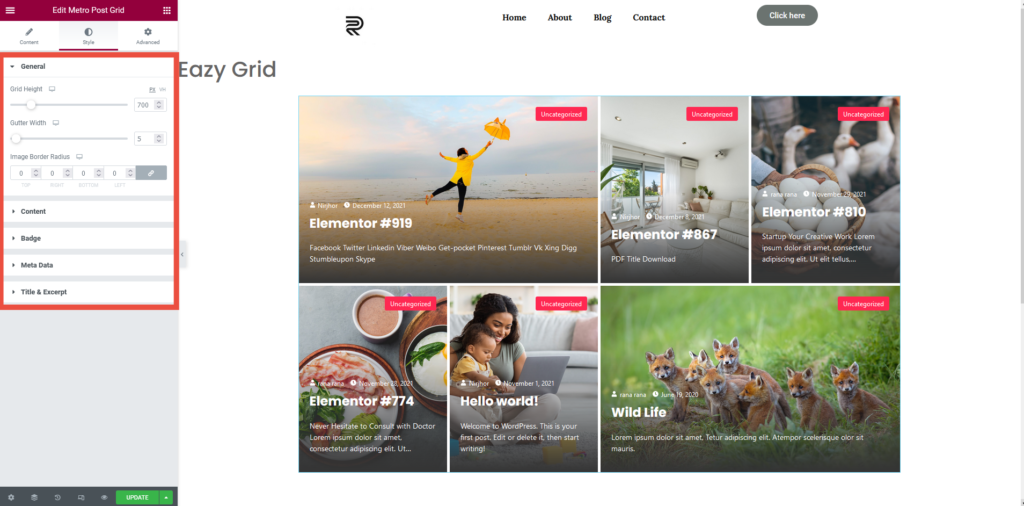
From the style tab, you can adjust Grid Height, Gutter Width & Image Border Radius for Content, Badge, Meta Data, and Title & Excerpt:
Once you are done building your grid, update and preview the changes.
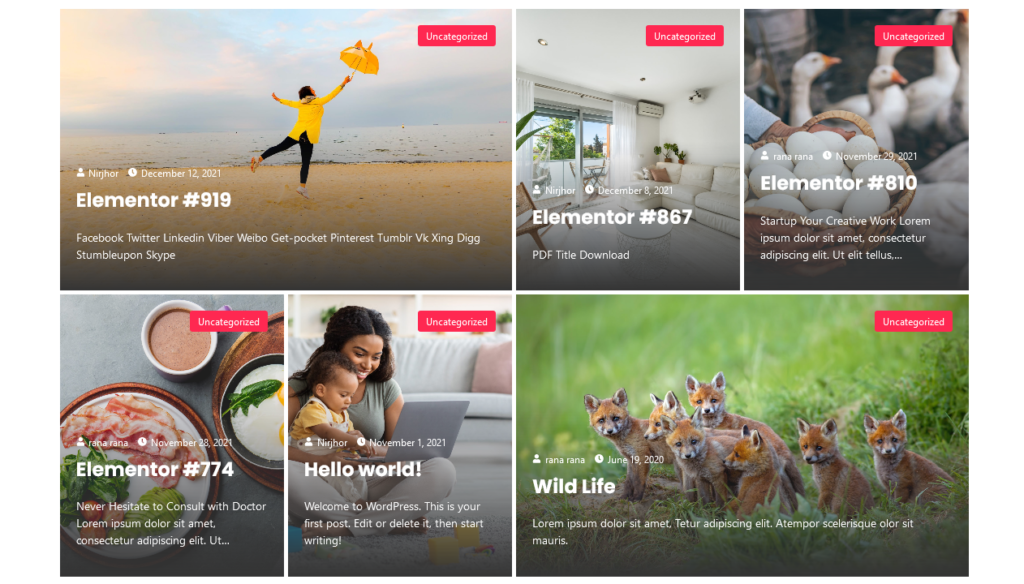
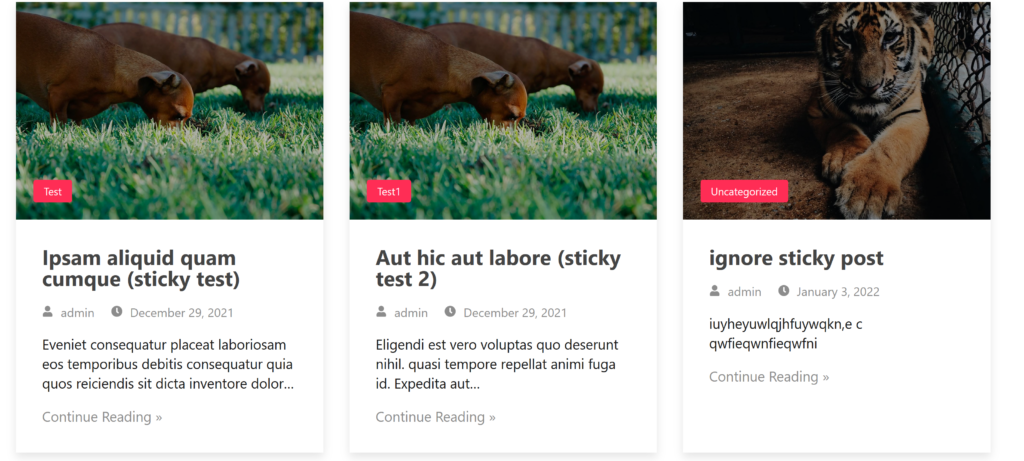
Even Post Grid
In the Elementor widget area, search for the Even Post Grid, You can use that to create a layout for your posts.
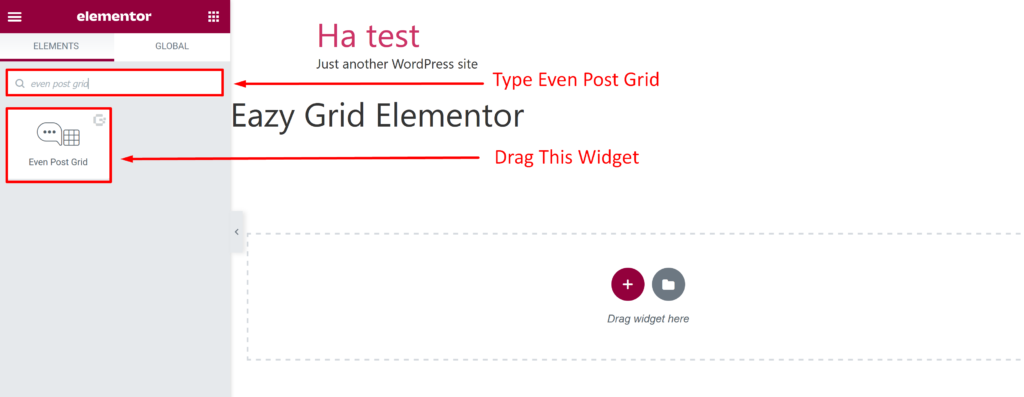
Drag and drop the widget into an empty section.
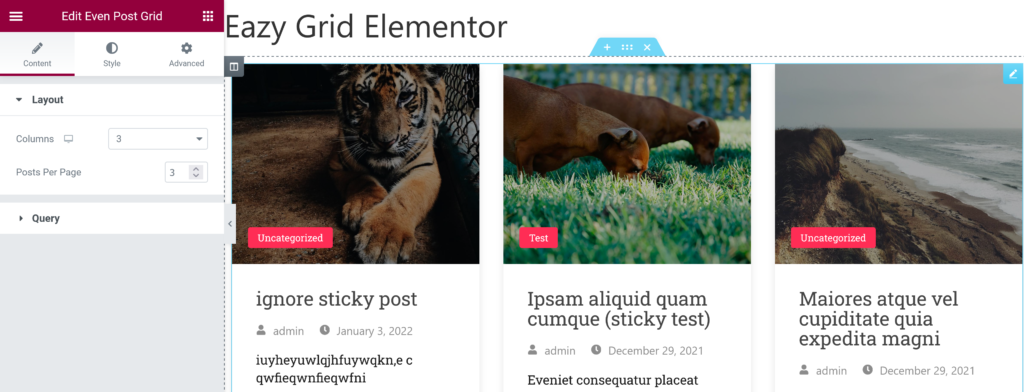
Now you can adjust your grid layout by modifying columns and post per page here.

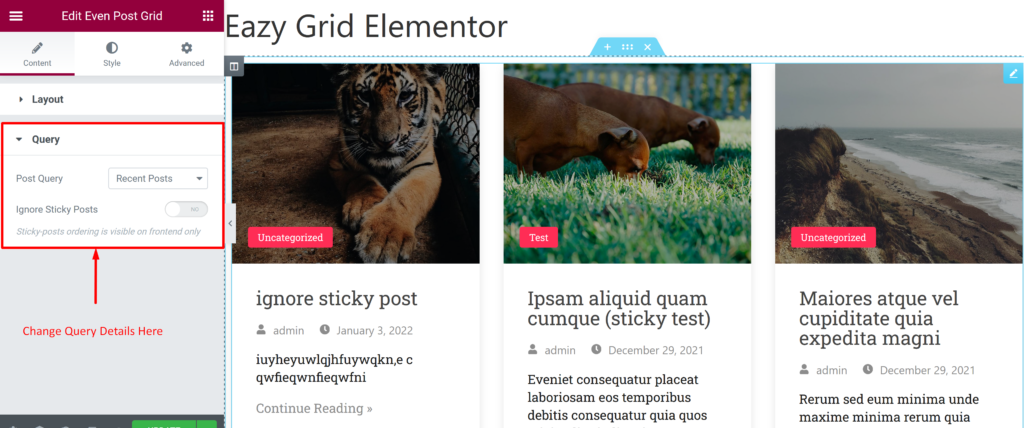
You can select posts via category or just show recent posts in the Query section. You can also control the usage of sticky posts:
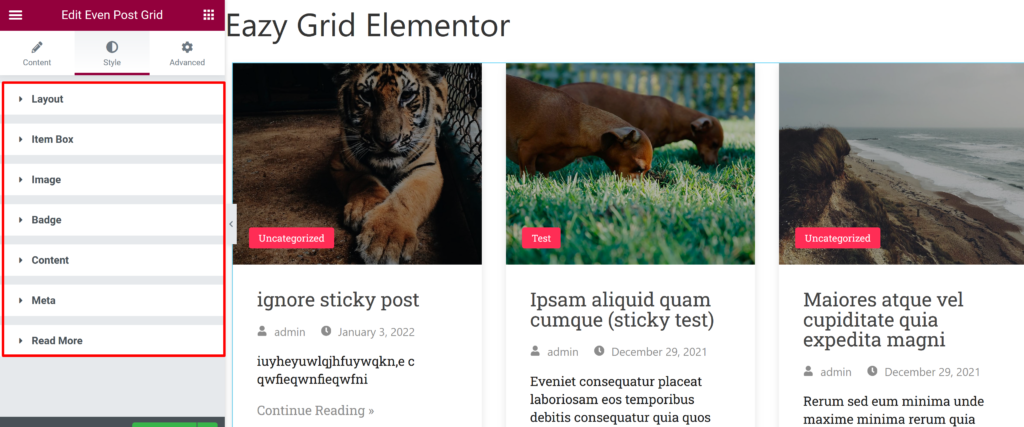
From the style tab, you can adjust Columns Gap, Rows Gap for Layout; along with various control for Item Box, Image, Badge, Meta Data, and Read More Tag:
Once you are done building your grid, update and preview the changes:
Add Images From Third Party Providers
Eazy Grid does not just upload your pictures but also supports adding images from third-party providers. Like Unsplash, Pixabay, Pexels . Let’s see how to use them.
First, you must take a new page and choose and drag any image grid.
Now, click on any image from the grid.
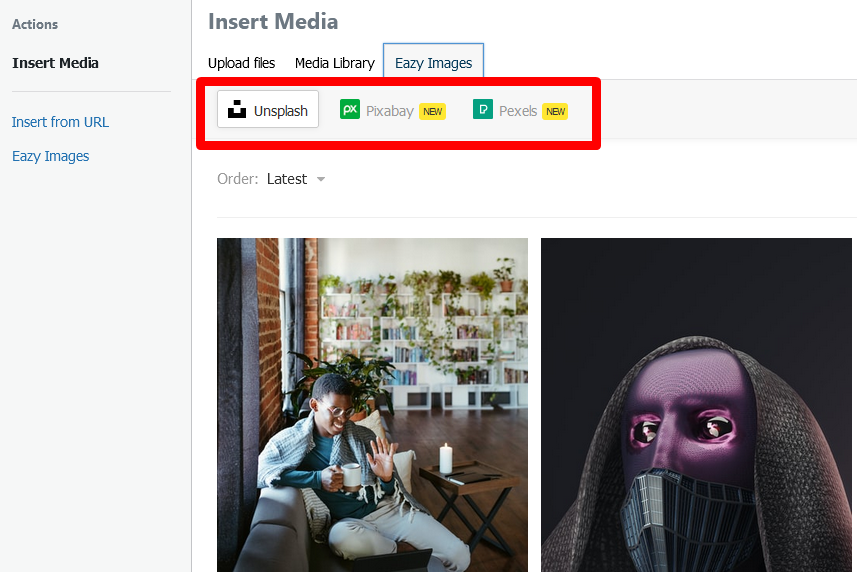
From the three options, you have to select the Eazy Images.

You can select Unsplash, Pixabay, or Pexels as your image source.
If you want to use an image, you have to click on the image. Then you’ll see the picture in your media library.
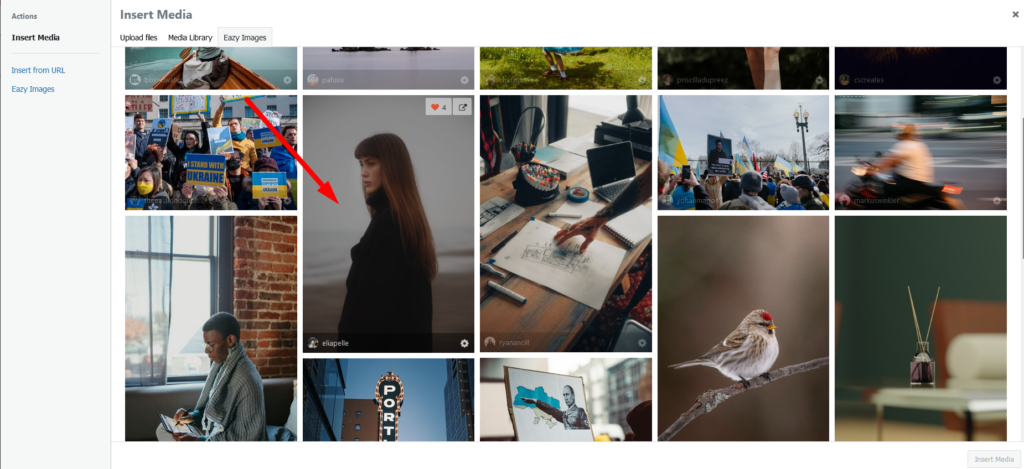
Now you will see the image in your media library.
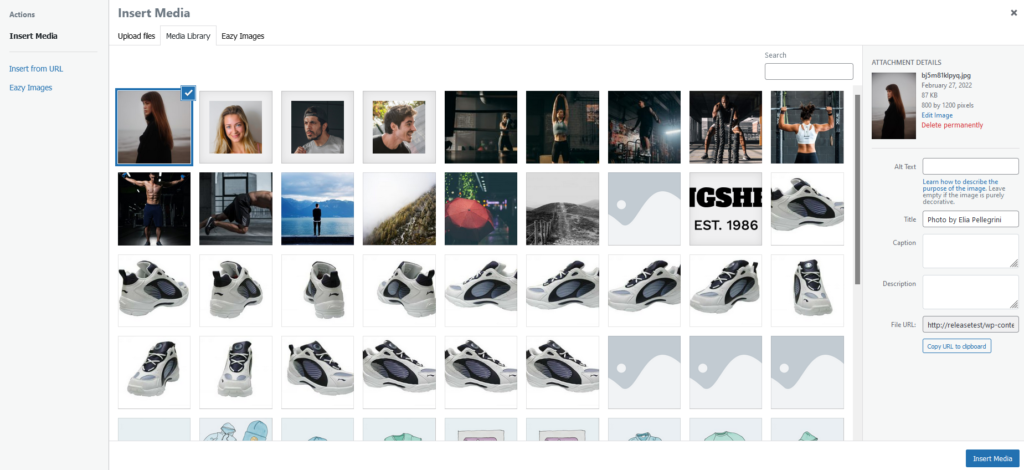
When you press the insert image, you will get the image in your grid layout.
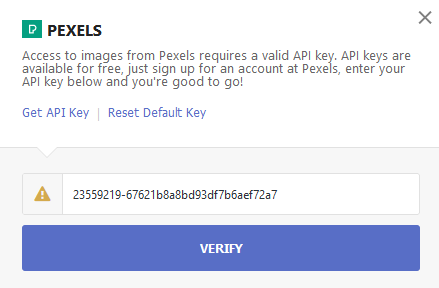
To use Pexels, you need to get an API key. You will get this message when you try to use Pexels for the first time. Click on “Reset Default Key” and start using Pexels.
This is how you can use the widgets and features of the Eazy Grid plugin.
Start Creating Amazing Layouts Using Eazy Grid Plugin
So, here it is; we are at the end of our article. Hopefully, now you know how to use the Eazy Grid plugin.
Creating layouts can become disastrous if you don’t have the right tool or plugin. And there have been shortages of a goof grid plugin for quite some time now until the Eazy Grid plugin. This plugin will solve all your website issues regarding grids and layouts.
Unleash your creativity!