
Do you know, 43% of retail customers will directly go to a search bar to find their products. This informs us that navigation can be a valuable aspect of your eCommerce website and having a product filter is also incredibly beneficial to increase the overall efficiency of your store.
WooCommerce product filters are tools used in online stores to help customers easily find what they’re looking for. They allow shoppers to sort and search for products based on different features like size, color, price, and more.
This makes shopping quicker and more convenient, as customers can avoid browsing through items that don’t meet their needs. We have found a great plugin to help filter products on your WooCommerce online shop.
Let’s see how to add product filter in WooCommerce using this plugin.
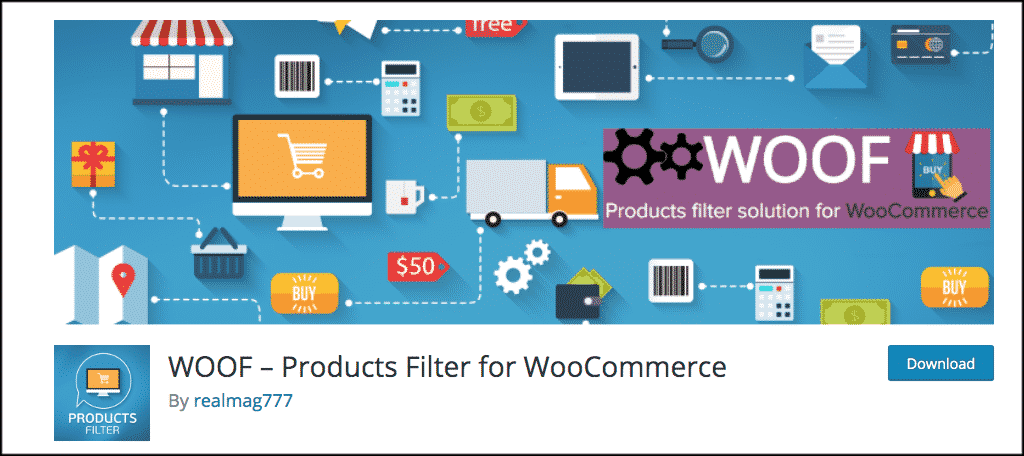
WOOF – An Amazing Products Filter Plugin for WooCommerce
The WOOF filter by category plugin will allow you to easily filter products. It uses several different methods. You can filter products by,
- Categories
- Attributes
- Product Tags
- Custom Taxonomies of Products
- Product Price
The plugin has all the features and is kept up to date. It supports the latest version of WooCommerce. The plugin is also lightweight and compatible with most of the plugins.
Moreover, you can use the plugin in two ways: as a widget, or use WOOF shortcodes. It is provided to place the filter by category option wherever you want on your online WooCommerce store.
Now, et’s have a look at how you can install and use the WOOF filter by category and other methods plugin.
How to Start a Toy Store: A Proper Guideline with WooCommerce?
At First, Install and Activate WOOF
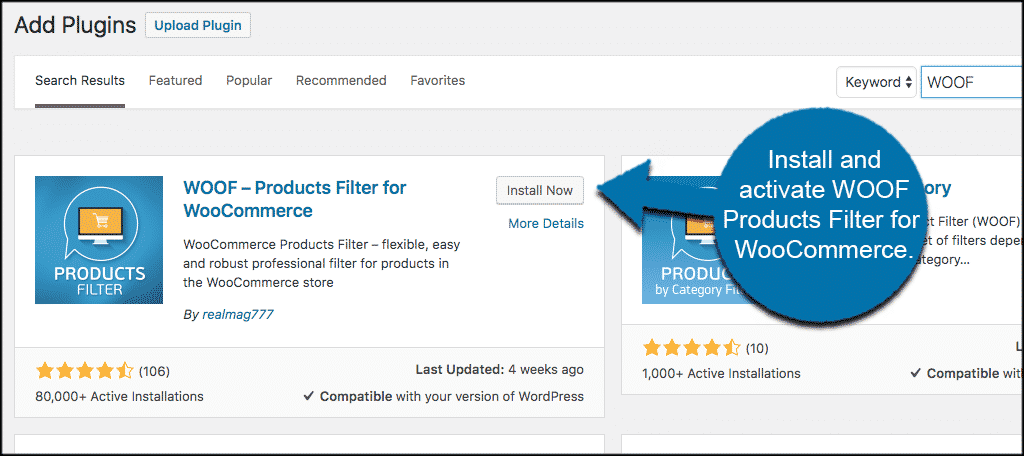
For you to use the WOOF shortcodes and other options to filter products, you have to install and activate the plugin. You can do this from the plugins page in your WordPress admin dashboard. Just go to WP-Admin→ Plugins→ Add New.
When you successfully activate the plugin, click on WooCommerce > Settings.
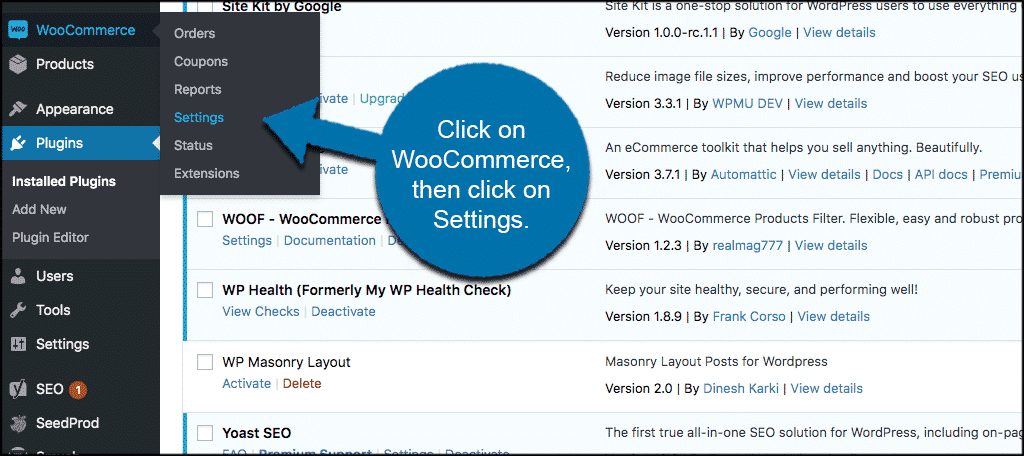
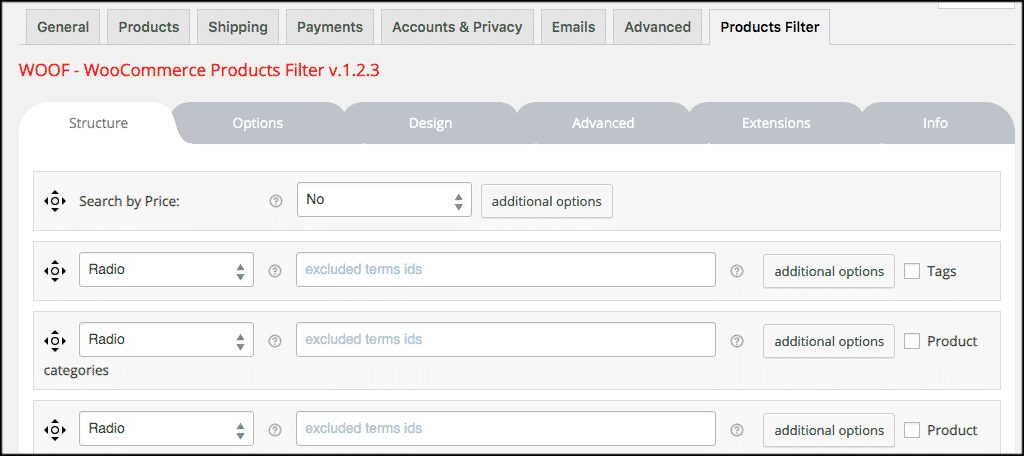
You can see that a new tab has been added to the setting’s section for WooCommerce. As you can see from the image the tab is called “Products Filter.” Just click on the tab to access the WOOF plugin settings.
Setup
On to setup. You will see 6 tabs When you get to the setting’s page. They include:
- Structure
- Options
- Design
- Advanced
- Extensions
- Info
Go through all of these tabs and configure the plugin how you feel best for your online store.
Structure
You need to fill out the structure of the plugin here including button setup and dropdown configurations.
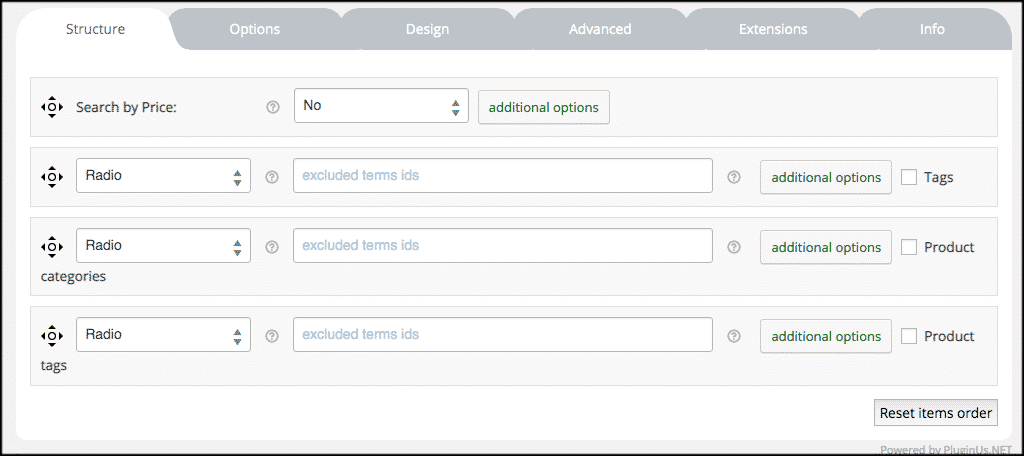
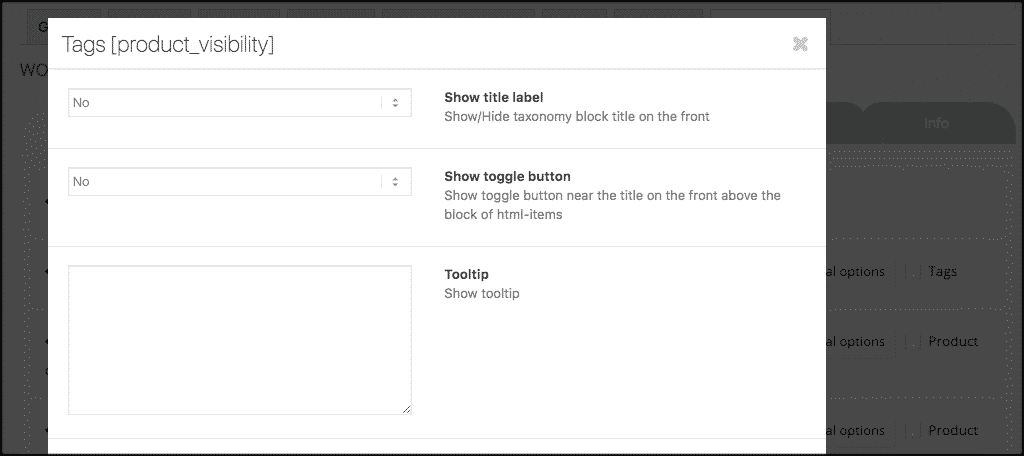
Note: When you click on any of the “Additional Options” buttons, you will see a popup box appear with even more configuration options to choose from.
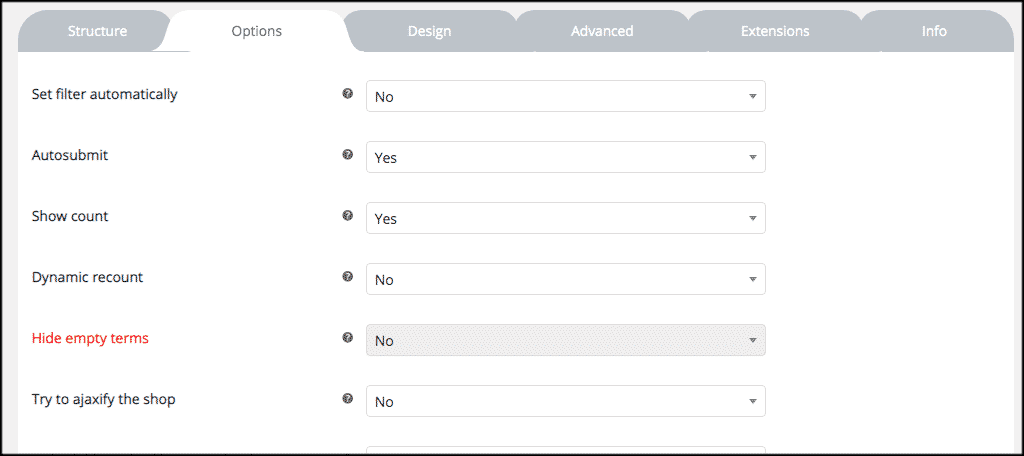
Options
As you want them to be in front of your website, set the plugin options here. This includes things like showing available product count in stock, hiding empty items, and auto submits features.
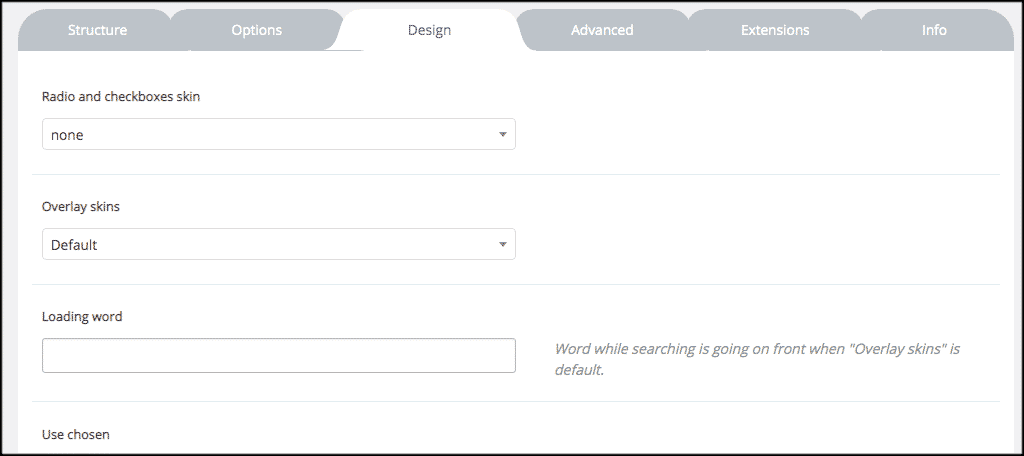
Design
Now you need to set the look and feel of the WOOF plugin. You will find that there are various skins and other design options. You need to choose those that best fit the design of your website.
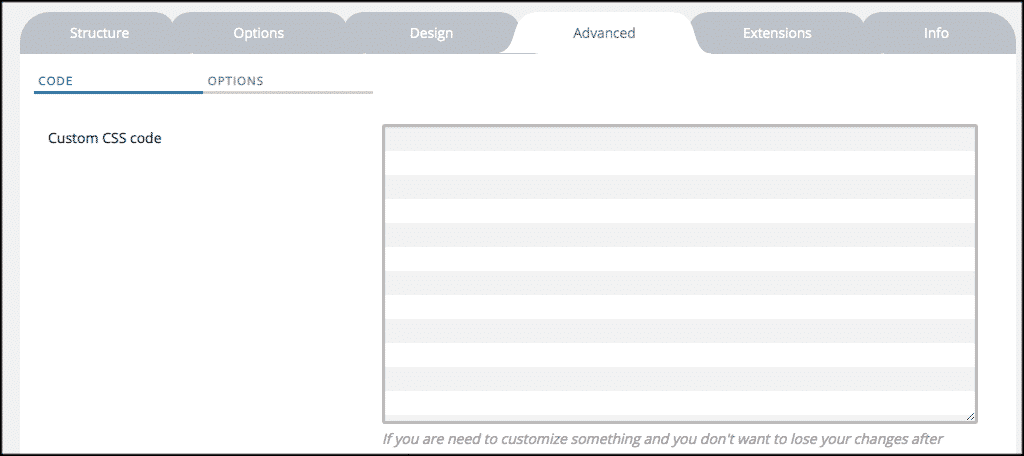
Advanced
Here you need to add custom code and other advanced options on this tab. But this is only for the people who understand how to add custom CSS.
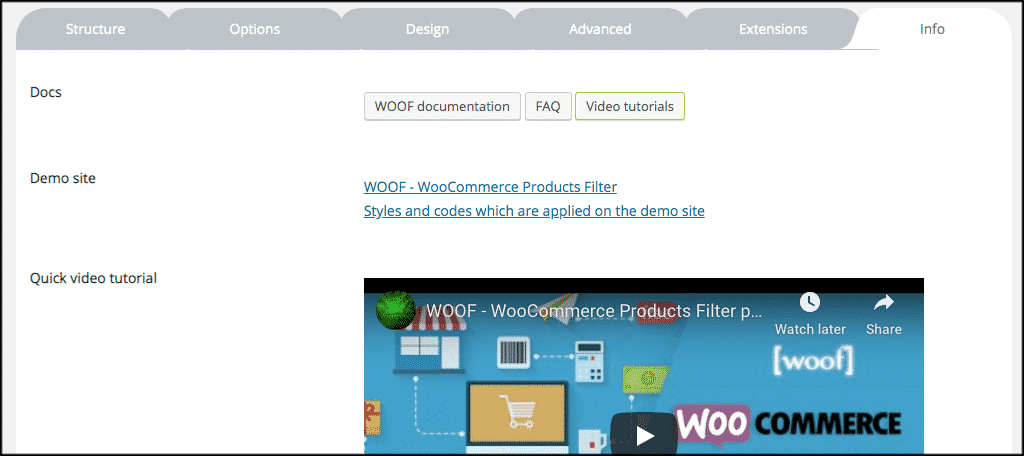
Info
You will find some additional info about the plugin from here. You will find a video and some demo sites to help you get a feel of what you can do on your own.
You can use the WOOF product filter for WooCommerce in two ways. Either you can use the widgets in any widget area of your website you would like, or you can use the WOOF shortcodes to put the filter in posts and pages. It’s all up to you. You can use it one way, or use it in both ways.
So, you are now allowing your website customers to quickly and easily use a plugin filter for WordPress to filter out the exact products they are looking for in your online store. There is also another way to use product filters in WooCommerce without a plugin.
How to Edit WooCommerce Shop Page with Elementor? Easy Solution
FAQ(s)
1. How do I add a product price filter in WooCommerce?
To add a product price filter in WooCommerce, navigate to your dashboard, select ‘Appearance’, then ‘Widgets’. Add the ‘WooCommerce Price Filter’ to your desired sidebar. It’s a great way to enhance user experience, allowing customers to filter products within their budget range.
2. How do you filter a product by attribute?
To filter a product by attribute in WooCommerce, first ensure your attributes are set under ‘Products’ > ‘Attributes’. Then, use the ‘Filter Products by Attribute’ widget under ‘Appearance’ > ‘Widgets’. This method effectively narrows down choices, making shopping easier and more tailored to specific needs.
How do you create a category filter?
Creating a category filter in WooCommerce involves adding the ‘Product Categories’ widget. Go to ‘Appearance’ > ‘Widgets’ and select ‘Product Categories’. This filter organizes your products neatly, improving navigation and enhancing the shopping experience by categorizing items.
How do I add a price range filter in WordPress?
To add a price range filter in WordPress, use a plugin like ‘WooCommerce Price Filter’ or ‘Price Range Filtering’. Install and activate it, then configure the settings. It’s a fantastic way to offer customers control over their spending, streamlining their shopping process.
What is a WooCommerce product listing?
WooCommerce product listing refers to the display of your products on your website. It’s how your items are showcased, including details like name, price, and description. A well-organized listing is crucial for attracting customers and boosting sales, as it provides a clear and appealing presentation of your products.
Start Using Product Filters for Your WooCommerce Store
Now that you’re equipped with the knowledge of adding product filters in WooCommerce, you’re on your way to significantly enhancing your online store’s customer experience.
These filters do more than just streamline the shopping process; they empower customers to find precisely what they need with ease, reducing frustration and time spent on fruitless searches.
By implementing these filters, your customers are more likely to enjoy browsing, leading to increased engagement and potentially higher sales. An intuitive and user-friendly filtering system encourages customers to explore more of your products, spend more time on your site, and return for future purchases, knowing they can effortlessly find what they’re looking for.
Wishing you all the best!