

Are you looking to add a professional touch to your WordPress website by editing the footer using Elementor? The footer is a critical component of your site, often housing important information like contact details, social media links, and quick navigation menus. Editing this area can significantly enhance your website’s functionality and aesthetic appeal.
Making footers involves accessing the theme builder, choosing the right templates, and employing Elementor’s vast array of widgets and styling options to craft the perfect footer for your site. There is more to it!
Today, we will create a tutorial on how to edit footer in Elementor without the help of any third-party plugins or addons.
Let’s get started!
How to Edit Footer in Elementor: Step-by-Step Guide
Like most other things, customizing in Elementor is very easy. You can add HTML/CSS and customize any widget per your specifications.
But don’t worry; you don’t need to do any coding to customize the footer of your Elementor website. Just follow our steps and edit on your own,
Step 1: Navigate to WP Admin
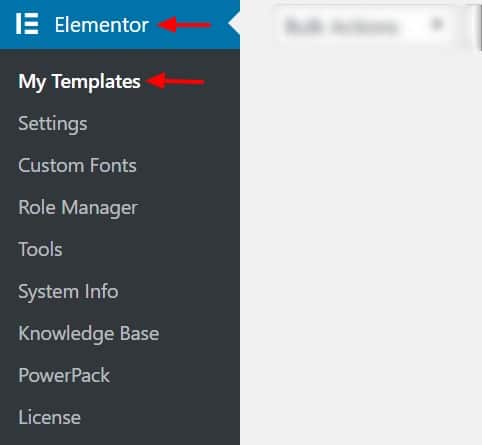
At first, you need to log in to your WordPress website and navigate to WP Admin > Elementor > My Templates.
Step 2: Choose the Type of Template
Next, click the Add New button and choose the template type as Footer from the dropdown box. Give it a Name and click on the Create Template button.

Step 3: Select the Template for Footer
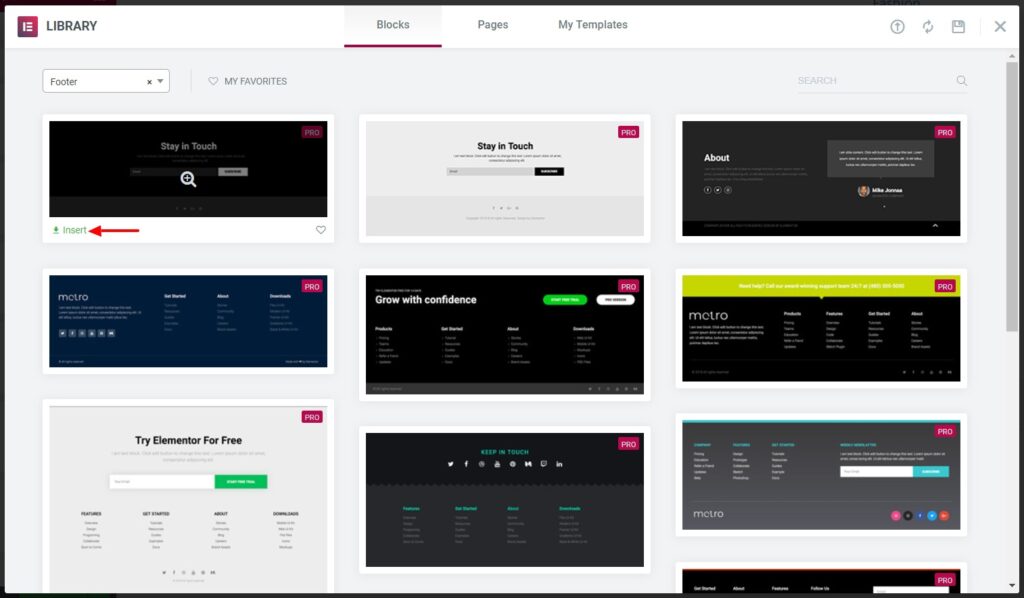
When you are redirected to the next page, you need to select from the existing Footer Templates offered by Elementor, or if you want, you can cut this box and start from scratch. So, select the one you want and click on the Insert button.
Now, we will get onto the editing part of the footer. To edit the footer, we will change the text, typography, and other styling options like you usually do on the Elementor page builder.
Step 4: Change the Footer According to Your Desire
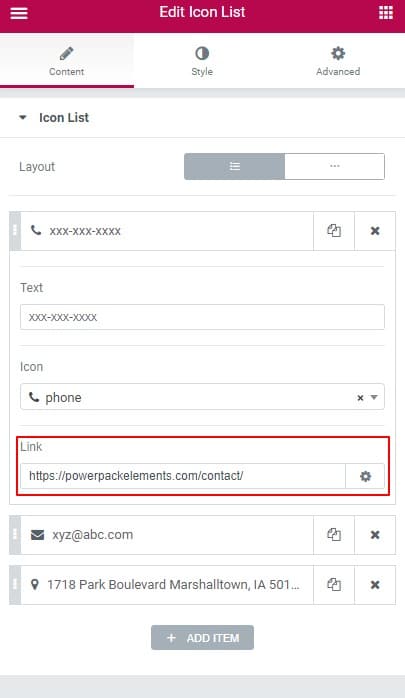
You can change the text in the Icon list and also add the respective links to the list of footer items.
However, if you find any list item you don’t want to add to your footer, you can easily remove it using the (x) button on the right. Moreover, you can add desired icons to the list of items and change how they look using the Style tab.
Step 5: Add Newsletter Subscription Box
If you want, add or edit a newsletter subscription box in the footer.
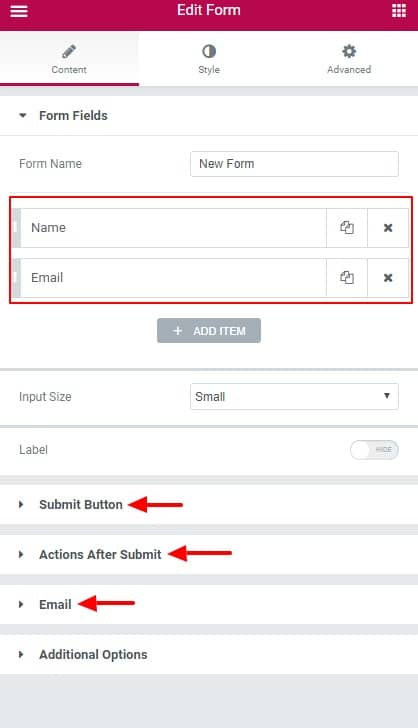
Now, to add or edit the Newsletter subscription box, you need to add your Email ID in the settings and change the click action of the submit button as per your wish. Or, if you want, you can select the option of directly sending an Email or connecting it to any Email service such as Active Campaign or MailChimp. You can also add or remove fields on the form as required.
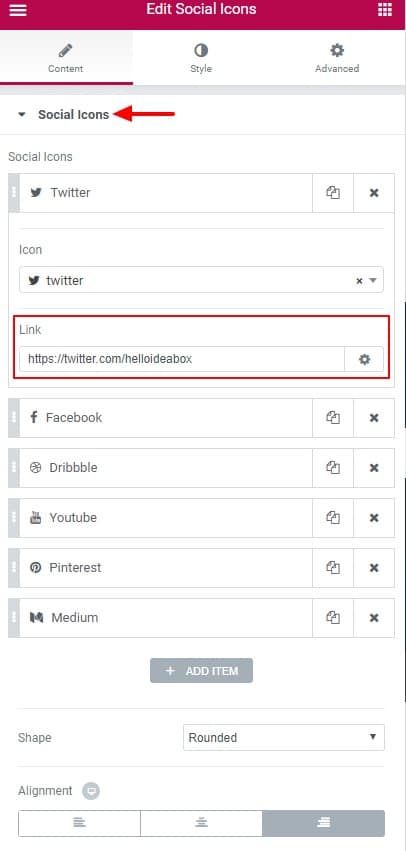
Step 6: Add Social Share Links
It is a standard practice to add social sharing links to your footer.
You can easily add icons and link the social sharing options. For that, hit the Social Sharing widget that will allow you to edit the Social Icons. You need to click on each icon list to add the social sharing link under the link field.
Step 7: Add Widgets
There is no limit as to what you can add to your footer as there are many widgets available.
You can add another widget to the footer if you want by simple drag and drop operation. It is like you do while designing a page or a row. After making all the changes, click on the Publish button on the bottom left corner of the page.
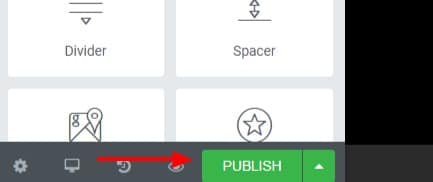
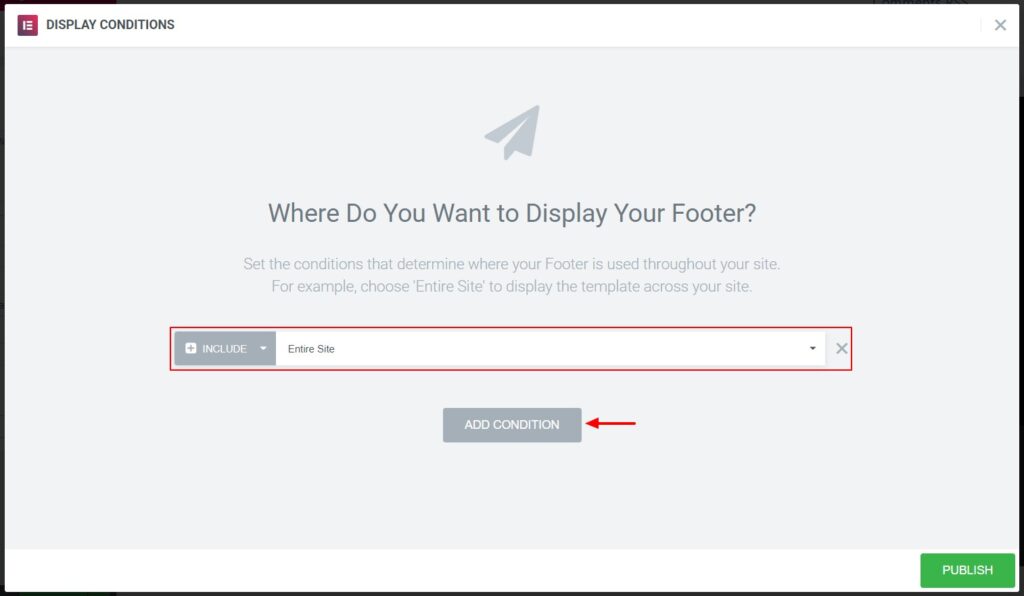
You will be asked to add some conditions to the page when you click the Publish button. These conditions will define whether or not your footer or any other theme parts will be displayed. Since we want this footer to appear on the Entire Site, we will select the same from the list.
Why your Elementor Changes are Not Showing in the Frontend?
Step 8- Click on the Publish Button
Once you have defined your conditions, click on the publish button.
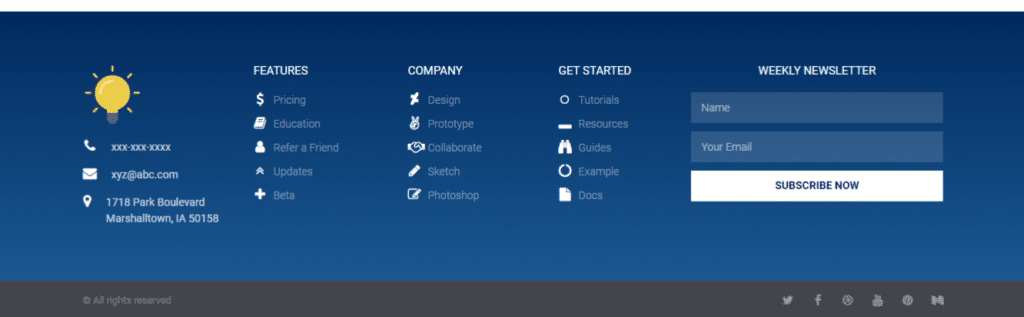
After all the changes and setting the conditions, this is the result. An informative footer with a newsletter subscription box-
FAQs
How do I edit the Footer in WordPress?
Editing the footer in WordPress using Elementor is a user-friendly process. Start by navigating to ‘Templates’ > ‘Theme Builder’ > ‘Footer’ within the WordPress dashboard. Here, you can select and modify your existing footer template.
Elementor’s drag-and-drop interface allows for easy customization of layout, design elements, and widgets, making it simple to tailor your footer to your site’s specific needs and aesthetic.
How do I create a Footer in an Elementor Website?
Creating a footer in Elementor is straightforward. Access this feature by going to Templates > Theme Builder > Footer in your WordPress dashboard and clicking on Add New Footer.
Elementor presents an intuitive platform where you can design your footer from scratch, offering various widgets and design elements. You can craft a unique footer that aligns perfectly with your website’s theme and functionality.
How do I change the footer size in WordPress?
Access the footer edit screen to change the footer size in WordPress, mainly when using Elementor. Within Elementor, you can easily adjust the dimensions of your footer by manipulating the padding, margin, or height settings in the layout section. This allows for precise control over how much space your footer occupies, ensuring it fits seamlessly with the overall design of your website.
How do I fix the bottom footer in WordPress?
Fixing a footer at the bottom of your web page in WordPress can be achieved with custom CSS code or by using a plugin designed for this purpose. When using Elementor, you can select the footer section, adjust its settings to ‘Fixed’, and position it ‘At the Bottom’.
This ensures that your footer remains at the bottom of the screen, providing consistency across all pages for your site visitors.
Is Elementor a block editor like Gutenberg?
Elementor is more than just a block editor like Gutenberg. While Gutenberg focuses on a block-based content creation approach within WordPress, Elementor extends this concept as a full-fledged page builder.
It provides a broader range of design possibilities, enhanced visual editing tools, and the ability to create complex layouts easily. This makes Elementor an ideal choice for users seeking comprehensive design control and a more visually intuitive website-building experience, going beyond the capabilities of the standard block editor.
Customize Elementor Footer Like a Pro!
Your website will represent your products and your brand. So, you must ensure everything is in the right place; otherwise, users will be frustrated. They have a concise attention span.
Now that you know how to edit footers in Elementor, that doesn’t mean you should add everything. Make sure your footer is organized and looks clean. It should represent your company and your brand.
Best of luck!