

Update your client reporting game with Eazy Plugin Manager! Designed for today’s fast-paced digital landscape. It will empower you to craft and customize professional client reports effortlessly.
With just a few clicks, transform complex data into clear, impactful insights that impress and retain your clients. This most awaited feature- Client Report, will give you a seamless reporting experience that saves time and showcases the value you bring to the table.
Let’s make Eazy Plugin Manager your secret weapon for nurturing client trust and boosting your service reputation.
Within 5 Steps Generate a Client Report from Eazy Plugin Manager Dashboard
You can use the Client Report feature from your Eazy Plugin Manager’s Agency profile.
Step 1: Navigate to Client Report from EPM Dashboard
First, log in to your Eazy Plugin Manager Remote Management dashboard with personal credentials.
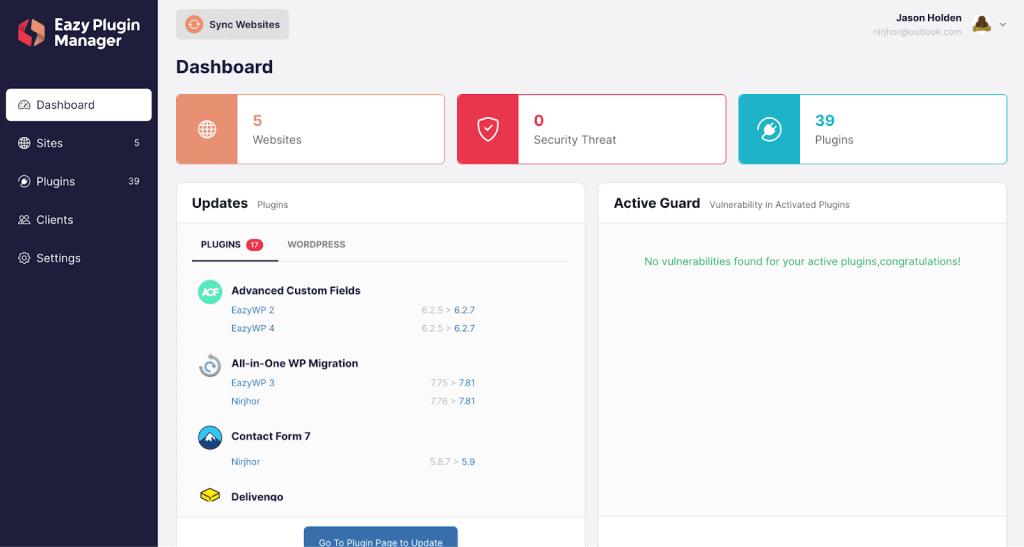
From the left sidebar, press the Clients option.
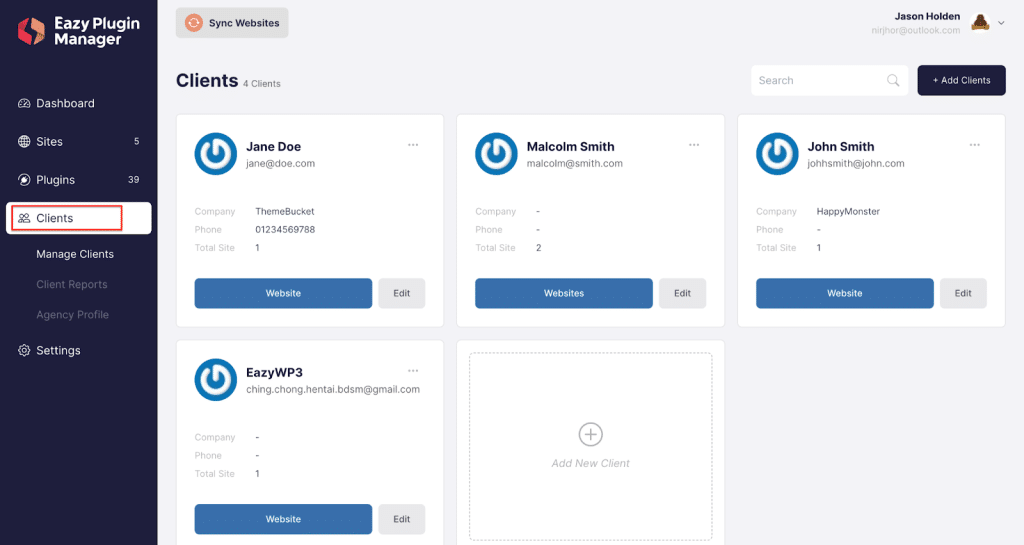
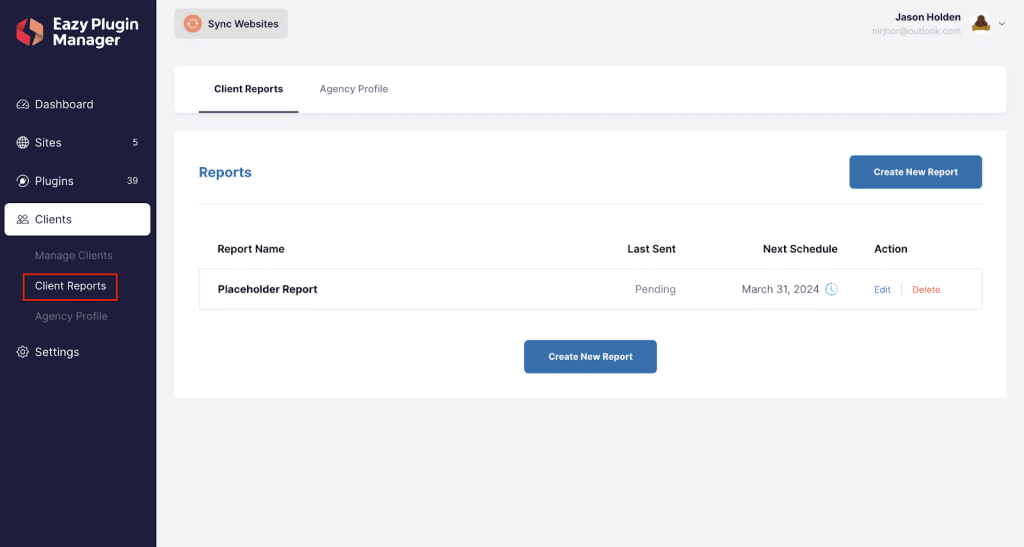
Now, a tiny sub-menu will appear; select Client Reports from there. Ensure your Agency Profile and Clients are configured before generating a client report.
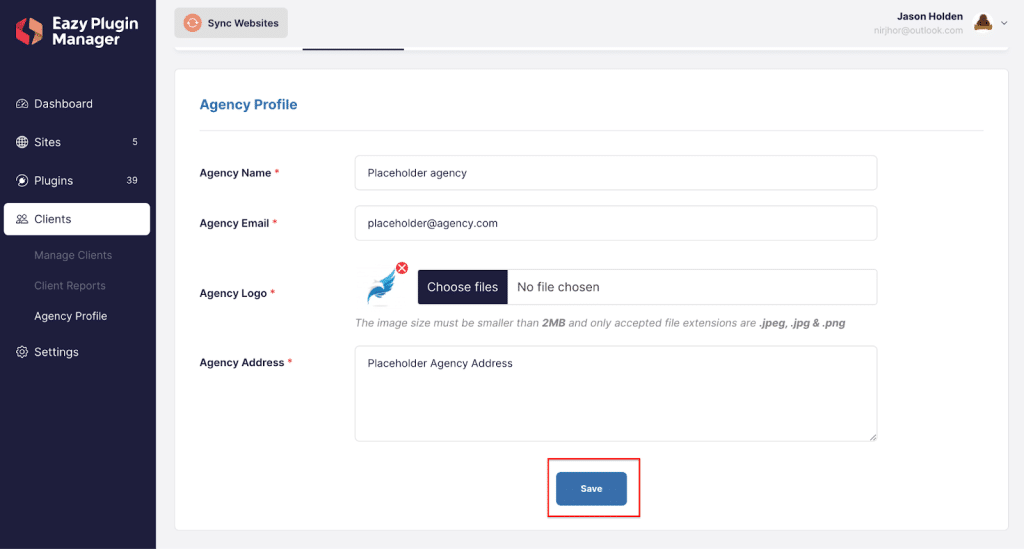
Step 2: Configuring Agency Profile
From the top, click on the Agency Profile tab.
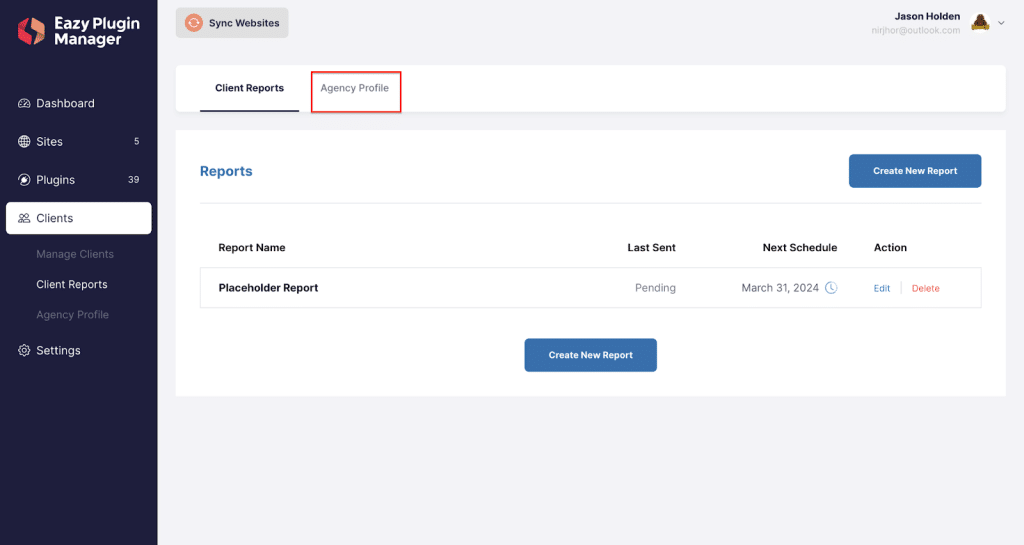
Please include your Agency Name, Email, Logo, and Address before hitting the Save button to finalize the task.
Step 3: Generating Client Report
To start generating the report, go back to the Client Reports tab. After ensuring all necessary information is included, click Create New Report at either the top left corner or the middle bottom section of the Client Report page.
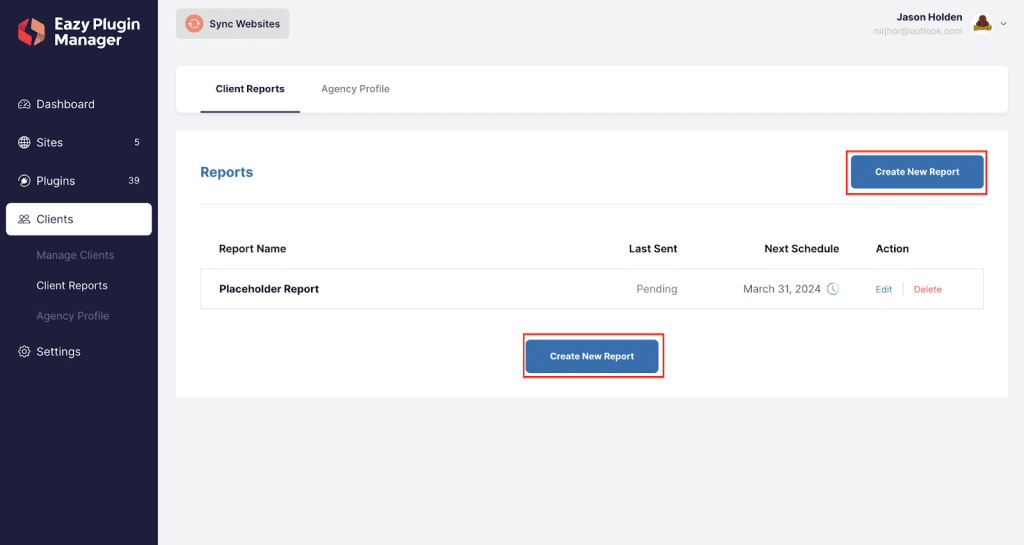
The page will navigate you to the Client Report page.
Step 3.1: Report Settings
In the Report Settings section, you must fill in the Report Title, Client Selection, Report Type, Schedule, Send On Time, and Intro message.
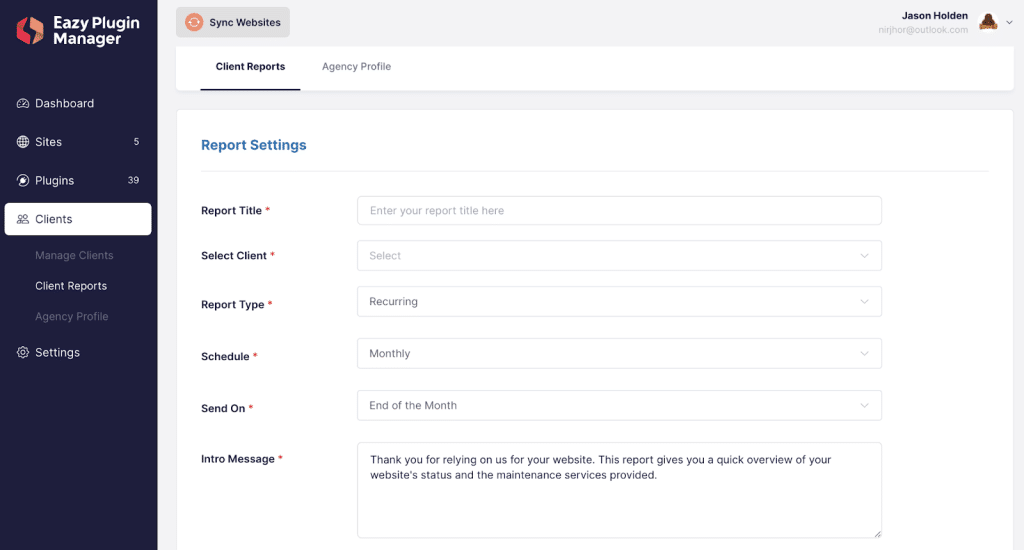
- Report Title: The heading of your report as seen by your clients.
- Choose Client: Pick the clients to whom the report will be dispatched.
- Report Type: Choose between sending a one-time report or setting up recurring reports.
- Schedule: Select how frequently you wish to send recurring reports.
- Date Range: Specify the start date from which the report will be generated.
- Intro Message: The opening sentence that will accompany your report.
Step 3.2: Report Data Settings
The Report Data Settings determine the specific data for which you want to create a report. This section is structured as follows. You can check mark points or unmark them as you need.
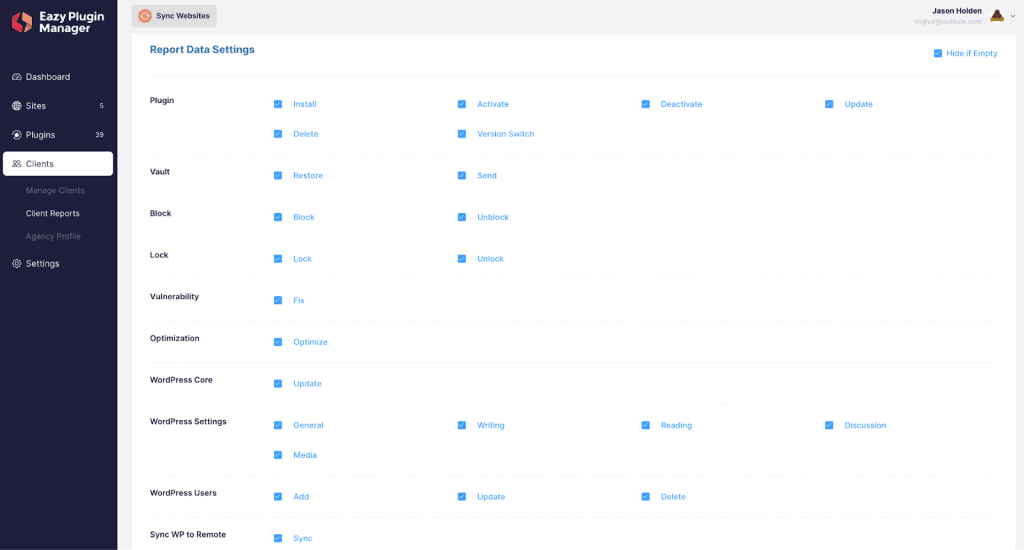
It allows you to select the data types you aim to generate a report for. The options are:
- Plugin: Manage your WordPress plugins, including actions such as Install, Activate, Deactivate, Update, Delete, and Version Switch.
- Vault: Manage the sending of data to and restoring data from the vault on your WordPress site.
- Block: Control the blocking and unblocking of plugins on your WordPress site.
- Lock: Enable or disable the locking of plugins on your WordPress site.
- Vulnerability: Identify and address vulnerabilities in plugins on your WordPress site.
- Optimization: Report on which plugins have been optimized.
- WordPress Core: Track the number of updates made to the WordPress core.
- WordPress Settings: Monitor changes in various WordPress settings, including General, Writing, Reading, Discussion, and Media.
- WordPress Users: Manage user actions such as Add, Update, and Delete.
- Sync WP to Remote: Track the count of remote synchronizations.
This comprehensive set of options ensures a detailed and customized report.
Step 3.3: Email Settings
Scroll more to find the Email Settings segment. Here, you will have additional options to modify the monthly report emails managed and presented to users.
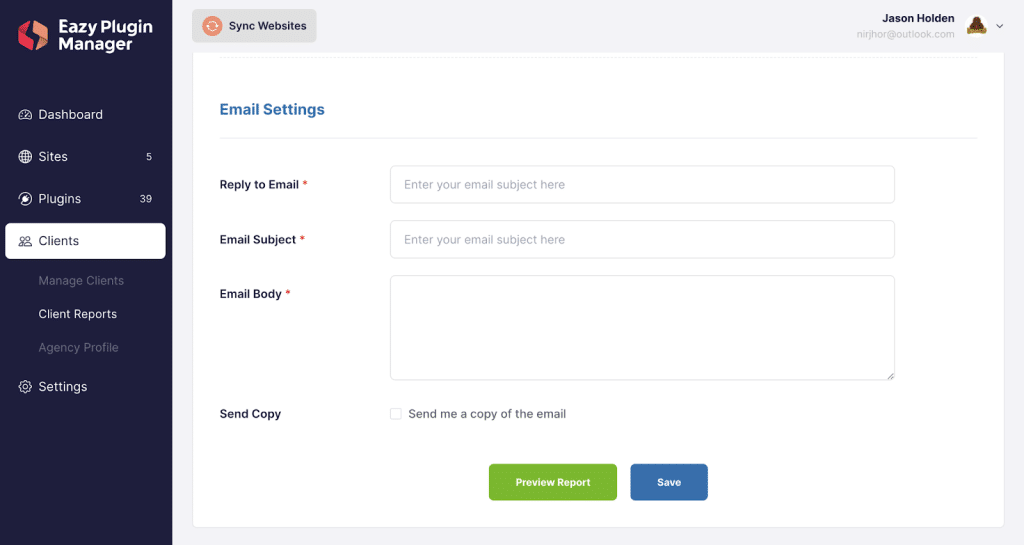
Let’s review these settings:
- Reply to Email: The emails your users will reply to if they want to reply to the monthly report.
- Email Subject: The subject line of your monthly report email.
- Email Body: The body content of your email.
- Send Copy: If you want to send the logged-in user a copy of the report.
After finalizing your report’s customization, you can preview it by clicking on Preview Report or Save it.
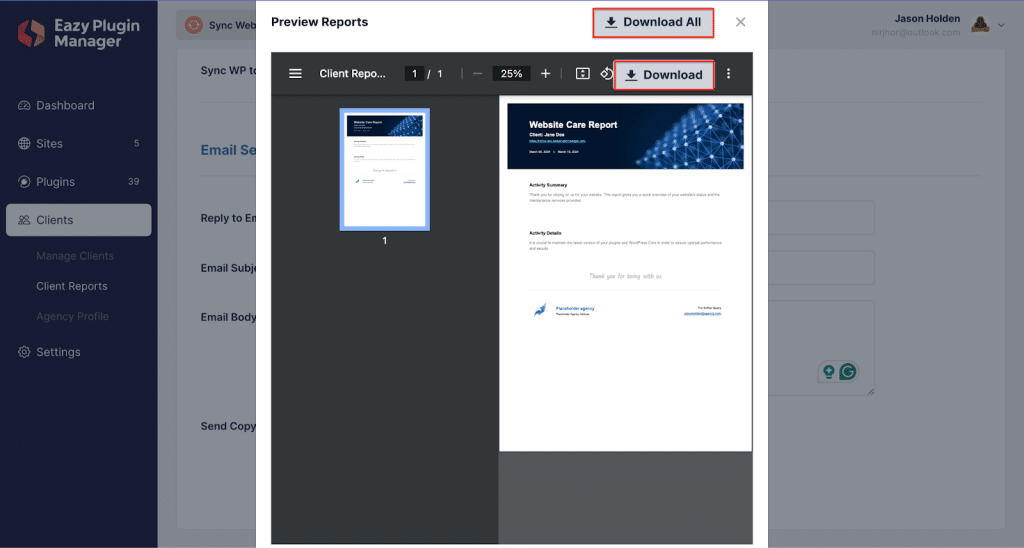
Step 4: The Report
Once the report is generated, it will be displayed on a pop-up screen for you to review. Within this screen, you will also find options to Download the individual report or use Download All reports to obtain all generated reports simultaneously.
This functionality provides convenient access to your reports for further analysis, sharing, or archiving as needed.
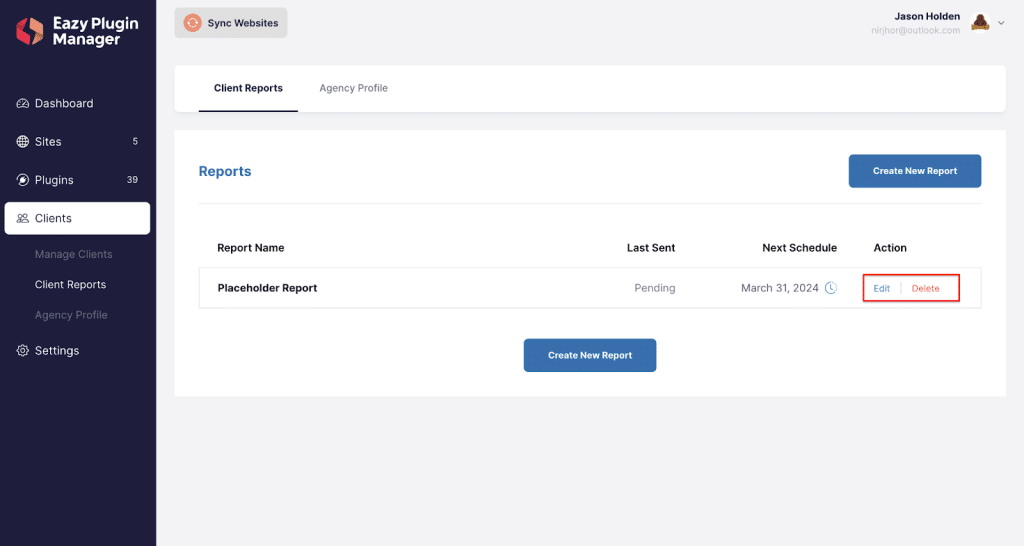
Step 5: Edit or Delete Report
Upon returning to the Client Report page, you will notice the Edit and Delete options available under the Action Column for each report. Edit will redirect you to the Report Settings section.
Alternatively, a pop-up will appear if you choose Delete, providing a warning message to confirm your action. Once you confirm, the report will be permanently removed.
Seize full command of your client reports! Adjust or remove them as needed to ensure they’re always up to date and serving your goals perfectly.
FAQ
What is a Client Report?
A client report is a document or presentation created by a service provider or agency to summarize work performance, deliverables, outcomes, and analytics over a specific period.
These reports provide transparency, update clients on project progress, highlight successes, address potential issues, and outline the next steps.
Why are client reports important?
Client reports are vital for maintaining open and honest communication with clients. They help build trust by showing accountability, enable informed decision-making by providing clear insights into performance metrics, and reinforce the value delivered by the service provider.
How often should I send client reports?
The frequency of client reports depends on the nature of the service or project and the client’s preferences. Some clients prefer weekly updates, while others may find monthly or quarterly reports sufficient.
How do I handle negative results in a client report?
When presenting negative results, it’s crucial to be honest and transparent. Provide context for the results, explain what factors contributed to the outcome, and outline a clear plan for addressing the issues and improving performance moving forward.
How can client feedback be incorporated into reports?
Encourage clients to provide feedback on the reports and the work being reported on. This feedback can be incorporated into future reports by adjusting the type of information provided, the report’s format or the areas of focus to better meet the client’s needs.
Final Words
Develop client trust and transparency with the simplicity and efficiency of Eazy Plugin Manager. Crafting detailed client reports becomes a breeze, ensuring your clients are always in the loop and satisfied.
With Eazy Plugin Manager, you’re not just reporting but building the foundation for lasting partnerships. Don’t hesitate to ask us any queries about our new Client Report feature.