

Filtering is a necessary option for any WooCommerce store. It lets your users find the products based on various parameters. However, creating the perfect filters is often tough as there were no easy solutions available in the market, until the arrival of the fantastic Eazy Filter plugin.
It is an Elementor Powered product filter plugin for WooCommerce. With it, you can filter products based on categories, attributes, product tags, price, color swatches, and more. Eazy Filter comes with a number of useful shortcodes which can be used across your site.
Also, this plugin is quite easy to use, you can create the filters after 5 minutes of the installation. Today we will show you how to use Eazy Filter plugin on your WooCommerce site.
So let us get started, shall we?
Indispensable Features of the Eazy Filter Plugin
Eazy Filter really stands out from other filter plugins currently available in the market. As it is in sync with all future Elementor and WooCommerce versions the plugin will make the store owner’s life easier. Also, it has all the necessary features one might need to create the filters like,
- Stunning Widgets: Eazy Filter has a collection of amazingly designed widgets for the Elementor page builder. You can feel comfortable integrating these filters on your shop page or any other page using the built-in product grid widget that eases your workflow.
- Responsive: Eazy Filter is fully responsive, so you can filter your WooCommerce items.
- Grouped Filter: You can create unlimited Filter Groups where you can apply multiple filters by clicking in a single grouped filter.
- Compatible with Updated Version: Compatible With All WordPress Themes & PHP Versions
- Consistent Filtering: Eazy Filter offers seamless filtering capability when you are inside Elementor.
- Shortcode: When you create a new filter, you can see its shortcode on the interface. With this shortcode, you can then use it on any page.
Now you know about the features, let’s see how to use Eazy Filter plugin.
How to Use Eazy Filter Plugin: Step by Step Guide
First of all, we will start with the installation process, then see the setup wizard, and lastly see different widgets to create filters.
#Step 1: Install Eazy Filter Plugin
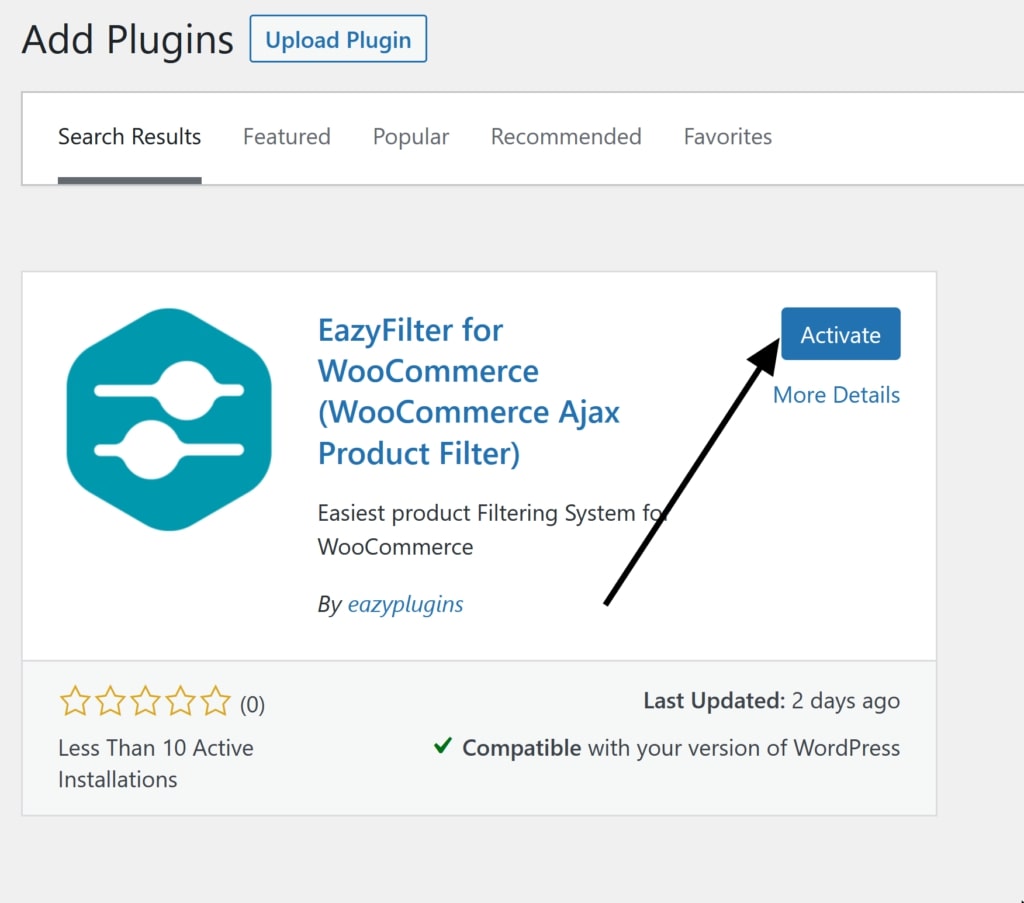
At first go to your WordPress dashboard and navigate to wp-admin-> Plugins-> Add New. Then in the search box type these keywords “EazyFilter For WooCommerce” and click the Install Now button.

When you successfully installed the plugin, you have to click the “Activate” button to activate the EazyFilter For WooCommerce.
Next we will see the setup wizard.
#Step 2: Setup Wizard for Your Store
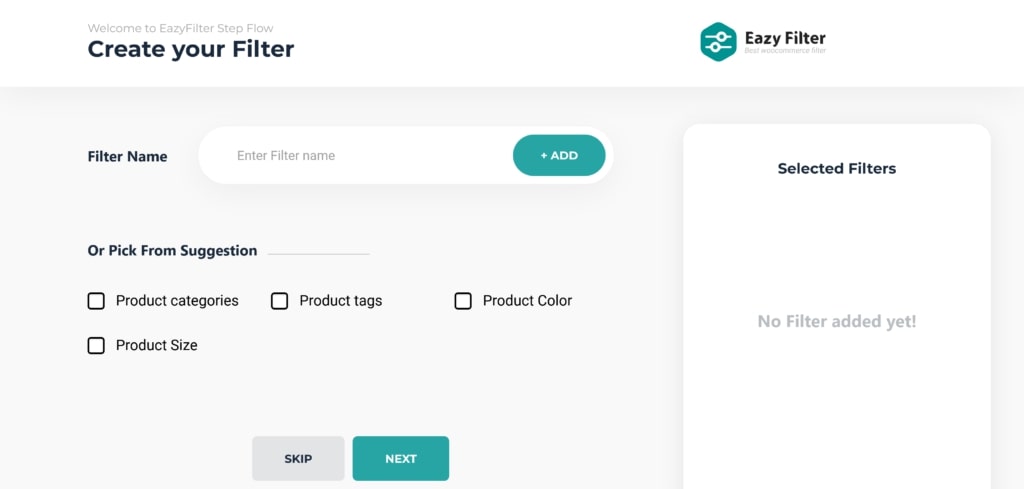
You will find a beautiful setup wizard in the Eazy Filter plugin that makes it easy to create your first filter. When you activate EazyFilter for the first time, you will see the setup wizard that looks like this:
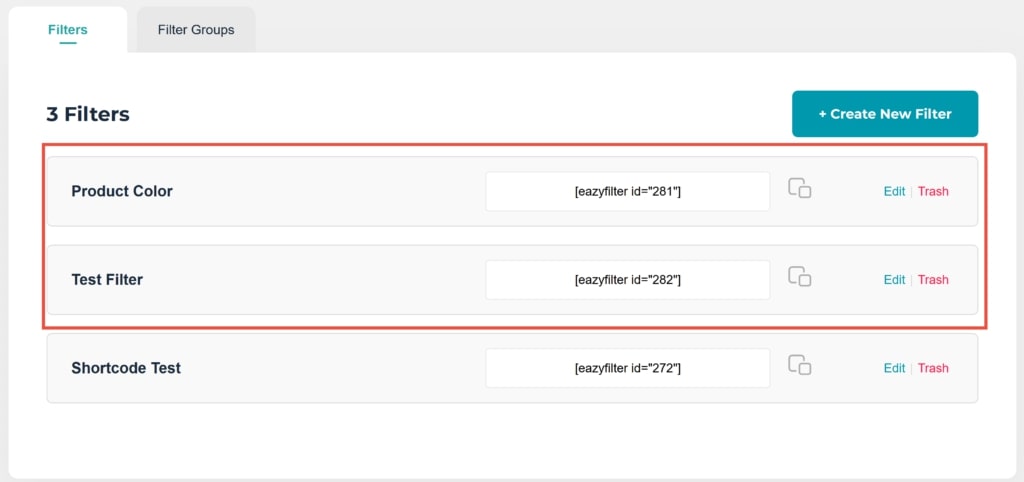
Now, either you can add your own customized filter name or choose the pre-existing filters from the list. As you can see we have added a Test Filter and also added Product Color filter:
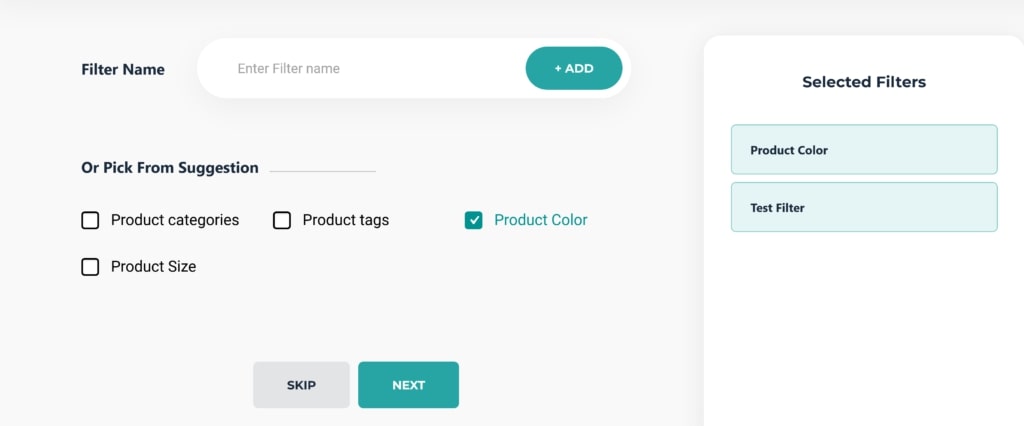
You have to very careful of clicking on the skip button that will dismiss the setup wizard. You can not bring back later.

Now as you ca see we have two brand new filters:
#Step 3: Select Widgets to Decorate Your Online Store
Now, we will see how to use the different widgets of the Eazy Filter plugin.
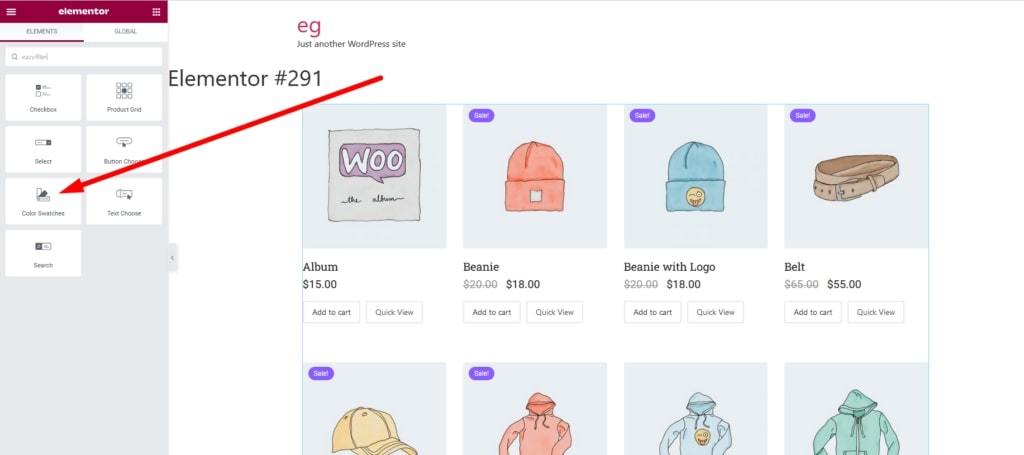
1. Product Grid
Product Grid widget is the most simple and basic widget in the EazyFilter list. It is also the basic widget because without this widget you can not see the WooCommerce product page. Although there is also support of shortcode rendering on Elementor, you can use Product Grid widget when working with EazyFilter in Elementor.
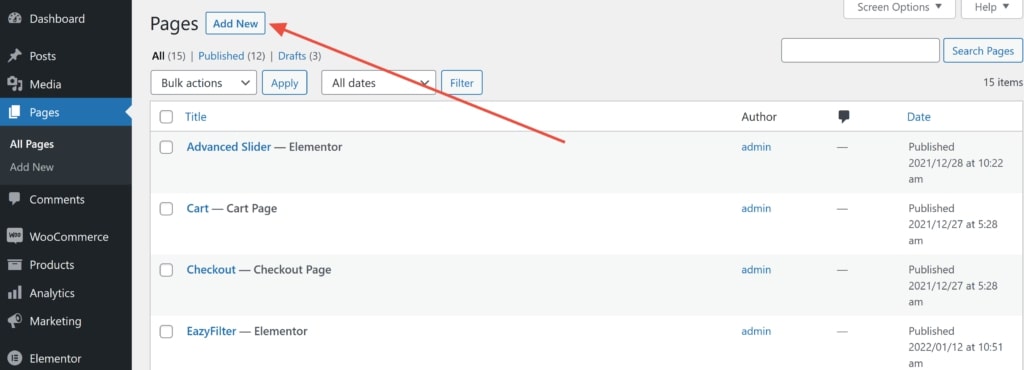
In order to use the Product Grid widget, create a new page from wp-admin>pages:
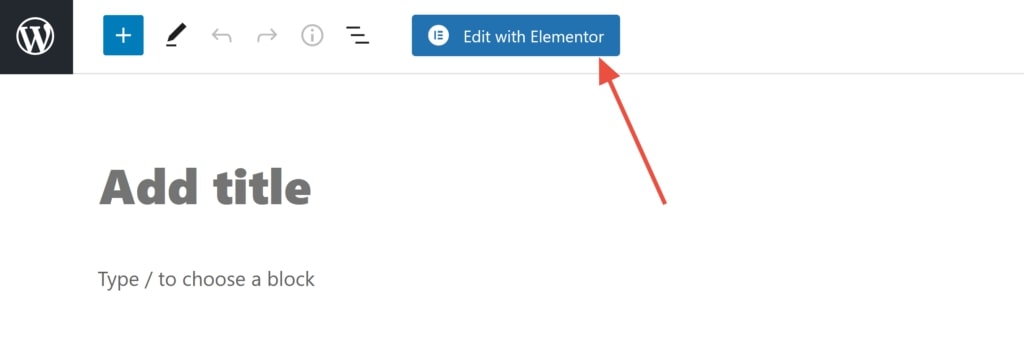
Now you can edit the page with Elementor:
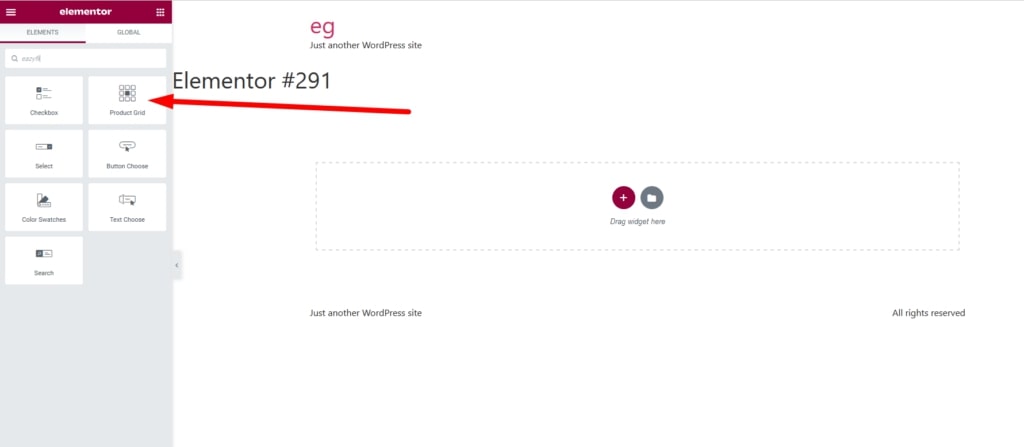
You need to type EazyFilter in the search box and drag the Product Grid widget:
Now you have the Product Grid widget:
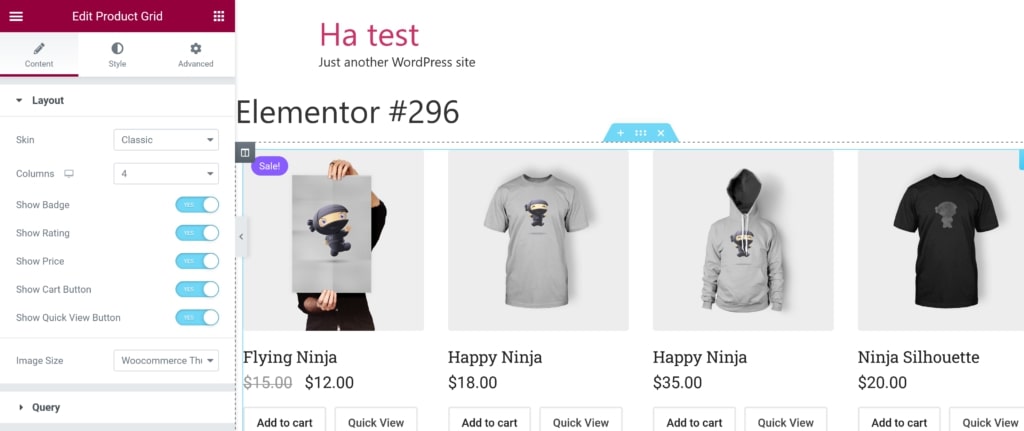
In the Layout tab you can easily adjust the skin, column, image size and have various toggles.

In the query tab you can either Include or Exclude by using different parameters. You will also have access to order by various things like title, date, id etc. You also have control over numerous Toggle and Query ID:

You will also have control over Advanced features like Add to Cart Text & Quick View Text.
2. Checkbox Widget
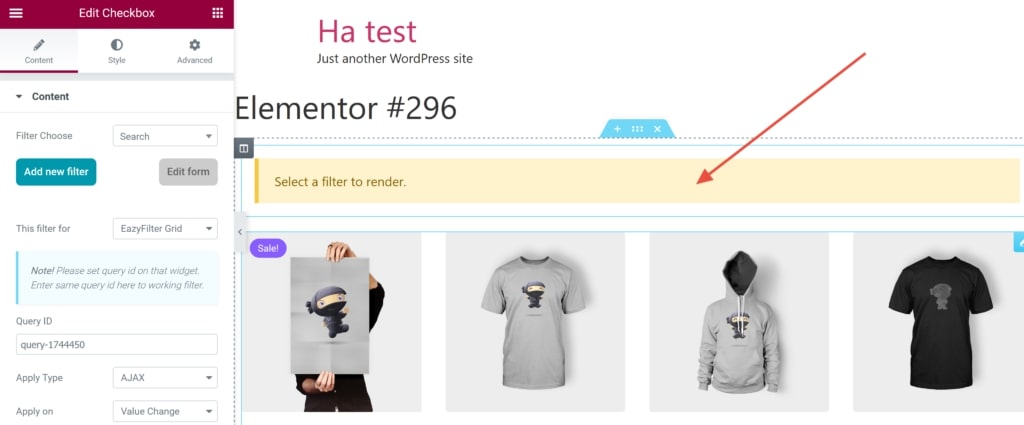
When you type EazyFilter in the search box, you can drag the Checkbox widget. Below we have the product widget that we created before:

Now you have to select a filter to render:
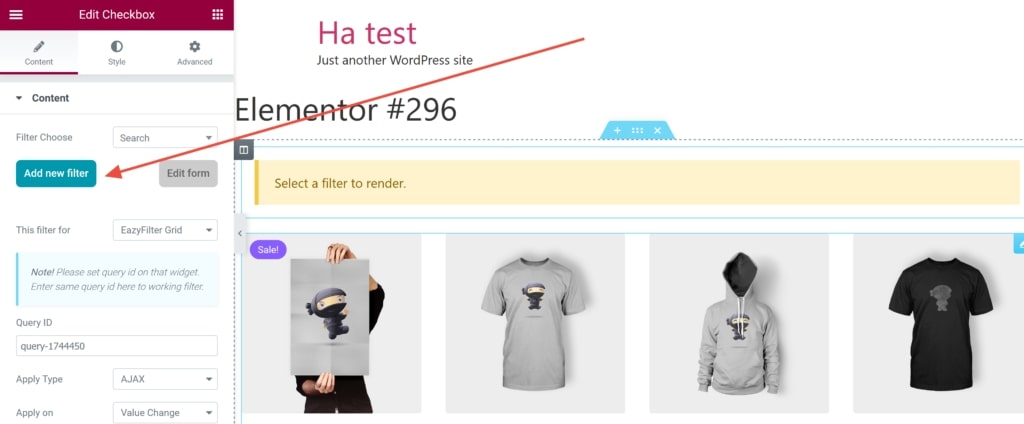
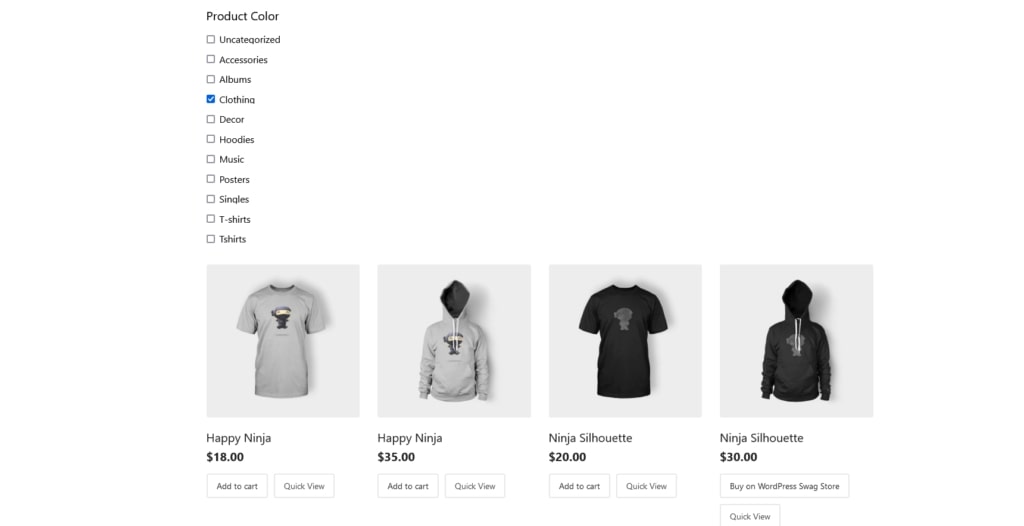
You can easily create a new filter by clicking the highlighted button or use an existing filter. For this purpose we will use an existing Product Color filter:
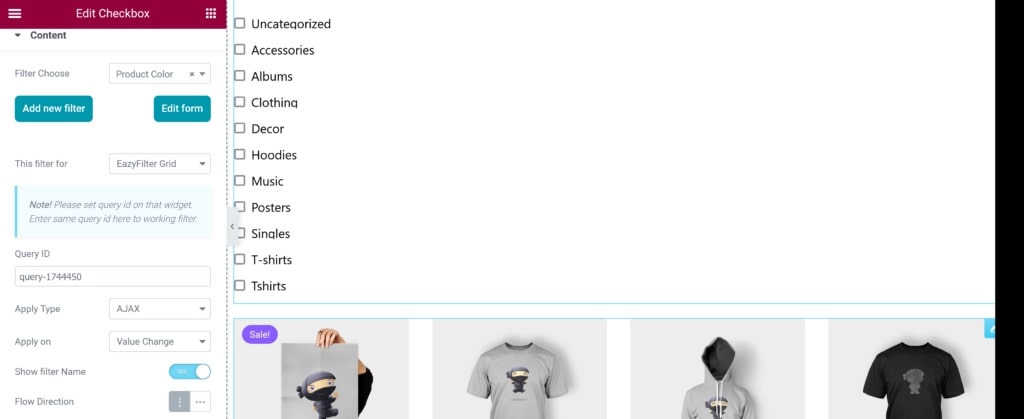
When you select the grid and choose the appropriate filter you now have the filter ready for use:
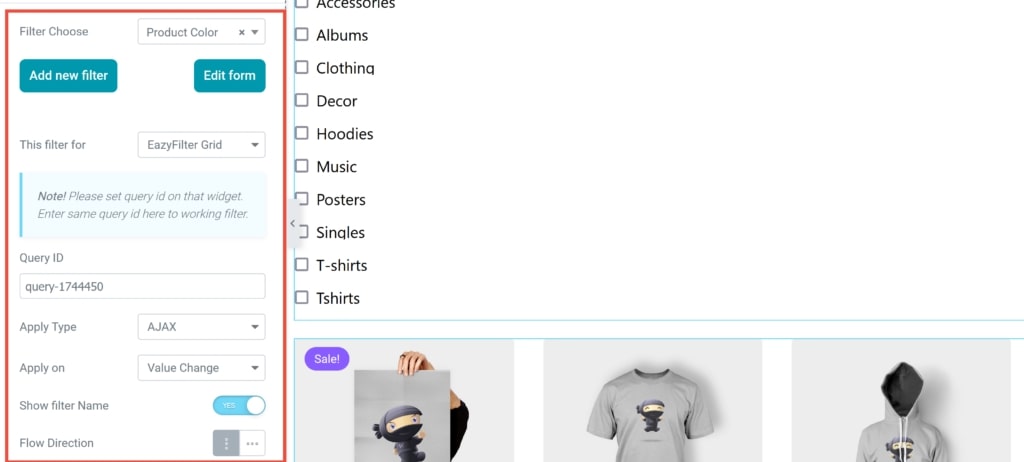
On the left side, you will have control over Query ID, Apply Type, Apply on, Show filter Name, Flow Direction:
When you press publish you are ready to use your freshly minted filter:
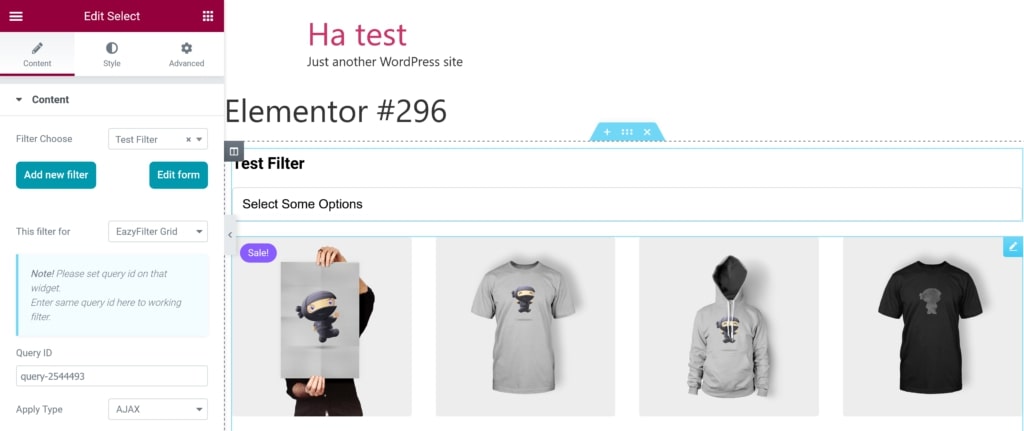
3. Select Widget
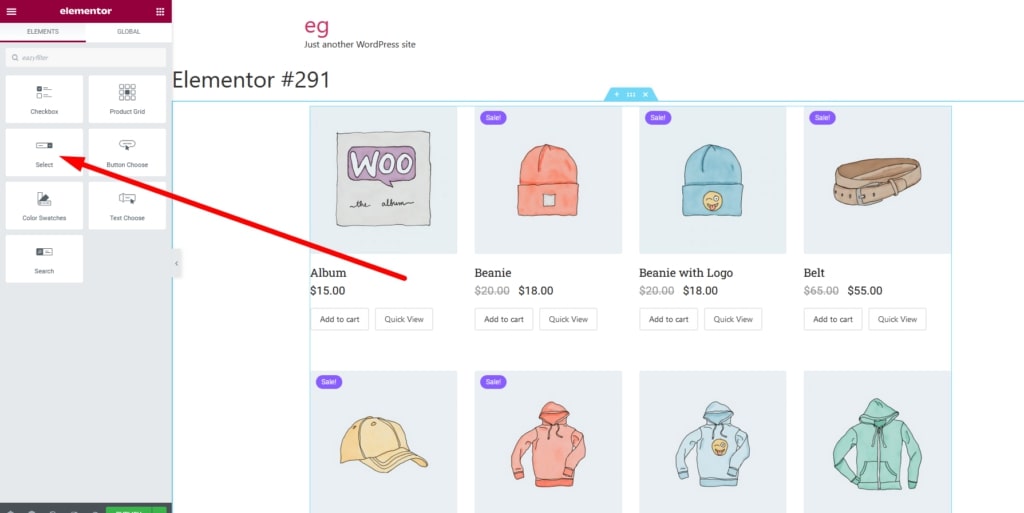
Just type EazyFilter in the search box and drag the Select widget. Here we already have the product widget that we created from before:
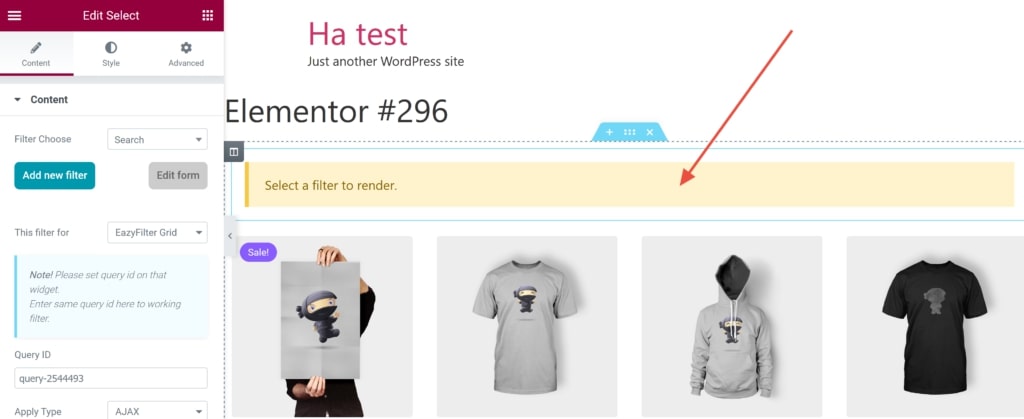
Now you will have to select a filter to render:
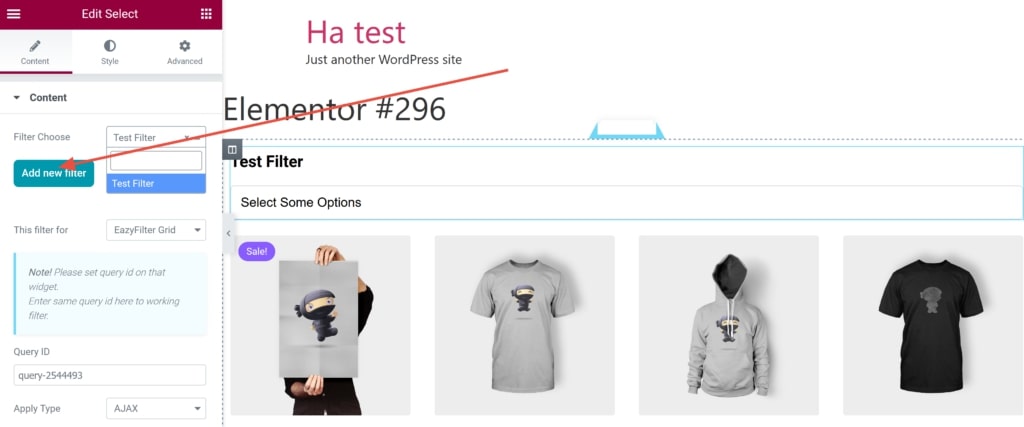
Now you can easily create a new filter by clicking the highlighted button or use an existing filter. For this purpose we will use an existing Test Filter filter:
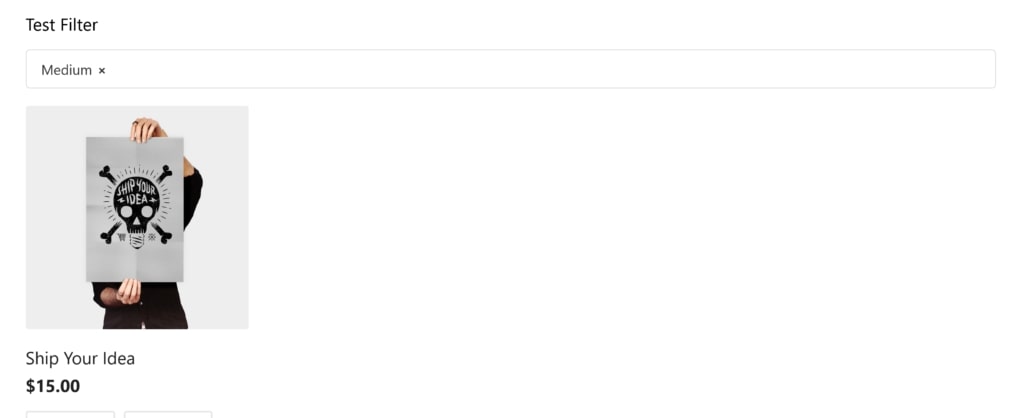
After selecting the grid and choosing appropriate filter you now have the filter ready for use:
On the left side, you will have control over Query ID, Apply Type, Apply on and Show filter Name:
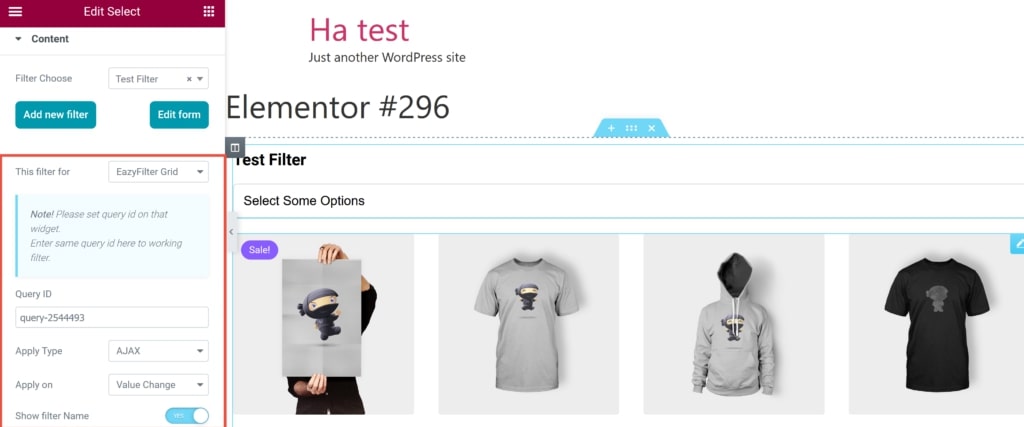
When you press publish you are ready to use your filter:
4. Color Swatches Widget
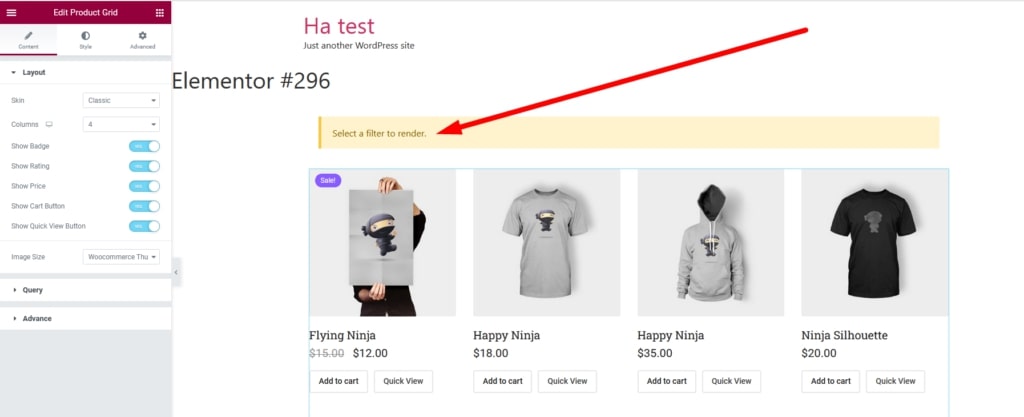
Type the EazyFilter in the search box and drag the Color Swatches widget. Here we already have the product widget that we created from before:
Now you have to select a filter to render:
Now you can easily create a new filter by clicking the highlighted button or use an existing filter. For this tutorial we will use an existing Color Swatch filter:
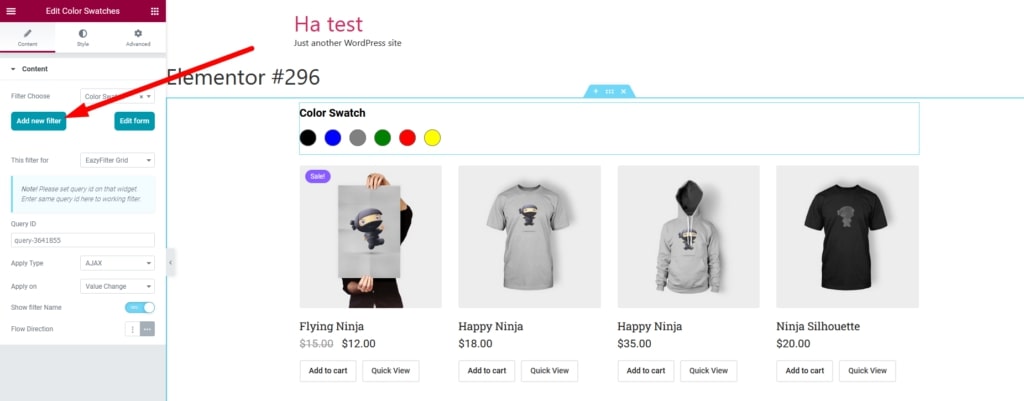
After selecting the grid and choosing appropriate filter you now have the filter ready for use:
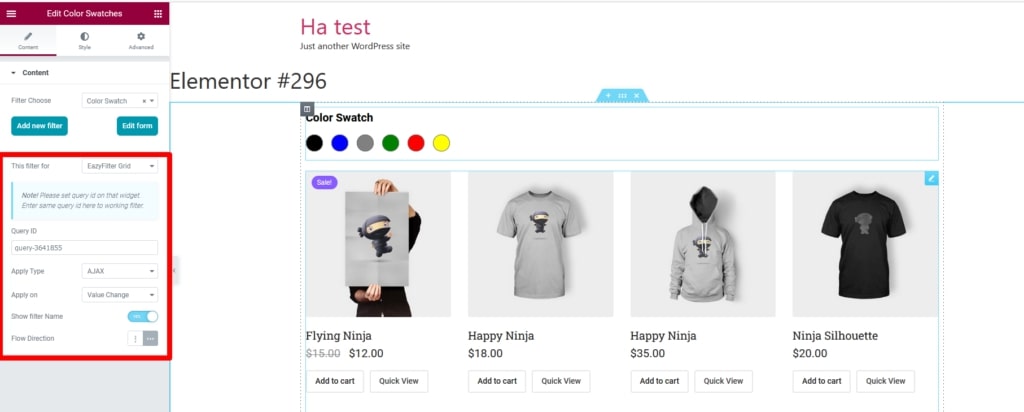
On the left side, you will have control over Query ID, Apply Type, Apply on, Show filter Name & Flow Direction:
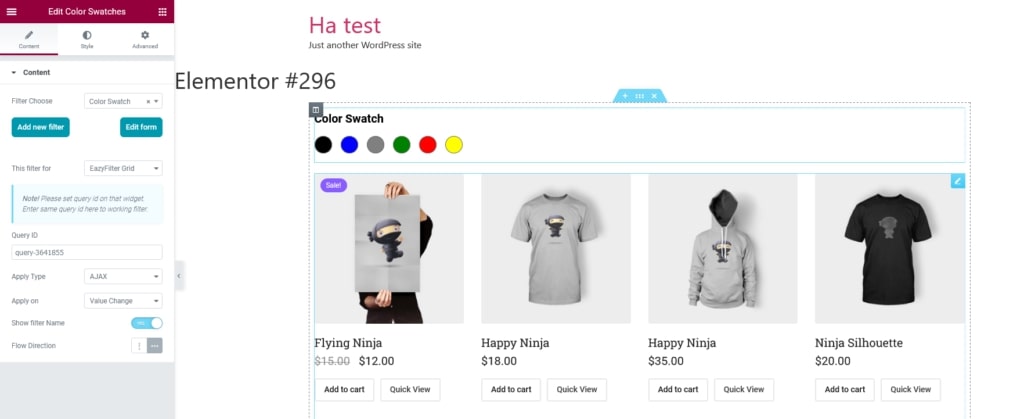
When you press publish you are ready to use your filter:

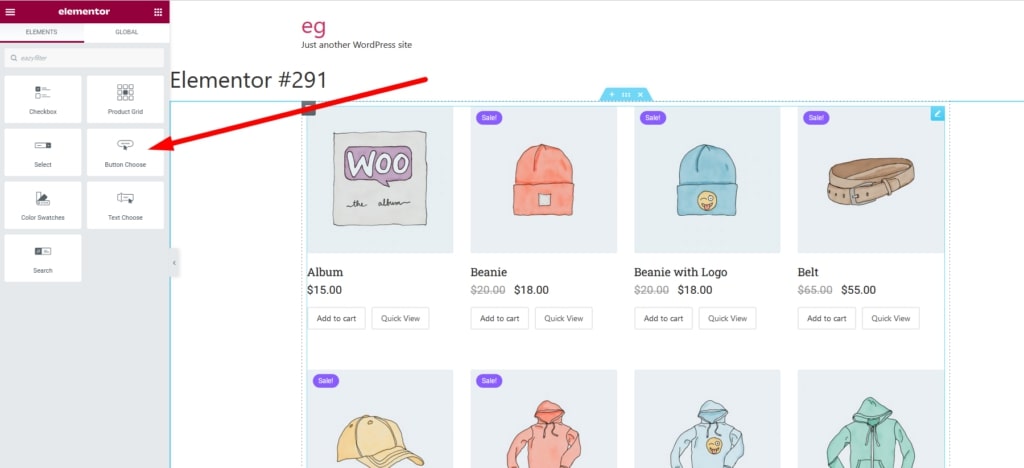
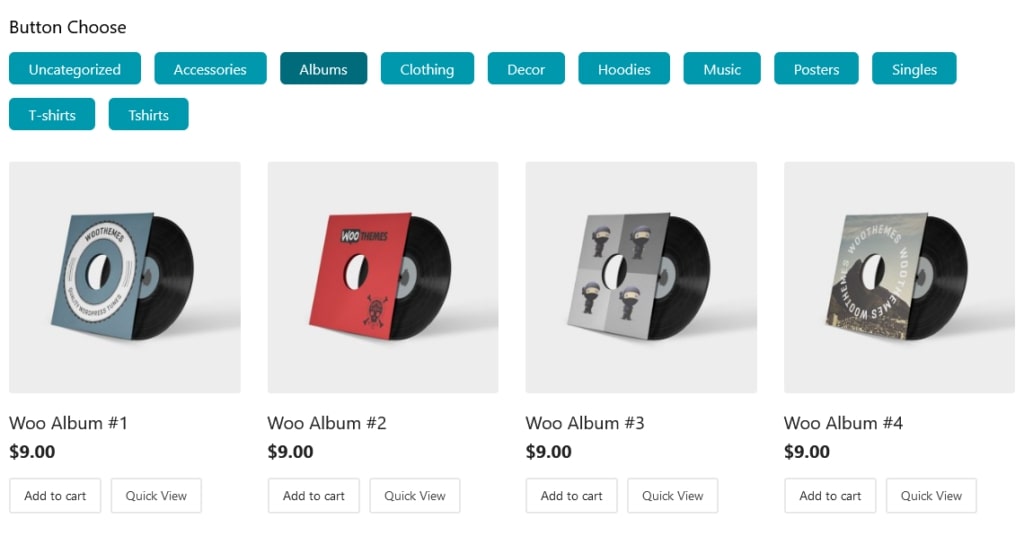
5. Button Choose Widget
Type EazyFilter in the search box and drag the Button Choose widget. Here we have the product widget that we created from before:
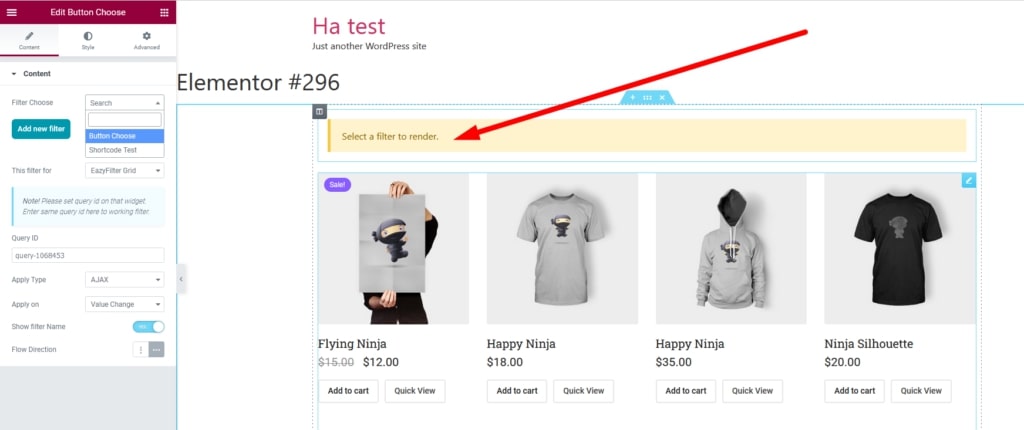
Now you have to select a filter to render:
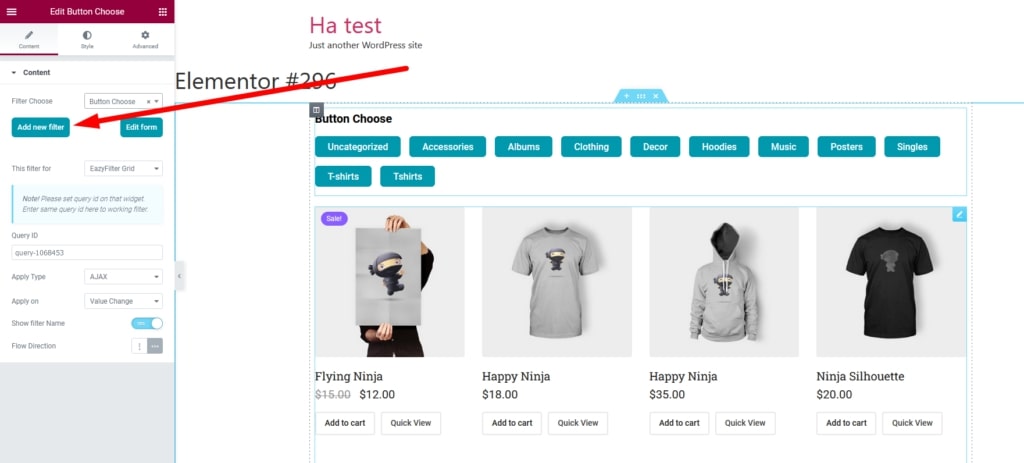
Now you can easily create a new filter by clicking the highlighted button or use an existing filter. For this tutorial we will use an existing Button Choose filter:
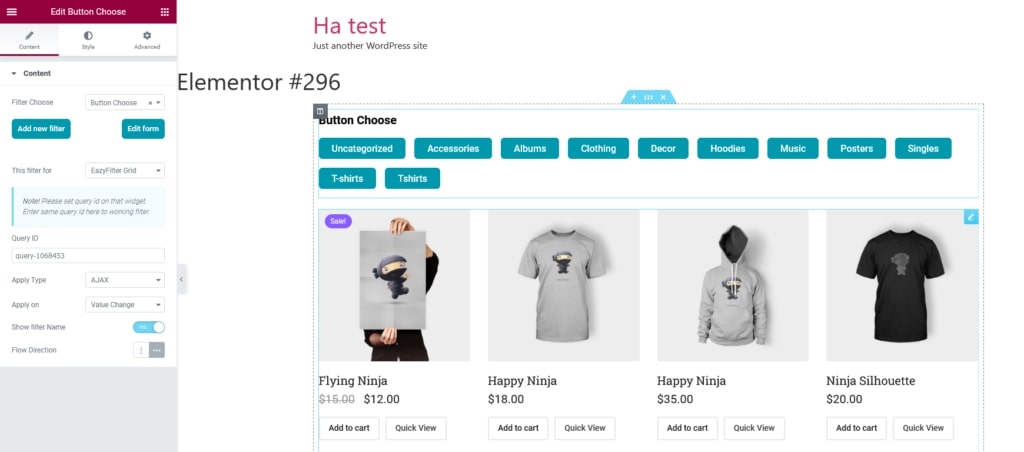
After selecting the grid and choosing appropriate filter you now have the filter ready for use:
On the left side, you will have control over Query ID, Apply Type, Apply on, Show filter Name & Flow Direction:

When you press publish you are ready to use your filter:
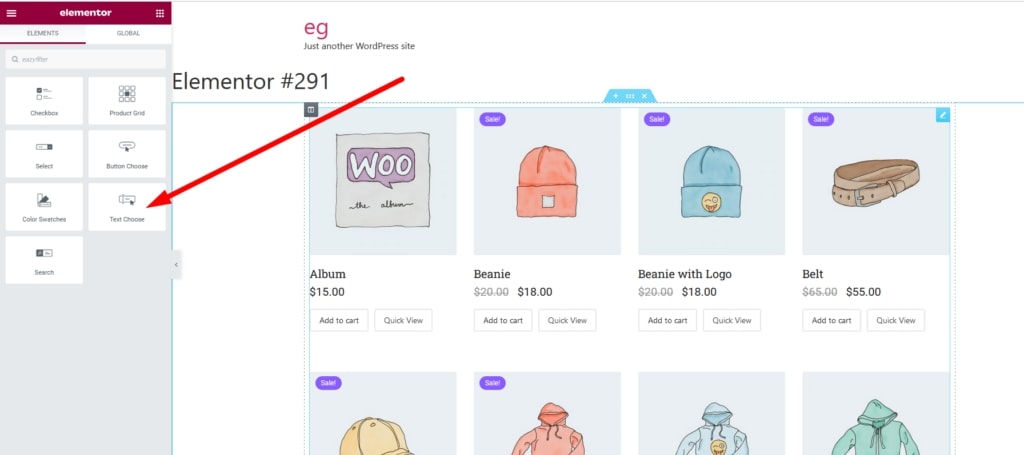
6. Text Choose Widget
Type EazyFilter in the search box and drag the Text Choose widget. Here we have the product widget that we created from before:
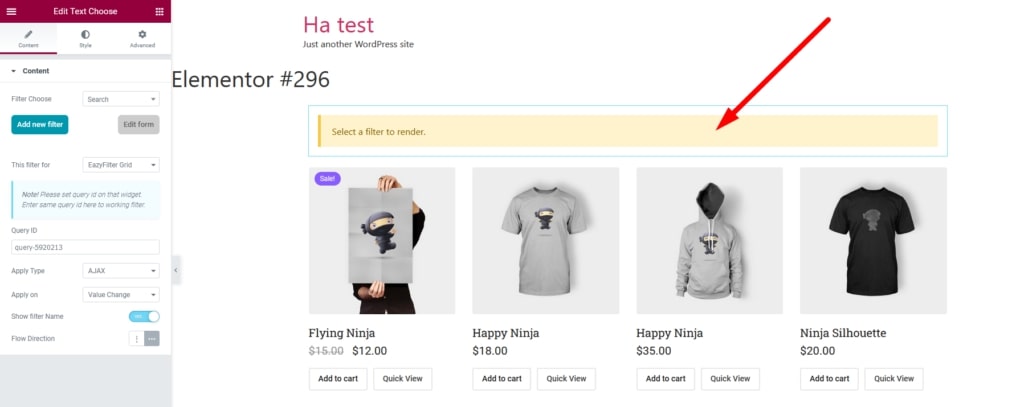
Now you have to select a filter to render:
Now you can easily create a new filter by clicking the highlighted button or use an existing filter. For this tutorial we will use an existing Text Choose filter:
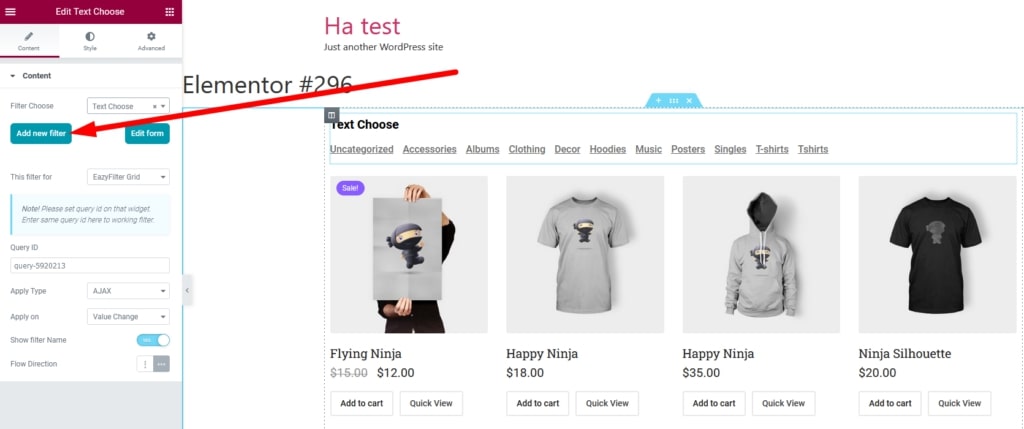
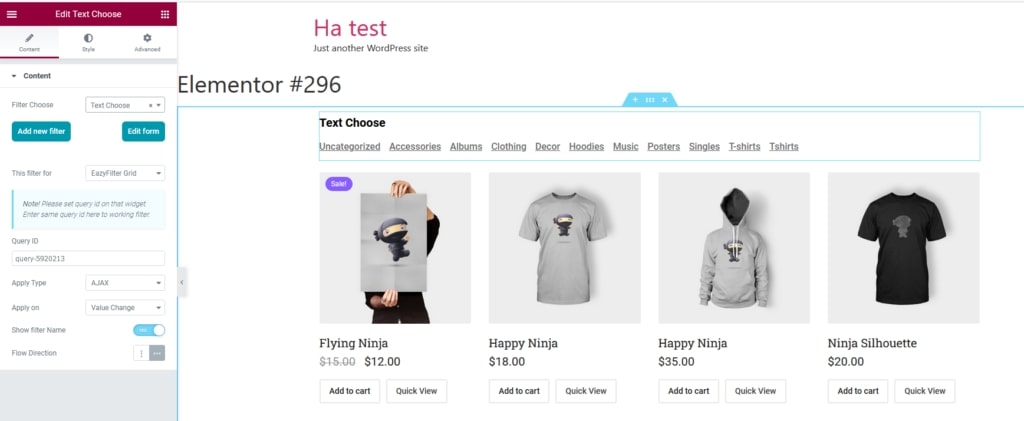
After selecting the grid and choosing the appropriate filter you now have the filter ready for use:
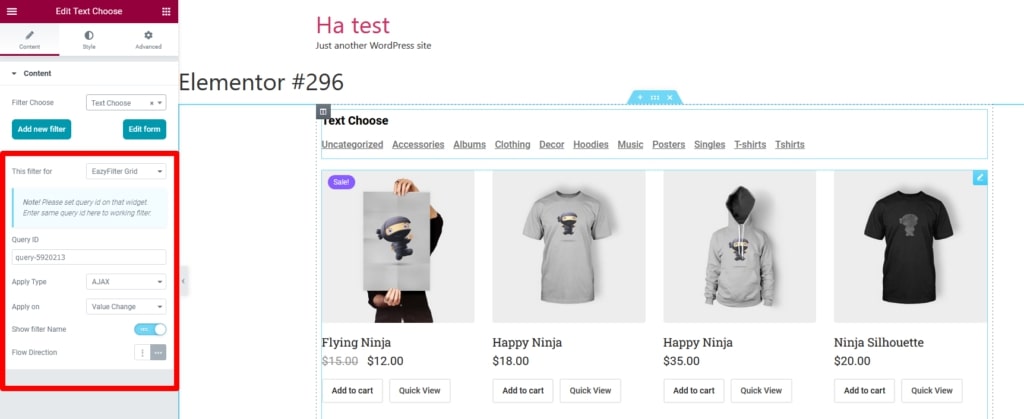
On the left side, you have control over Query ID, Apply Type, Apply on, Show filter Name & Flow Direction:
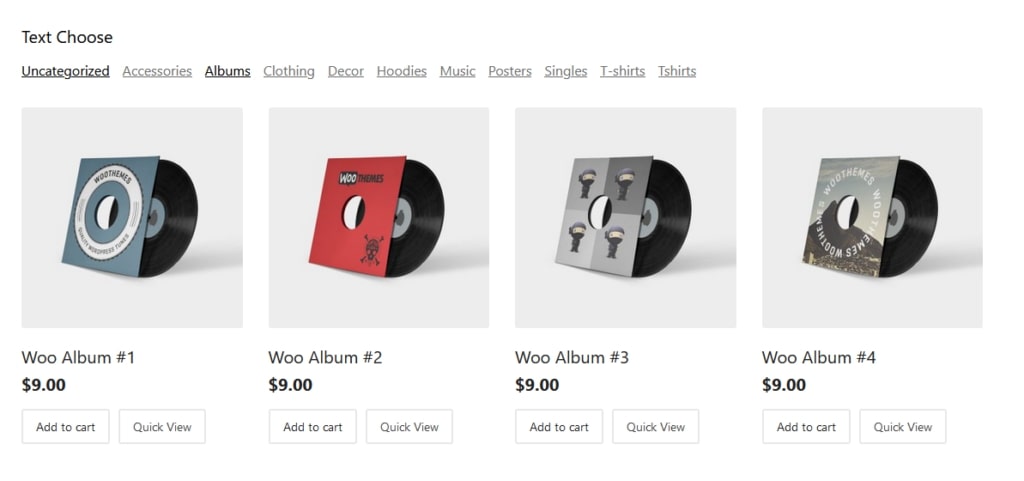
When you press publish you are ready to use your filter:
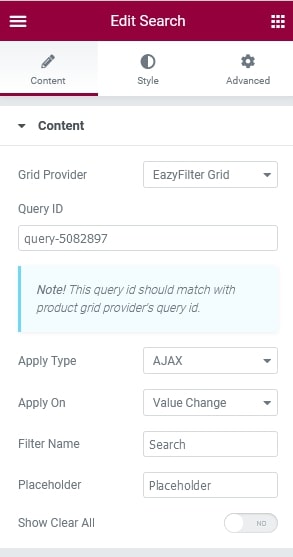
7. Search Widget
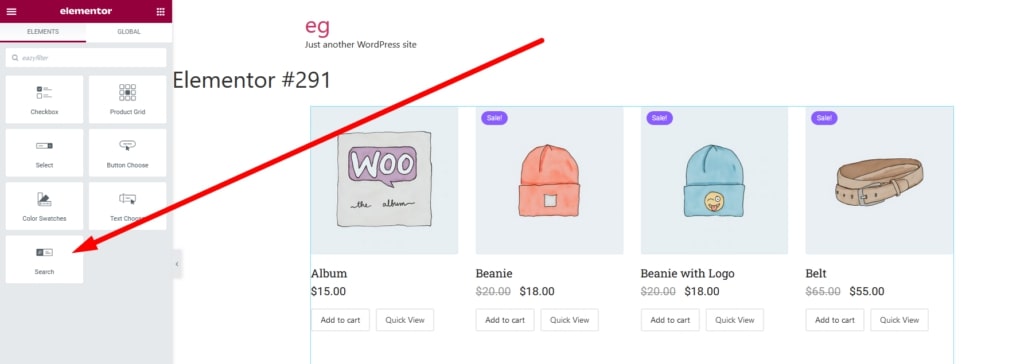
Type EazyFilter in the search box and drag the Search widget. Here we have the product widget that we created from before:
Now you can search in your product name and description:
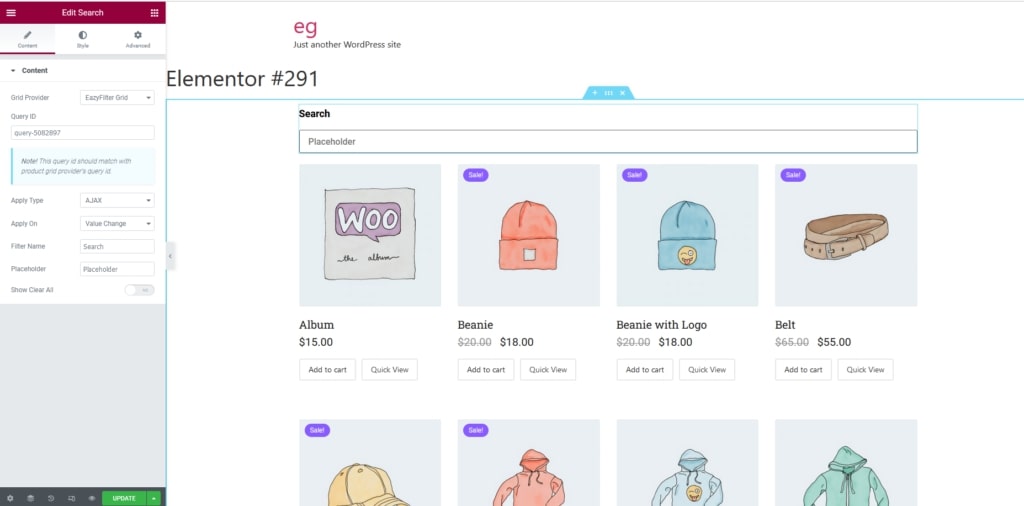
You can select Apply Type, Apply On, Filter Name & Placeholder:
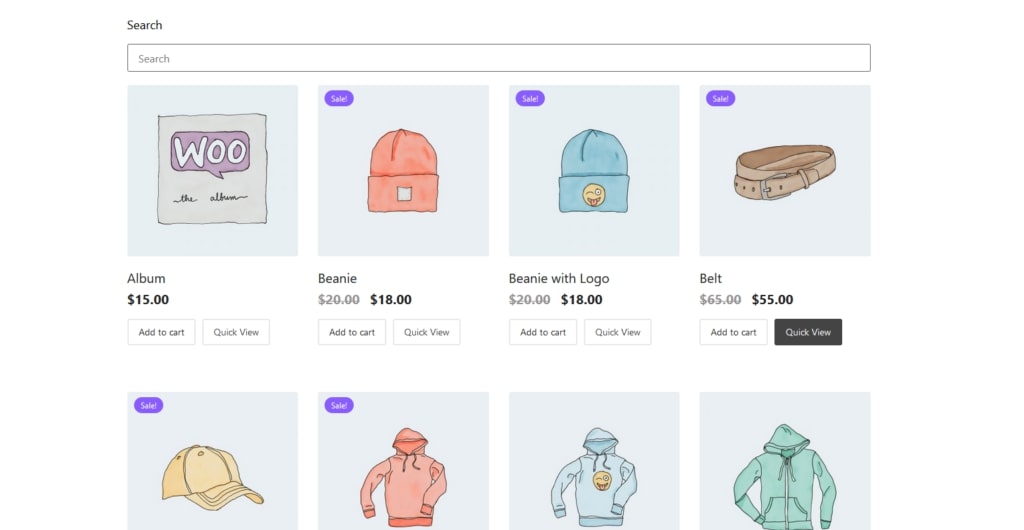
After you change your settings hit update button and preview changes. Your search is now ready to be used:
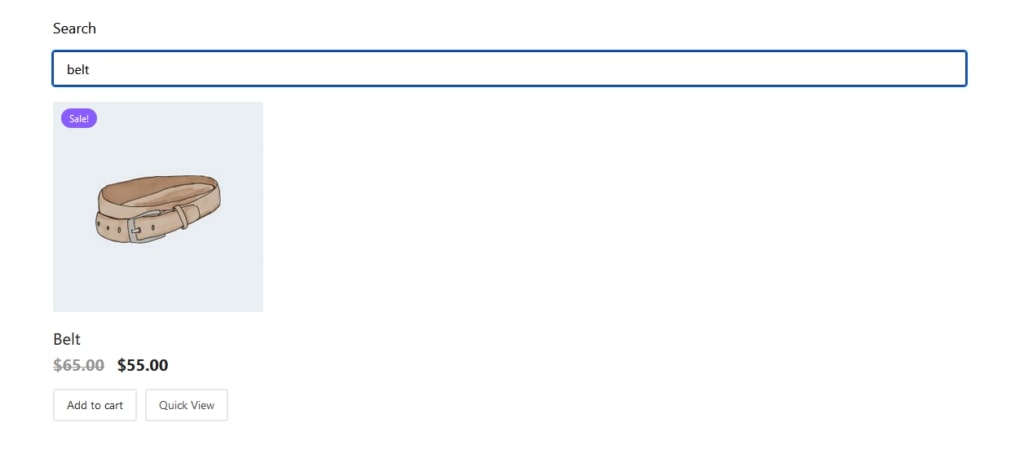
Type what you want to search, either description or title, and the searched term will show up:
This is how you can use the Eazy Filter plugin on your WooCommerce store.
Start Creating Filters and Increase Your Conversion Rate
So, we are at the end of our tutorial article of how to use Eazy Filter plugin. Creating filters for your WooCommerce store has never been easier thanks to this amazing filter plugin.
And after reading this blog, we are hoping you won’t face any trouble creating amazing and necessary filters. Still if you have any questions do let us know in the comment section.