
Building pages and posts with Gutenberg Blocks has quite a few advantages. One of them is the ability to save them as templates. You can create templates for Gutenberg, a great way to help speed up the publishing process.
In this article, we will show you how to use the template page in Gutenberg. We will illustrate how to create a template page using reusable blocks.
So, let’s get started without further ado.
- What are Reusable Blocks?
- How to Use Template Page in Gutenberg Using Reusable Blocks?
- How to Use a Page Template Created with Reusable Blocks
- FAQ
What are Reusable Blocks?
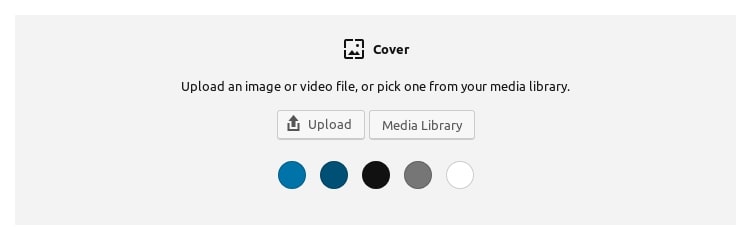
By default, when you add a new block in a post, it creates a new, empty instance of that block. For instance, if you were to insert a Cover block, this is what you will see:
Cover blocks have a background image and usually some content. If we start by assigning this background image, we can then customize the block by adding, for instance, some text and a button:
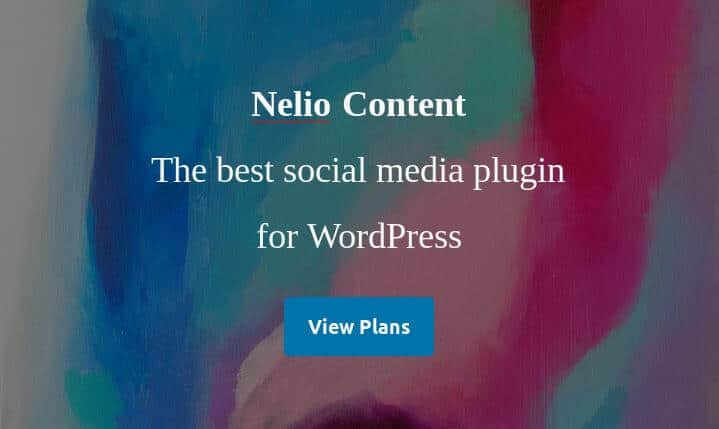
As you can see it results in a beautiful call-to-action block.
However, If we want to use this call-to-action button in any single post, we must follow the previous steps to create that CTA button. But when do you want to use the same CTA in multiple posts? Is it possible to create a “banner block” and use it in as many posts as possible?
The answer is obviously “yes!” and it simply requires you to create the block once and save it as a reusable block. This is the definition of reusable blocks.
7+ Best Gutenberg Ready Theme for Your Website
How to Use Template Page in Gutenberg Using Reusable Blocks?
Let’s say you have a website with multiple pages that share a standard design—while their contents are different, the layout is the same. If you want to create a new page with that style, do you need to recreate the page from scratch? No, you don’t have to make that page from scratch.
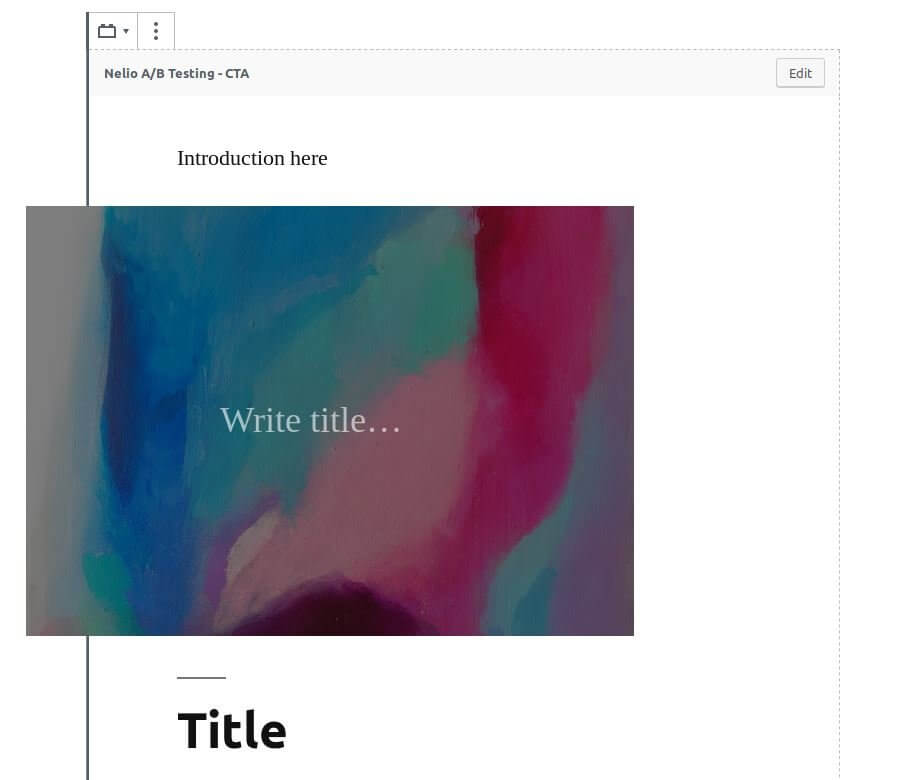
First, you have to create the page structure as you want. For example, you might want to create a page with an introduction, a background image, and a few sections.
Creating this is quite straightforward in Gutenberg, as seen in the image below.
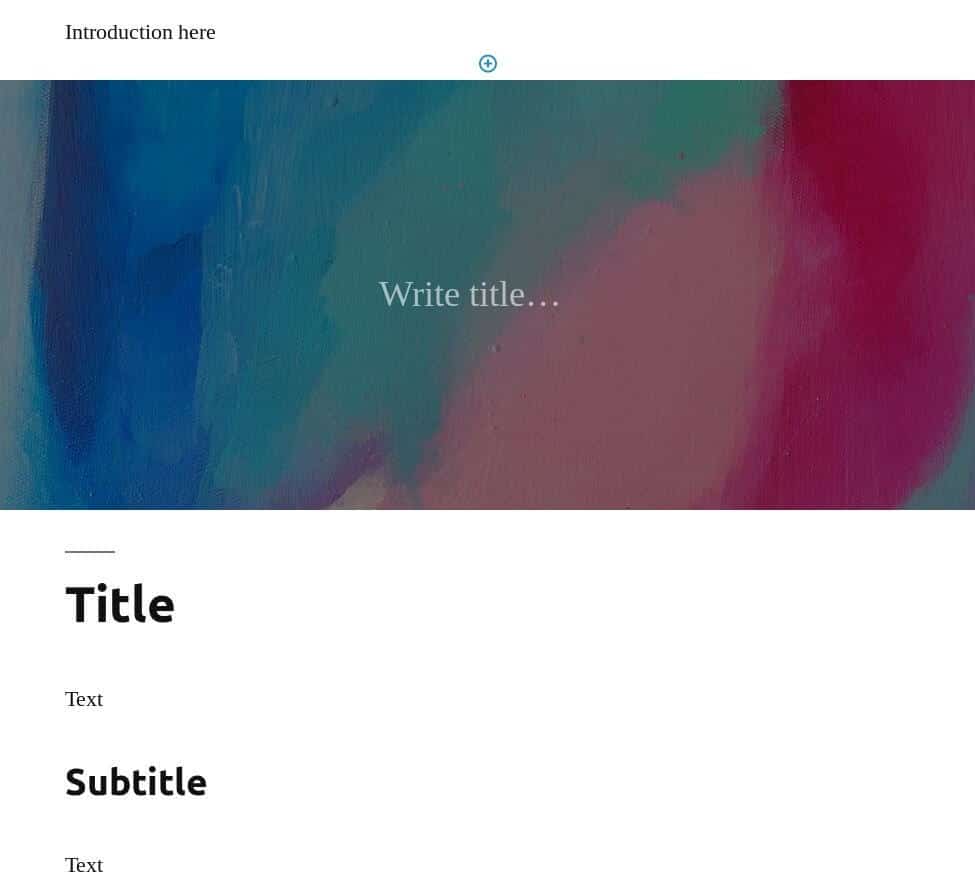
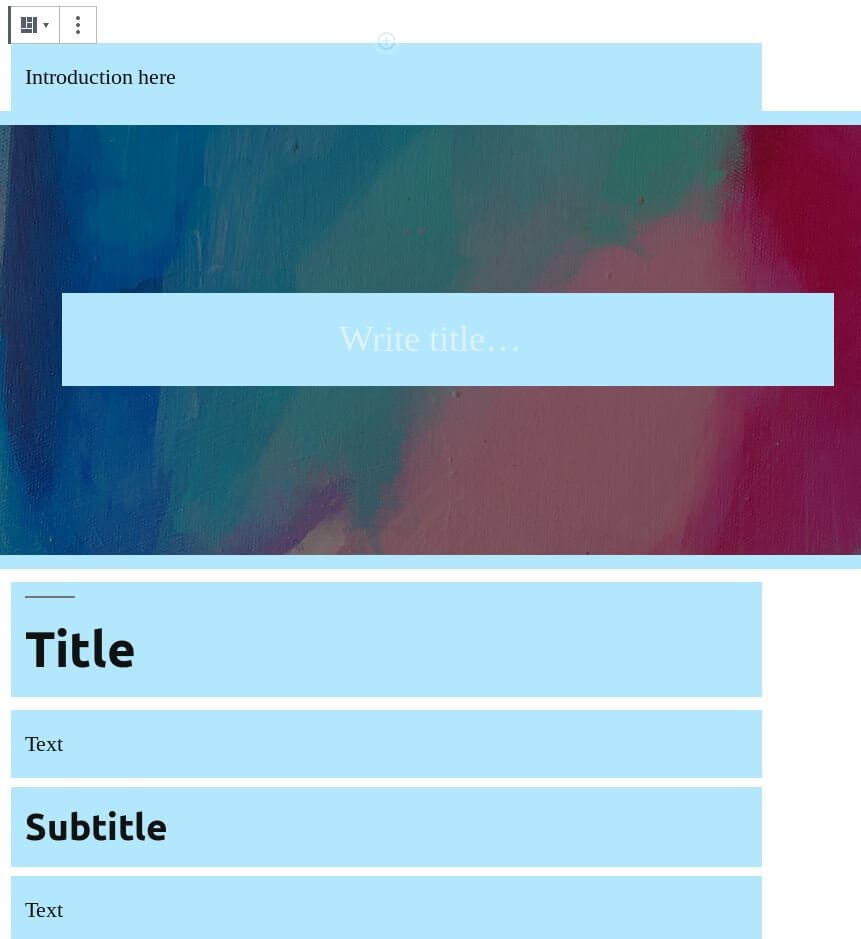
A page template is a “blank” page with the blocks we are interested in. Once you have the structure ready, you must create a reusable block that includes them all.
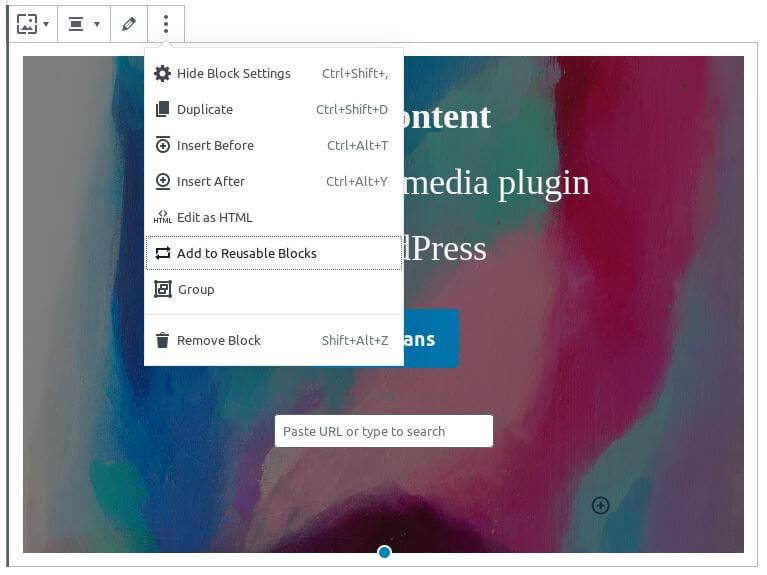
“Yes, you can create a reusable ‘block’. That is actually called a set of blocks” That’s exactly what we are saying. You need to simply select all the blocks in your template:
Now you need to click on the ellipsis icon and choose the option “Add to reusable blocks:”
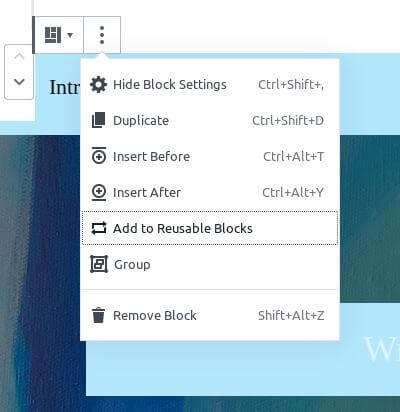
Creation of a reusable template. It’s just a “reusable block” containing more than one block.
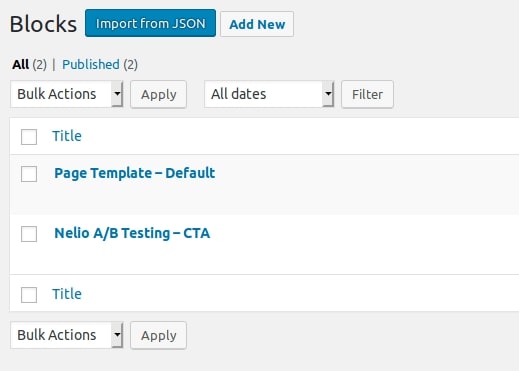
Now you need to name the template as you please and you’re done!
We recommend you use a name such as “Page Template – Whatever”, so that you can quickly identify “regular reusable blocks” from “page templates:”
How to Use a Page Template Created with Reusable Blocks
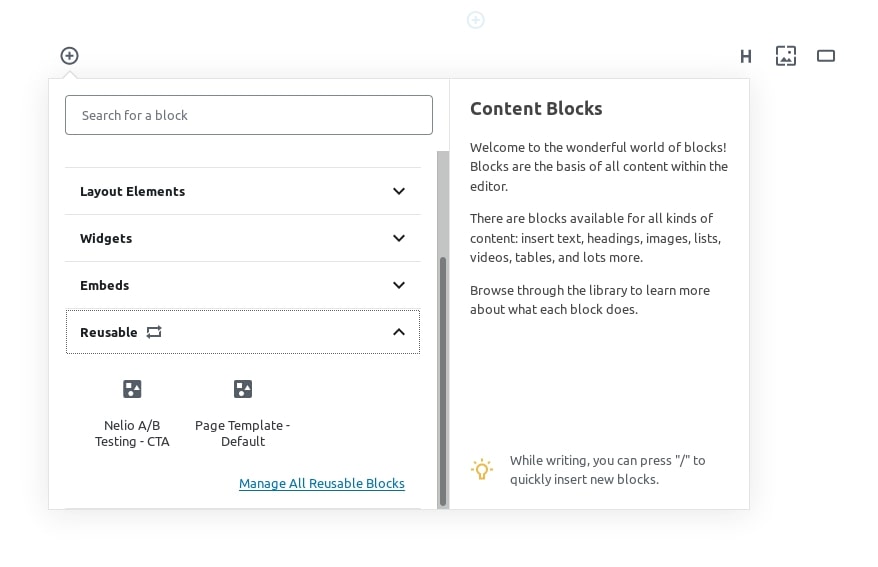
When you want to use the new template on a new page, you simply have to choose it from the Reusable section and insert it on your selected page:
Do this, and you’ll see that the template you created is now part of your new page. Unfortunately, there’s a catch: you can’t edit the reusable block.
By default, reusable blocks are not editable because they are supposed to be the same on every page where they appear.
However, you can overcome this problem. You just need to click on the ellipses icon in your template and select “Convert to Regular Block:”
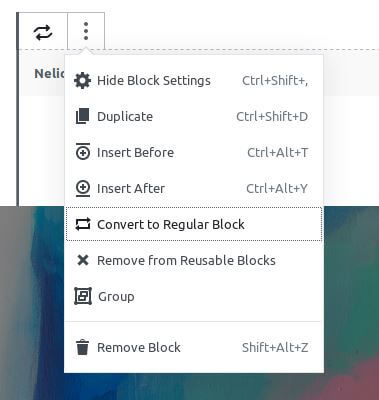
And that’s it! As you can see, you now have all the blocks you wanted as independent blocks. But they’re entirely unlinked from the original block and You can easily tweak and use them as you please.
This is how to use a template page in Gutenberg with reusable blocks. Hope you can do that easily.
Get Eazy Templates And Start Customizing Your Site Now!
FAQs
Is the Gutenberg editor easy to use?
The Gutenberg editor in WordPress is designed for ease of use, making it accessible even for beginners. Its block-based system allows you to easily add, arrange, and customize content with a simple drag-and-drop interface. This editor is incredibly user-friendly for those with experience with modern content editing tools, offering a clean and intuitive layout that simplifies the process of creating and managing website content.
How to use the free WordPress template?
To use a free WordPress template, first, go to your WordPress dashboard and click on ‘Appearance’, then ‘Themes’. Here, you can explore a wide range of free templates. Once you find one that suits your needs, click ‘Install’ and then ‘Activate’ to apply it to your site. These templates are customizable, so you can tweak them to match your brand and style, making it a budget-friendly way to achieve a professional-looking website.
What’s a template name?
In WordPress, a template name is a unique identifier for a specific design or layout template. It’s important when managing multiple templates, as it helps you easily identify and select the appropriate one for a particular page or post. When creating or editing templates, giving them clear and descriptive names ensures smoother and more efficient website management.
What are Gutenberg templates?
Gutenberg templates in WordPress are pre-designed page and post layouts that utilize Gutenberg’s block system. They provide users with a ready-made structure, incorporating various block types like text, images, and buttons. These templates are great time-savers and help maintain a consistent look across your website, making content creation more efficient and less daunting, especially for those new to web design.
Can you create a website without using WordPress templates?
Creating a website without relying on WordPress templates is entirely possible. You can opt to build your site from scratch using custom HTML, CSS, and JavaScript or utilize page builders for more flexibility in design. This approach allows for complete customization and uniqueness in your web design, allowing you to create a site that perfectly aligns with your vision and brand identity. However, it may require more technical expertise.
Final Thoughts
As you can see, with Gutenberg, it is possible to create page templates easily.
All you need to do is create the structure you want on a blank page, select all the blocks that are part of that structure, and save the selection as a “reusable block.” Next, insert this reusable block into a new page and convert it to “regular blocks” to edit the content.
If you face any obstacles during the process, please leave your issue in the comment section below.
Good luck!